
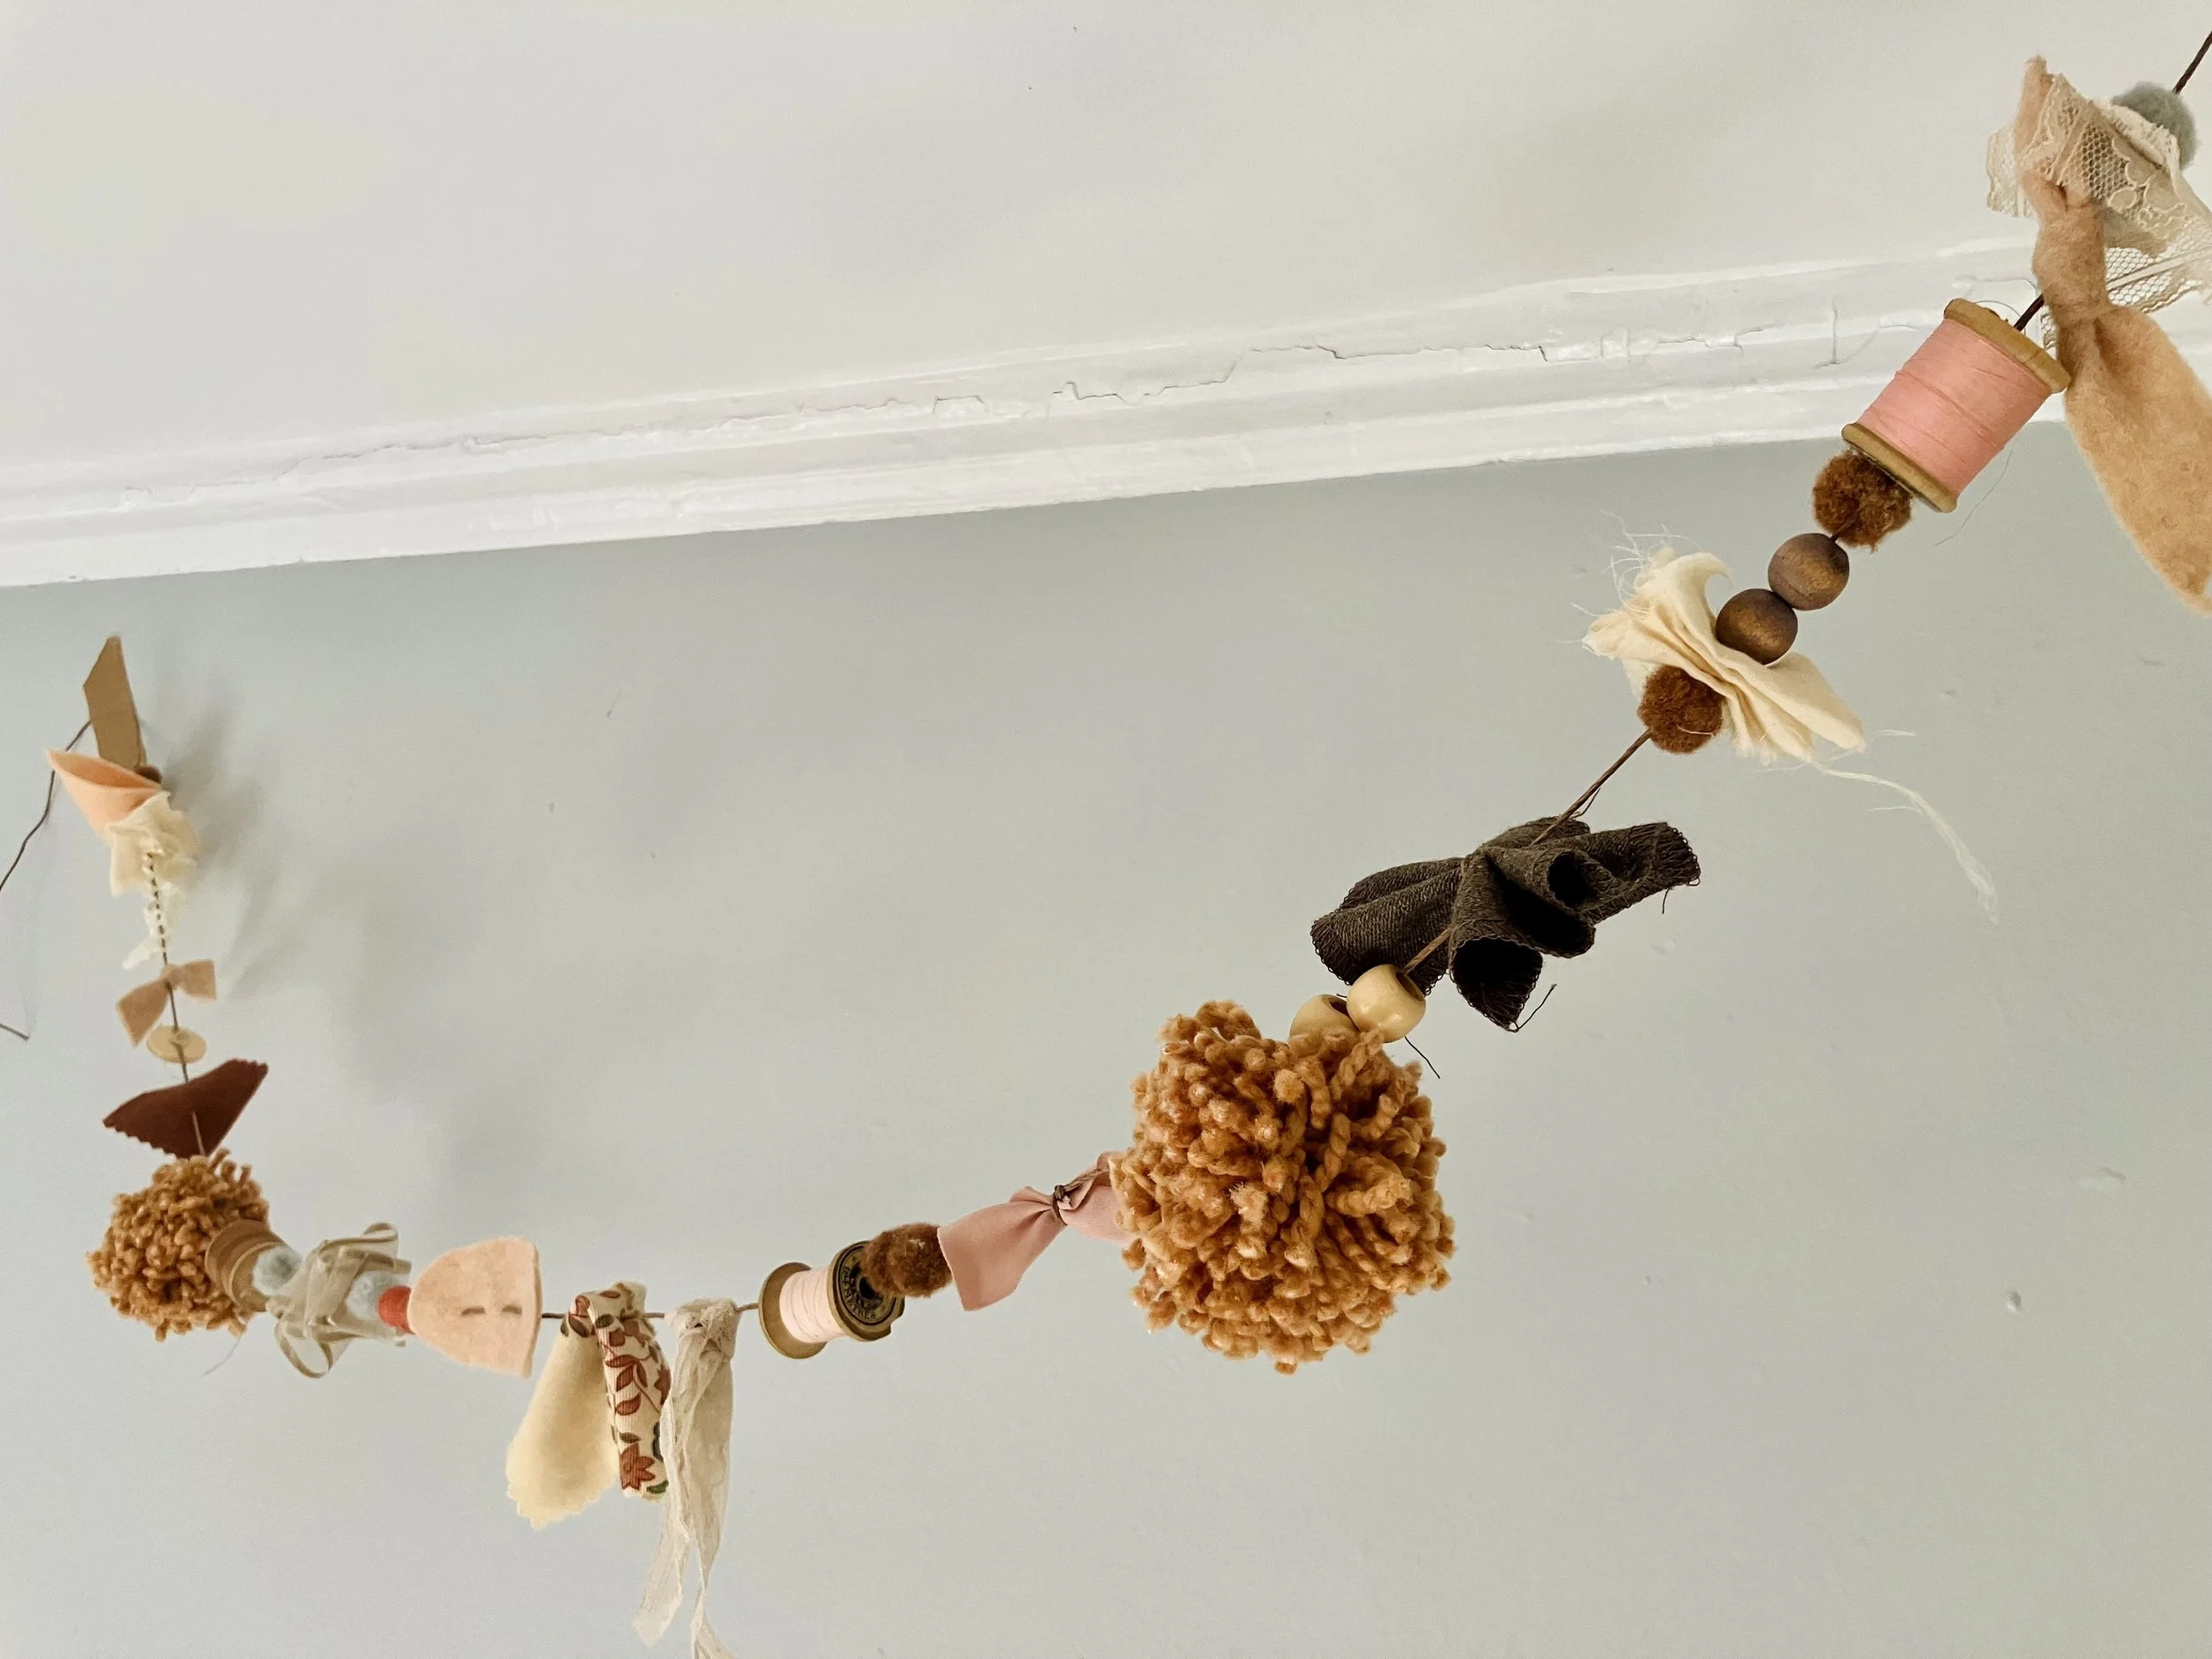
Craft Stash Garland
Wondering what to do with all those bits and bobs leftover from previous craft projects? It’s time to get inspired by your stash. We’ve gathered our fabric scraps, pom poms, felt, spools of thread and more to create a whimsical garland to add delight to a mantel, window treatment or sad corner. All you need to do is choose a color palette, length of garland, and run with it!
Don’t forget to share your work by tagging us in your photos — @gather.make.inspire

-
Sharp needle with an eye large enough to accommodate your string
Strong string such as waxed linen or hemp
Scissors
Craft stash items to string:
Fabric scraps
Lace
Pom poms
Beads
Buttons
Wooden Spools
Felt & felt balls
Ribbon
Anything else you might be inspired to add!
Optional:
Pinking Shears
Silicone finger grips, pliers, palm thimble (all for pushing and pulling your needle through tough items.)
-
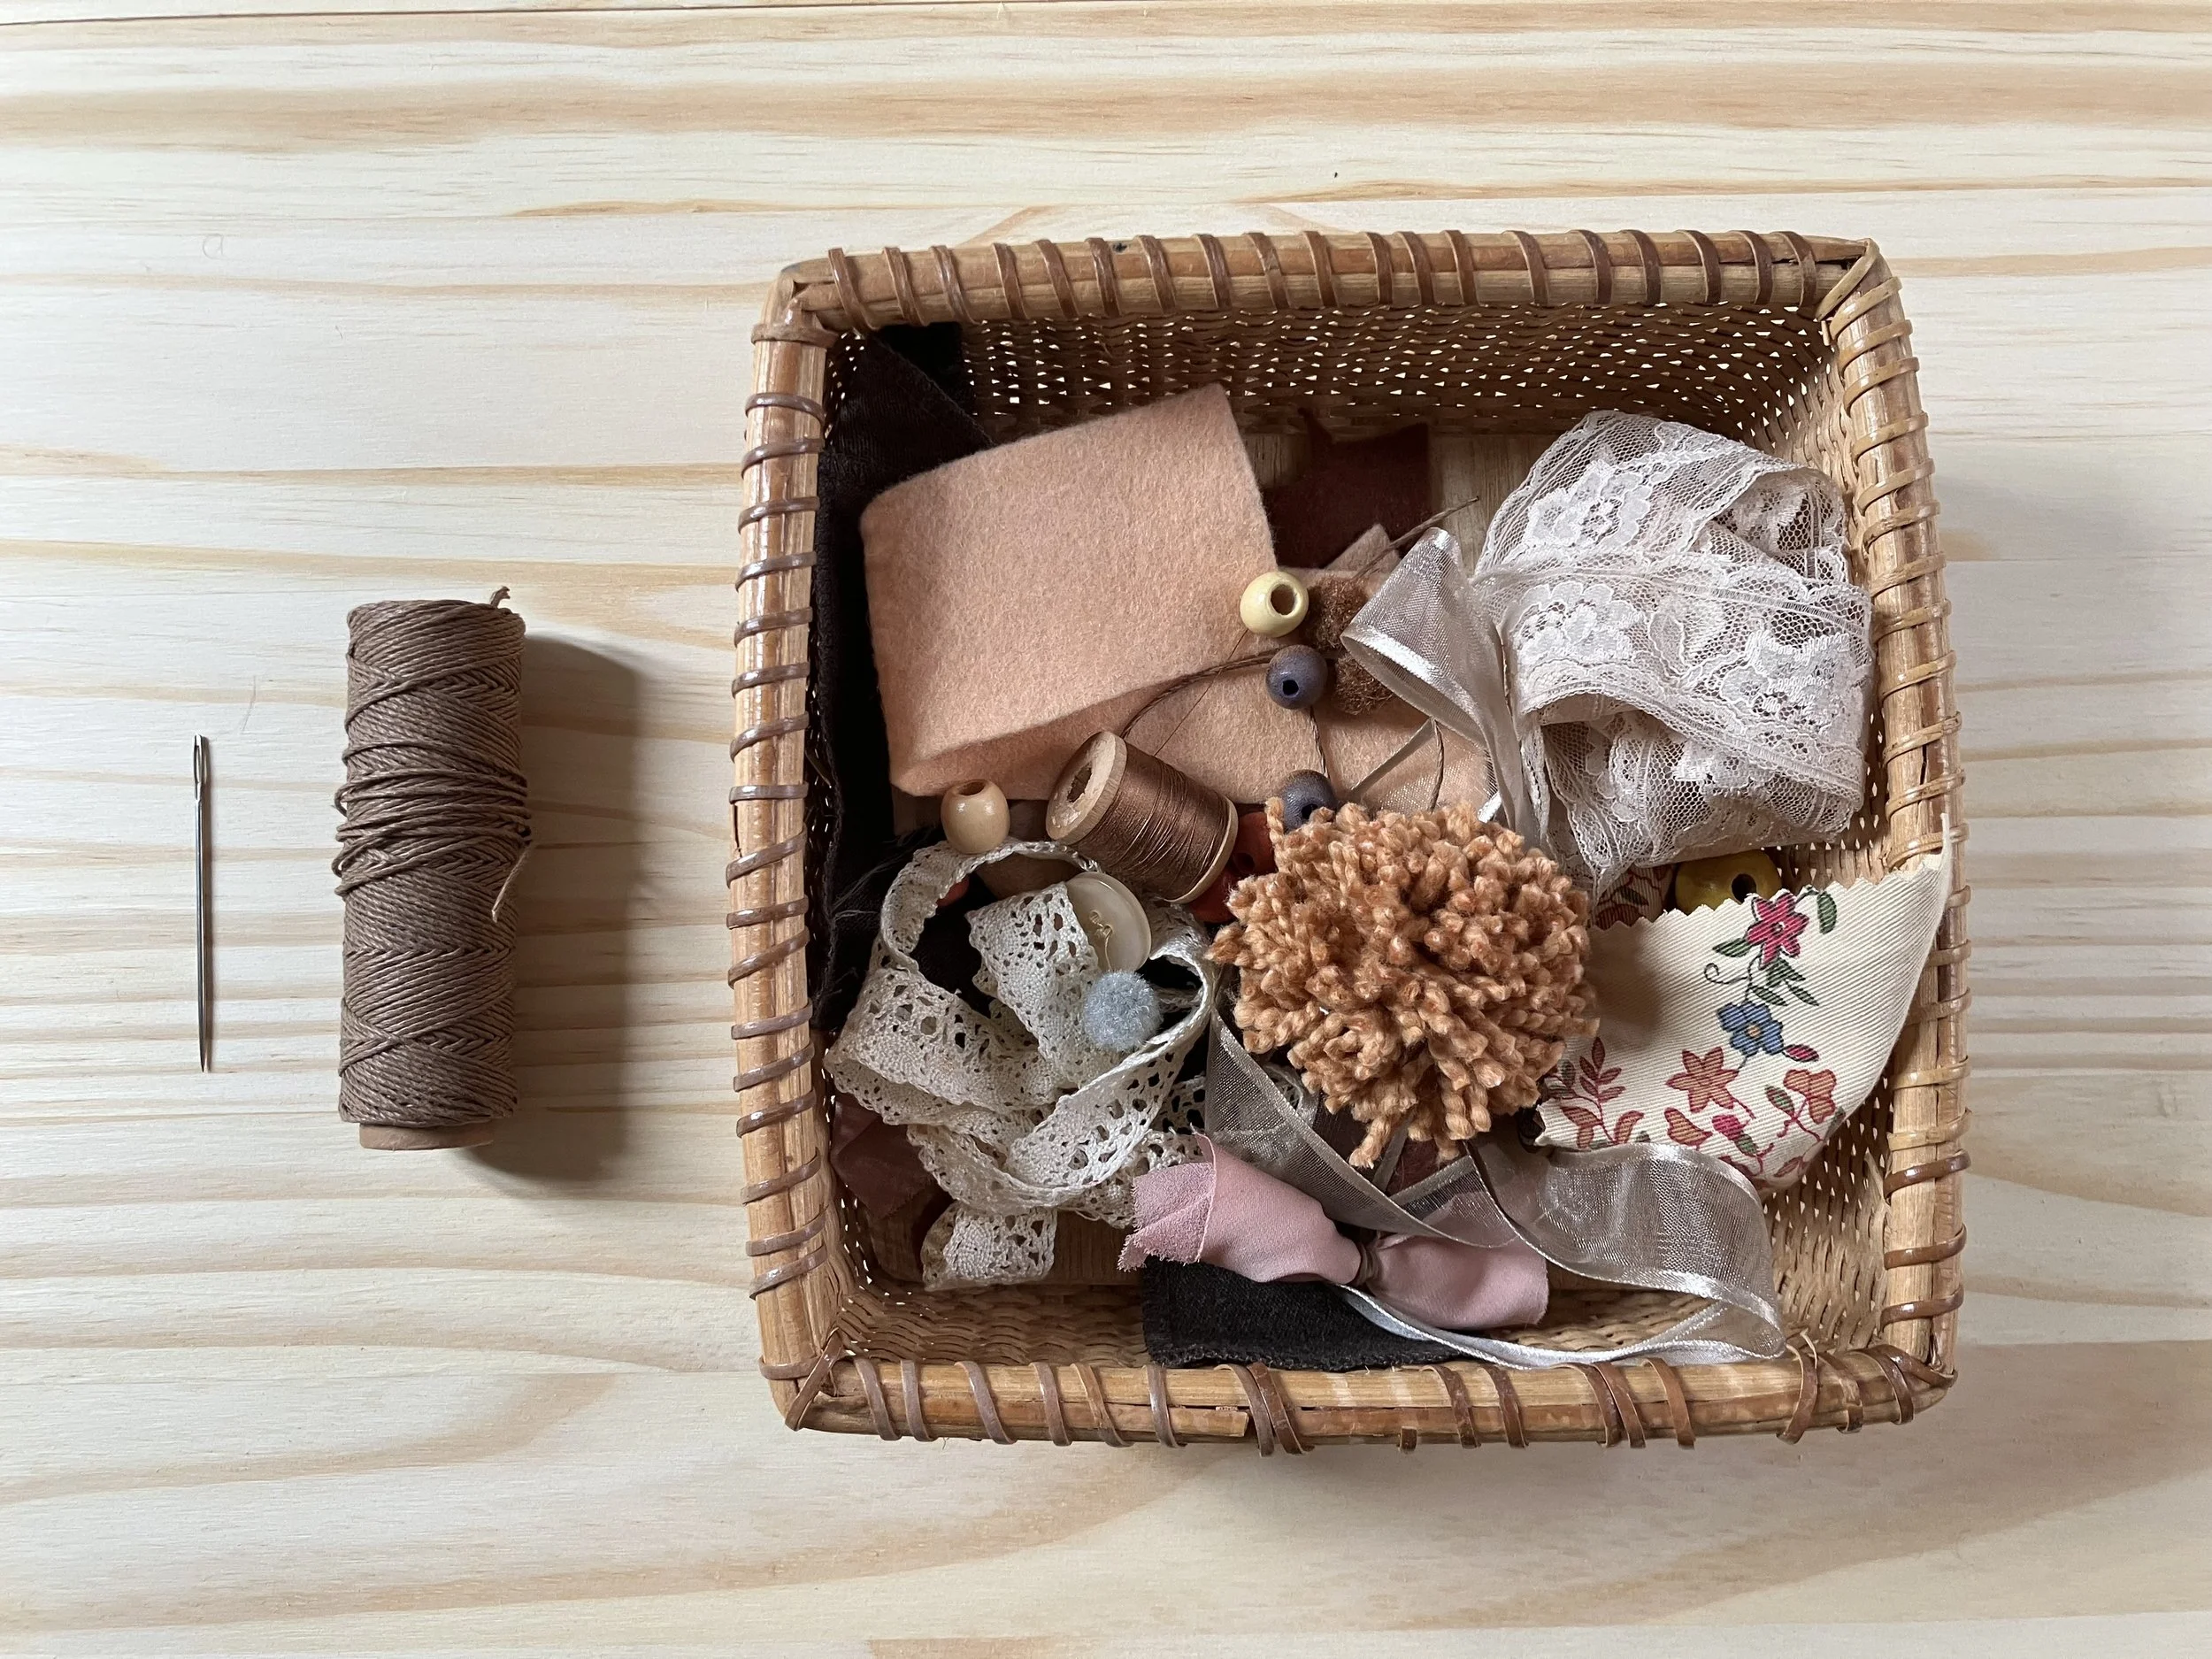
Gather Items to String
Go through your craft stash and art supplies and gather together materials that fit your chosen color palette.Prep Materials
If using fabric or felt, cut down to 2-5” pieces using scissors or pinking shears. When determining the size of your fabric or felt, think about how you envision it on your garland…. will you tie the fabric on, with you gather and stitch it together, will you fold the felt or sew it on?Measure and Cut your String
Decide how long you want your garland to be, add 20” and cut to length.Knot the String
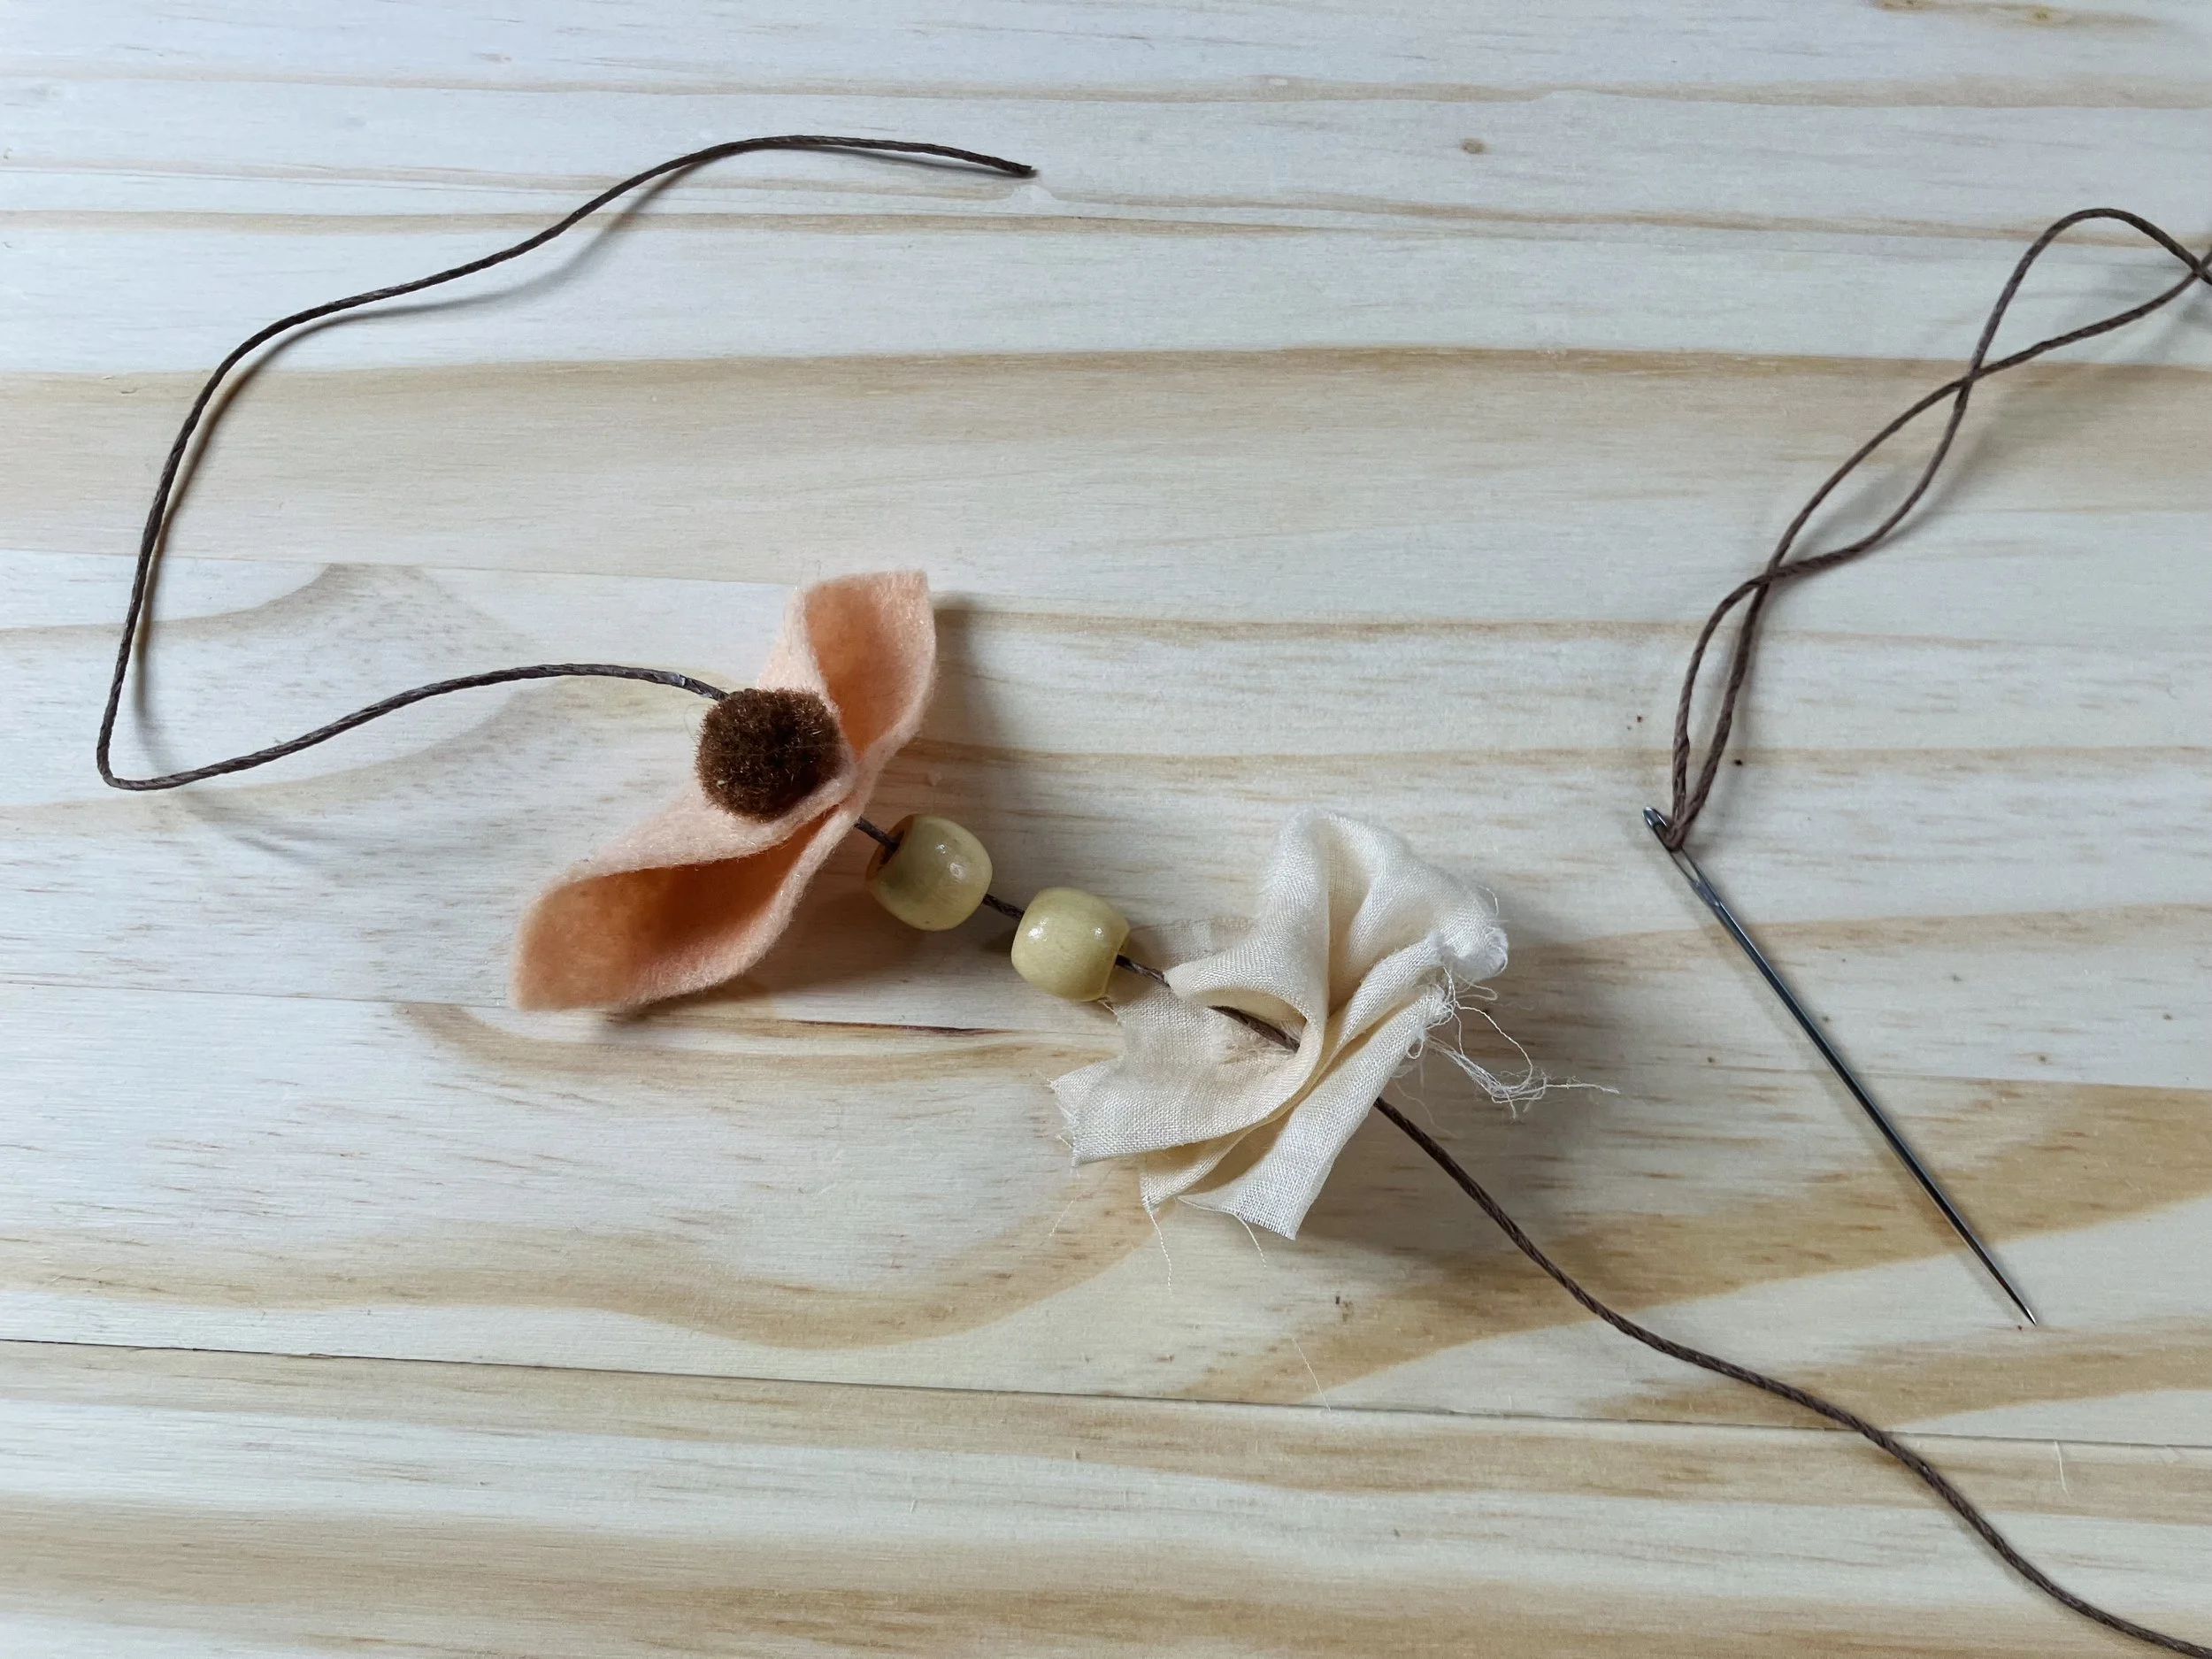
Measure 10” from one end and knot your string. This will be the stopping point for your first strung item. If using a bead or spool to begin, you may need to knot over a few times to prevent the item from slipping. You will leave 10” of string on each end so that you can hang your garland.Thread your Needle
Thread the end of the string furthest from your knot onto your needle.
-
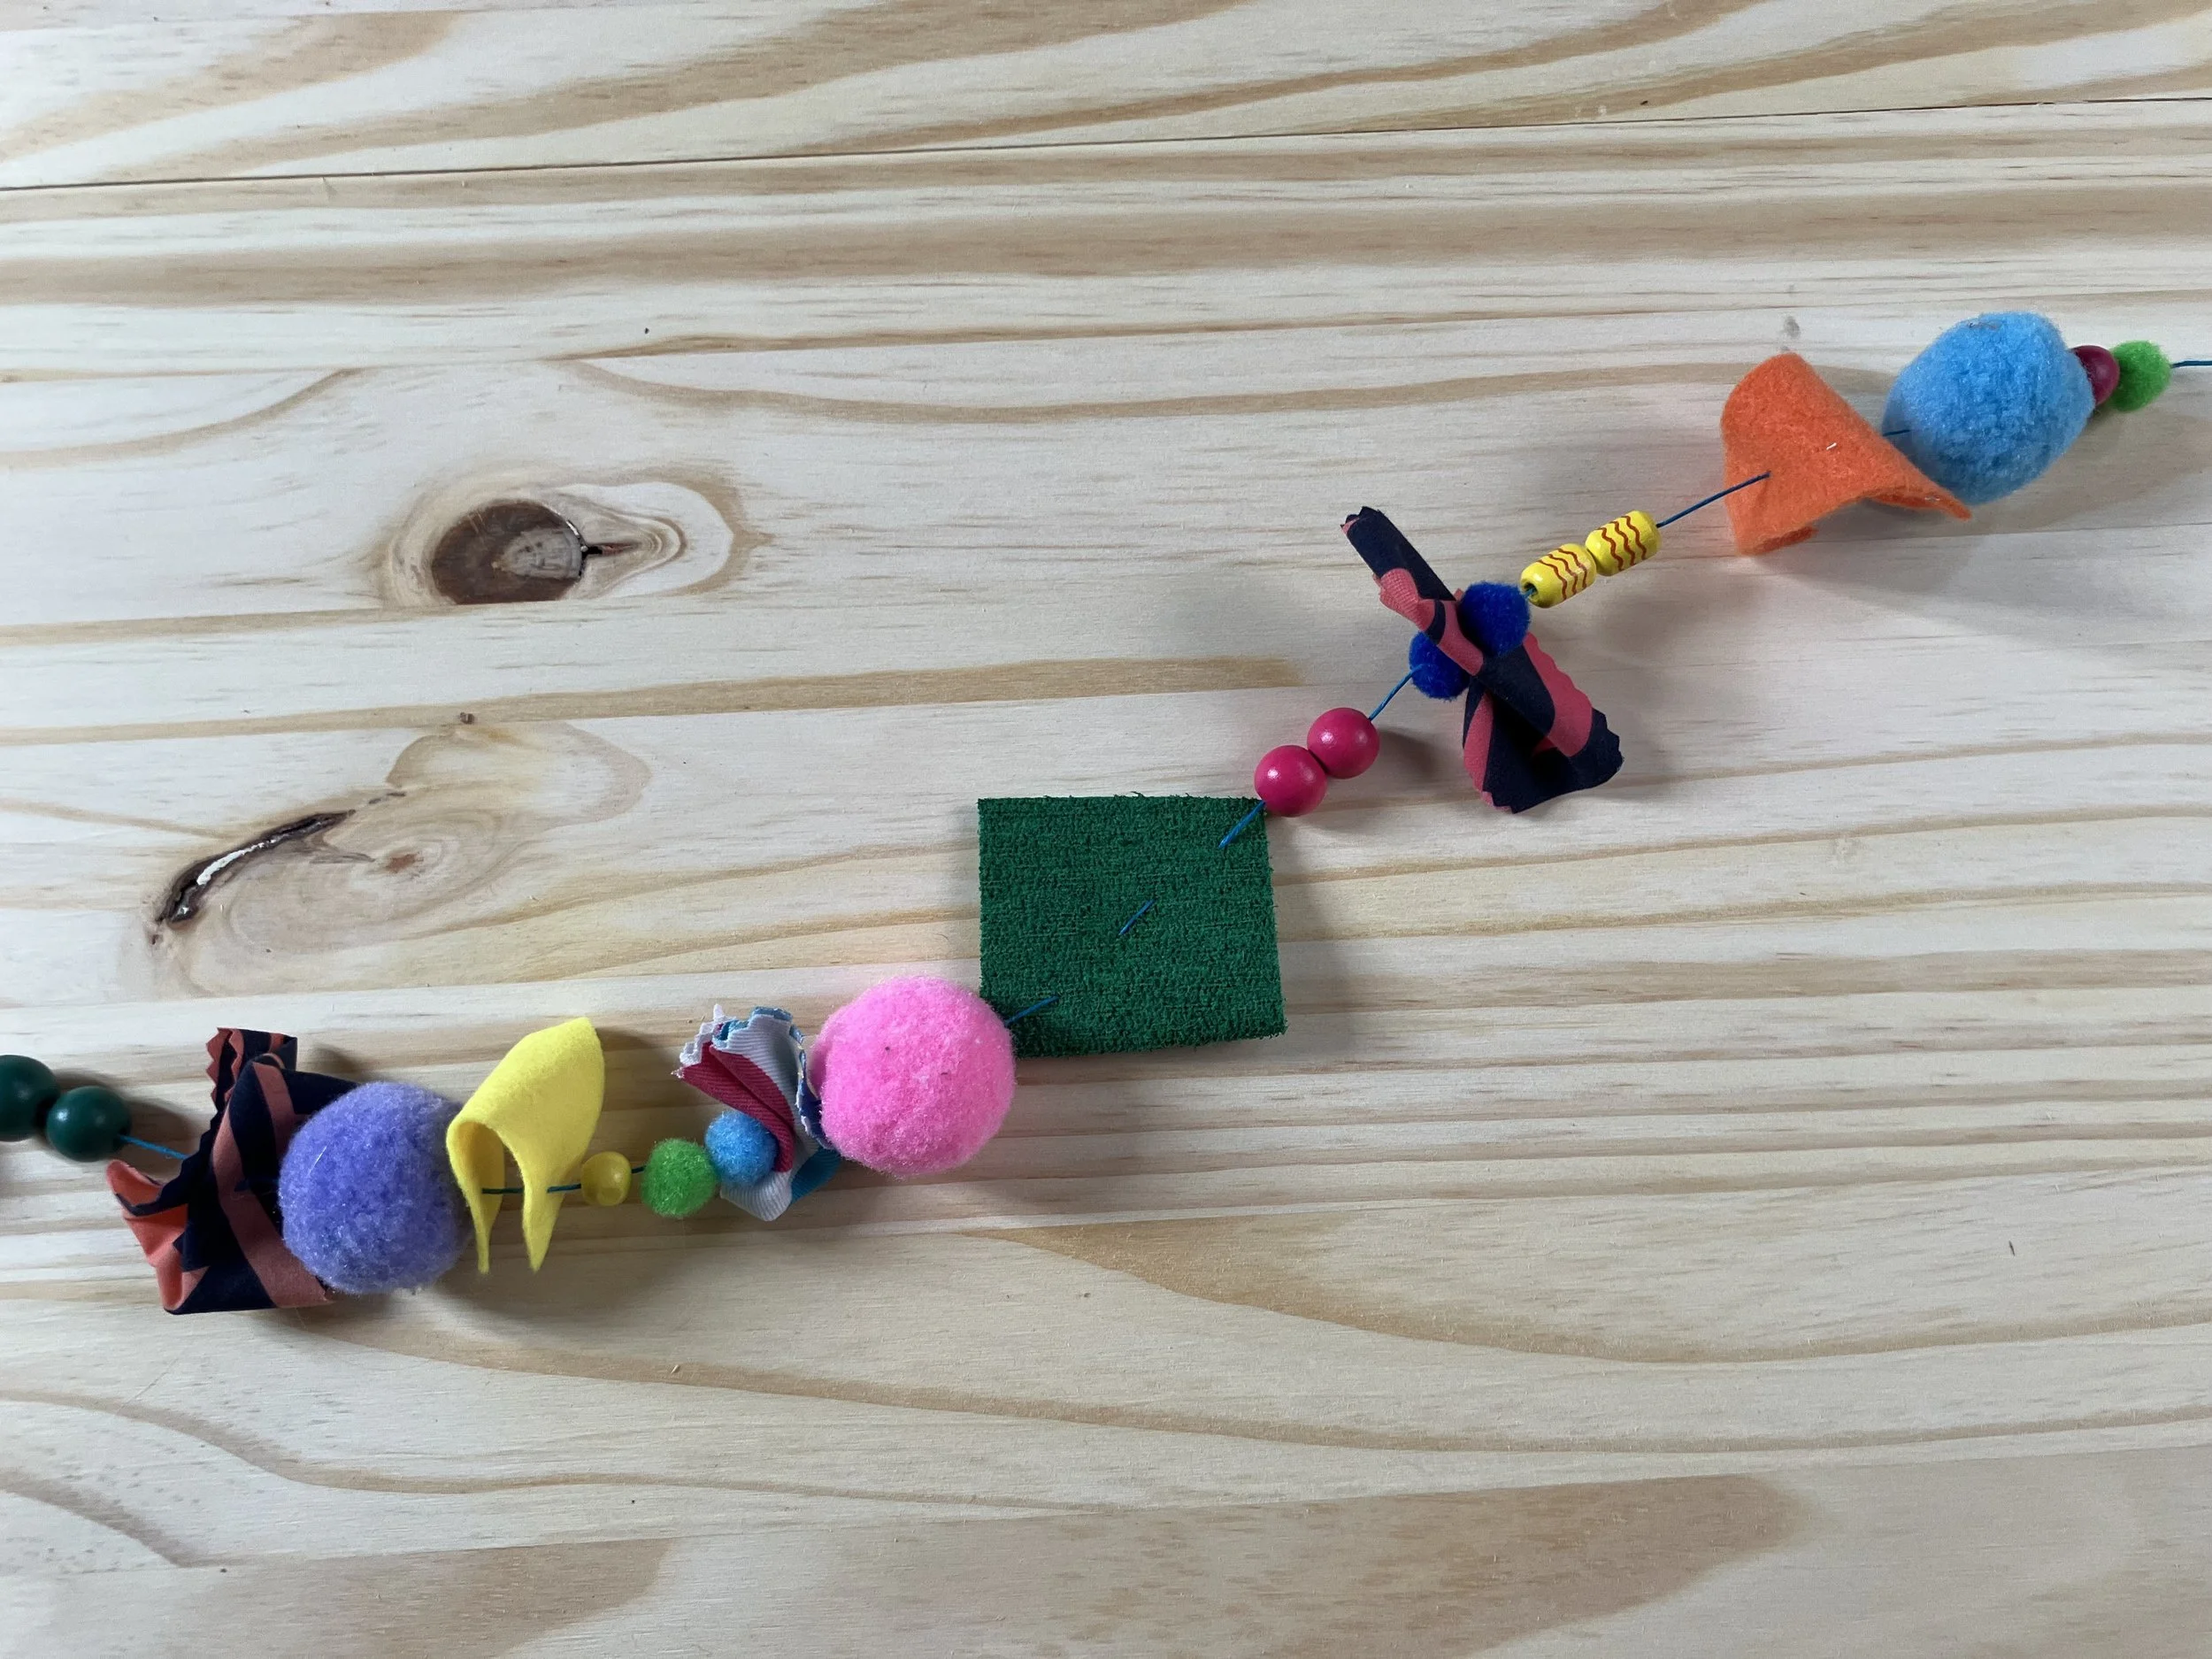
1) Time to get stringing! Start adding items to your string, think about textures, size and color to give your garland balance. Create spaces between items or pack them in tight. It’s up to you!
2) When you’re done adding materials, simply knot the end. You are done! You can knot loops onto the ends of the string to hang, or tie directly into place.
3) Now that you have the strips rolled (they might have unravelled a bit, and thats fine), think of how you’d like to lay them out. All along the bottom, piled to one corner? Stacked? Falling like snow from the top and in a heap on the ground? It’s totally up to you. Think about direction of coil, colour, how tightly you’d like them placed or if you’d prefer a looser look, width of strips and whether or not you’d like that to determine placement.
4) Get gluing! White glue works fine with this, but alternatives are glue tape, glue dots, or for older artists, glue gun.
5) Let your piece dry thoroughly on a flat surface before hanging.
Enjoy & dont forget to share photos with us! @gather.make.inspire
* Please note that these pieces are quite beautiful framed in shadow boxes, backed onto a white or neutral toned matte. We’ve had families send us photos of their pieces of abstract work, framed beautifully and hanging in their forever homes.
-
This craft stash garland is a fun way to think about materials you already have in a different light, and the possibilities are endless.
Take this idea to the next level by putting together multiple strands, explore different color combinations and textures. Kids can even think about stringing small treasures that may not have a home, to really make it their own.
These make a wonderful, handmade addition to any holiday or celebratory decor, a baby’s nursery, or any nook and cranny you can find.
We can’t wait to see what you create!