
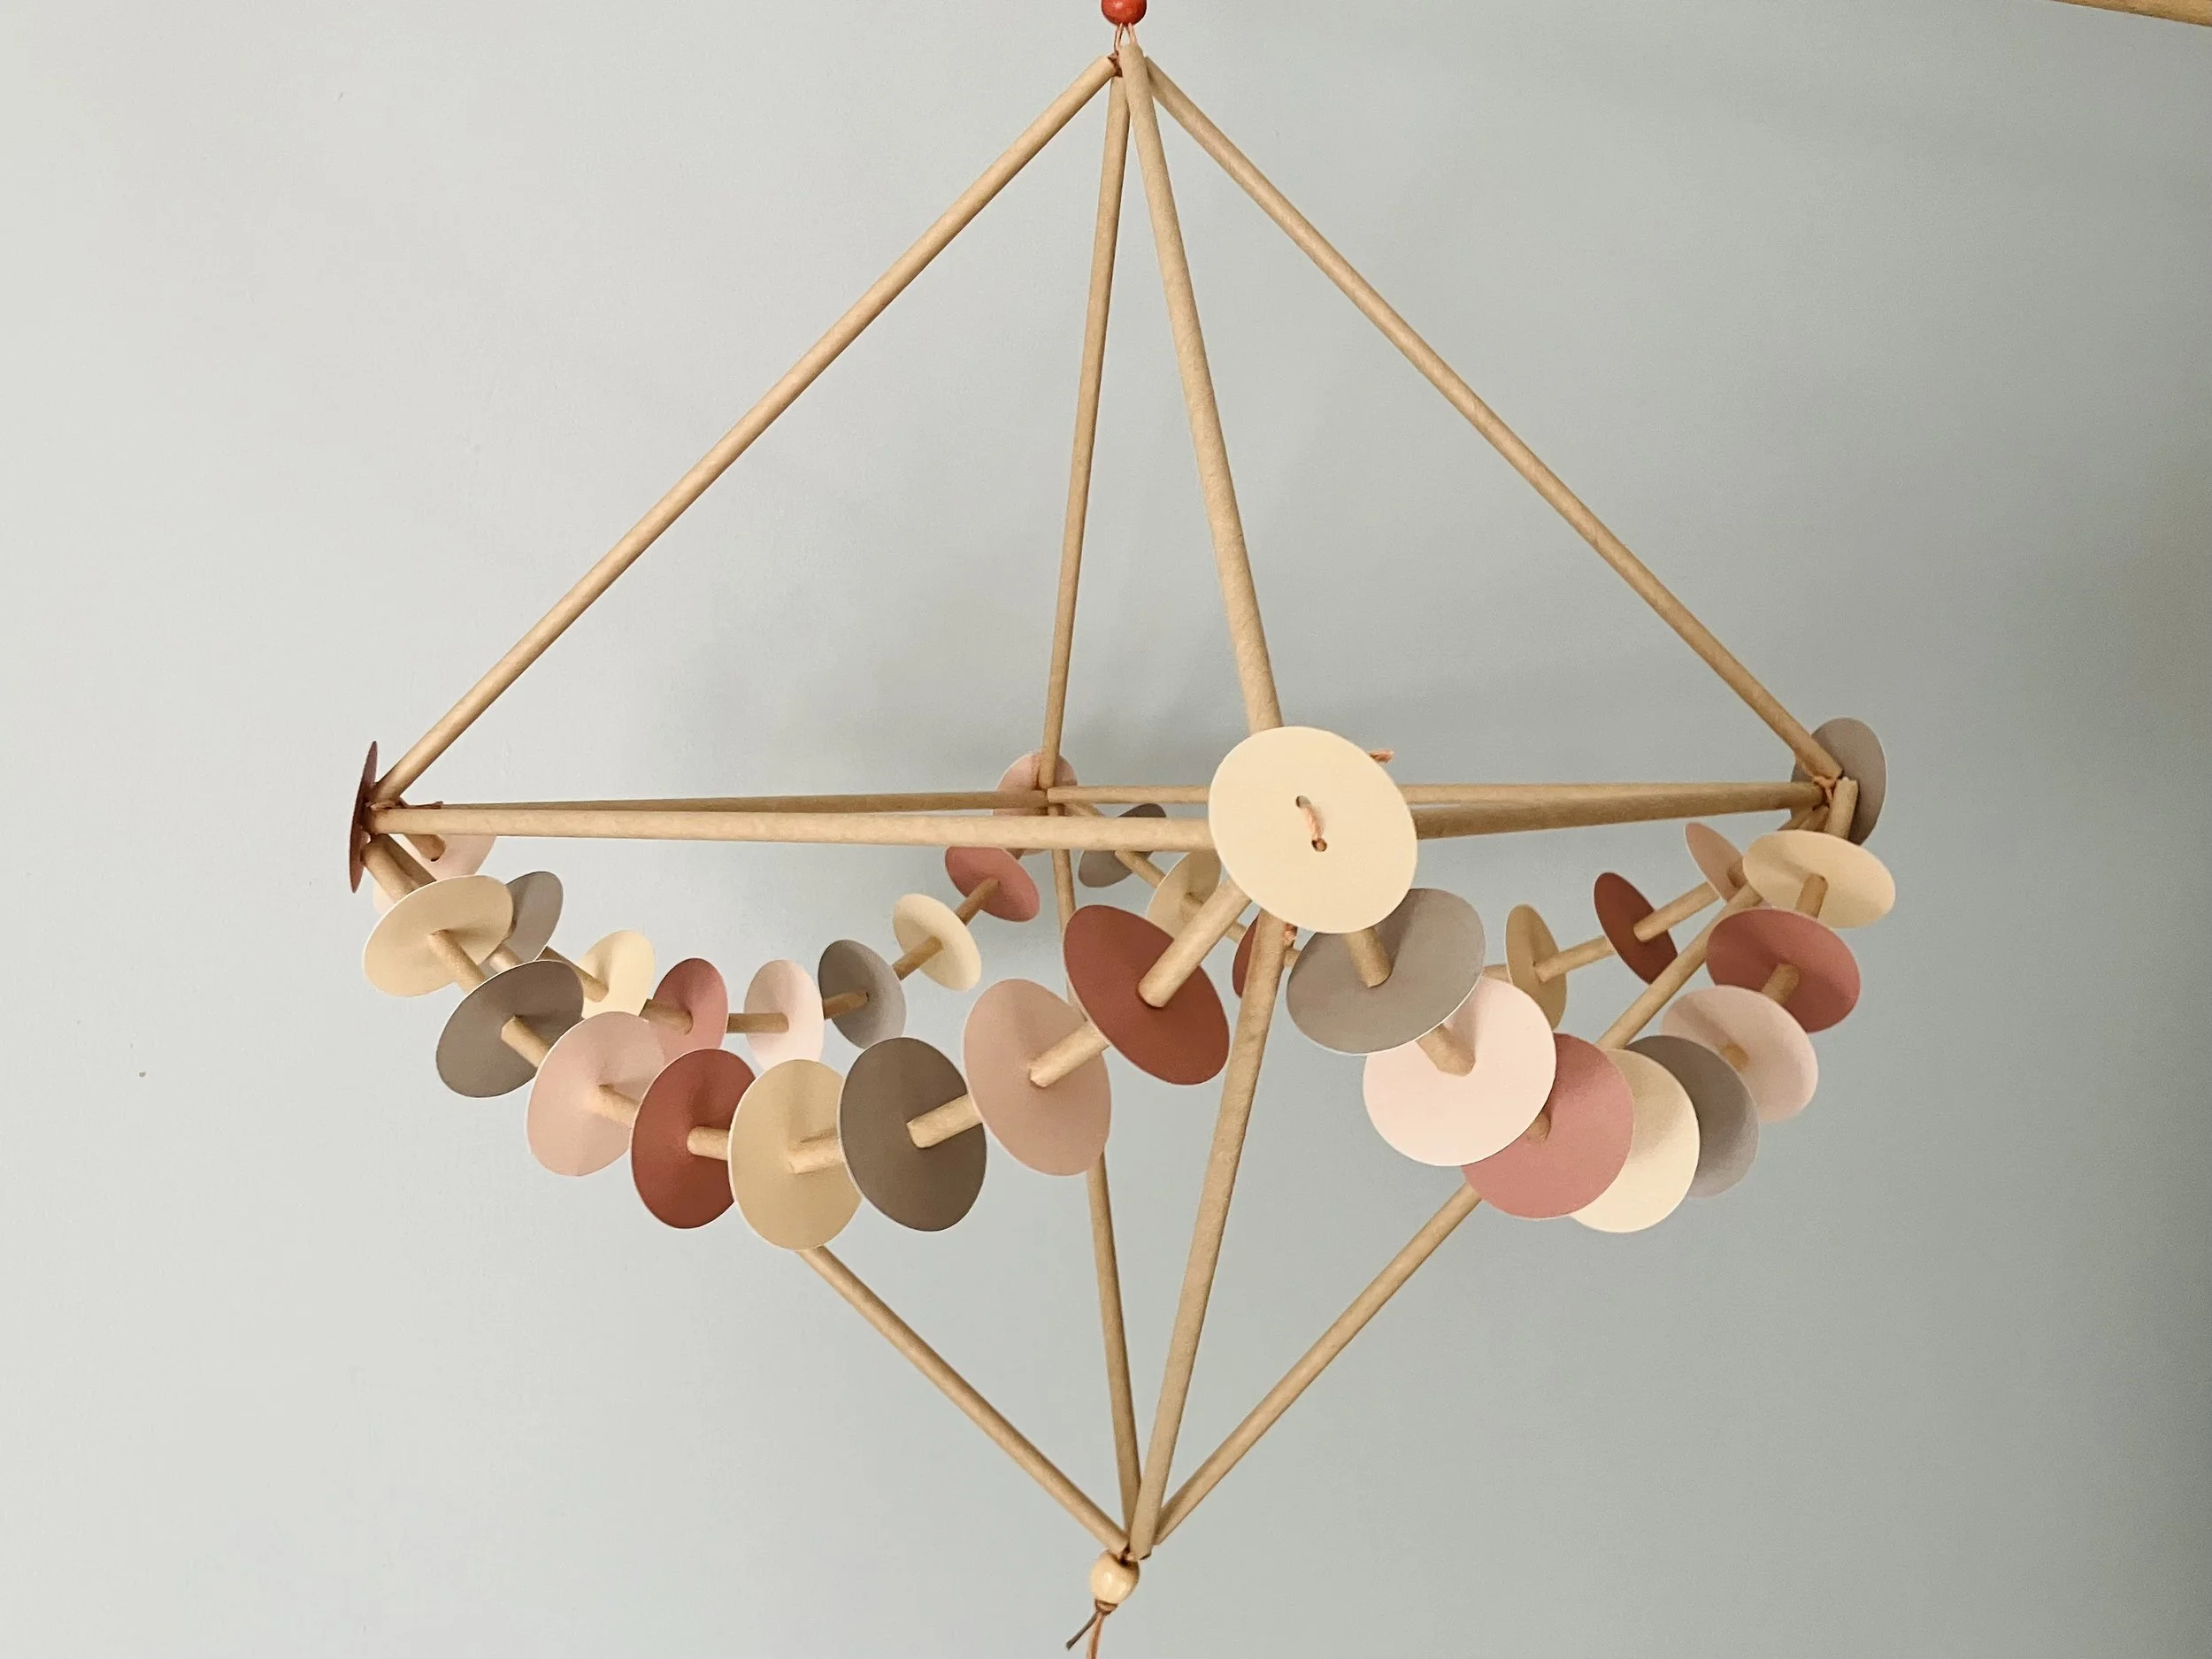
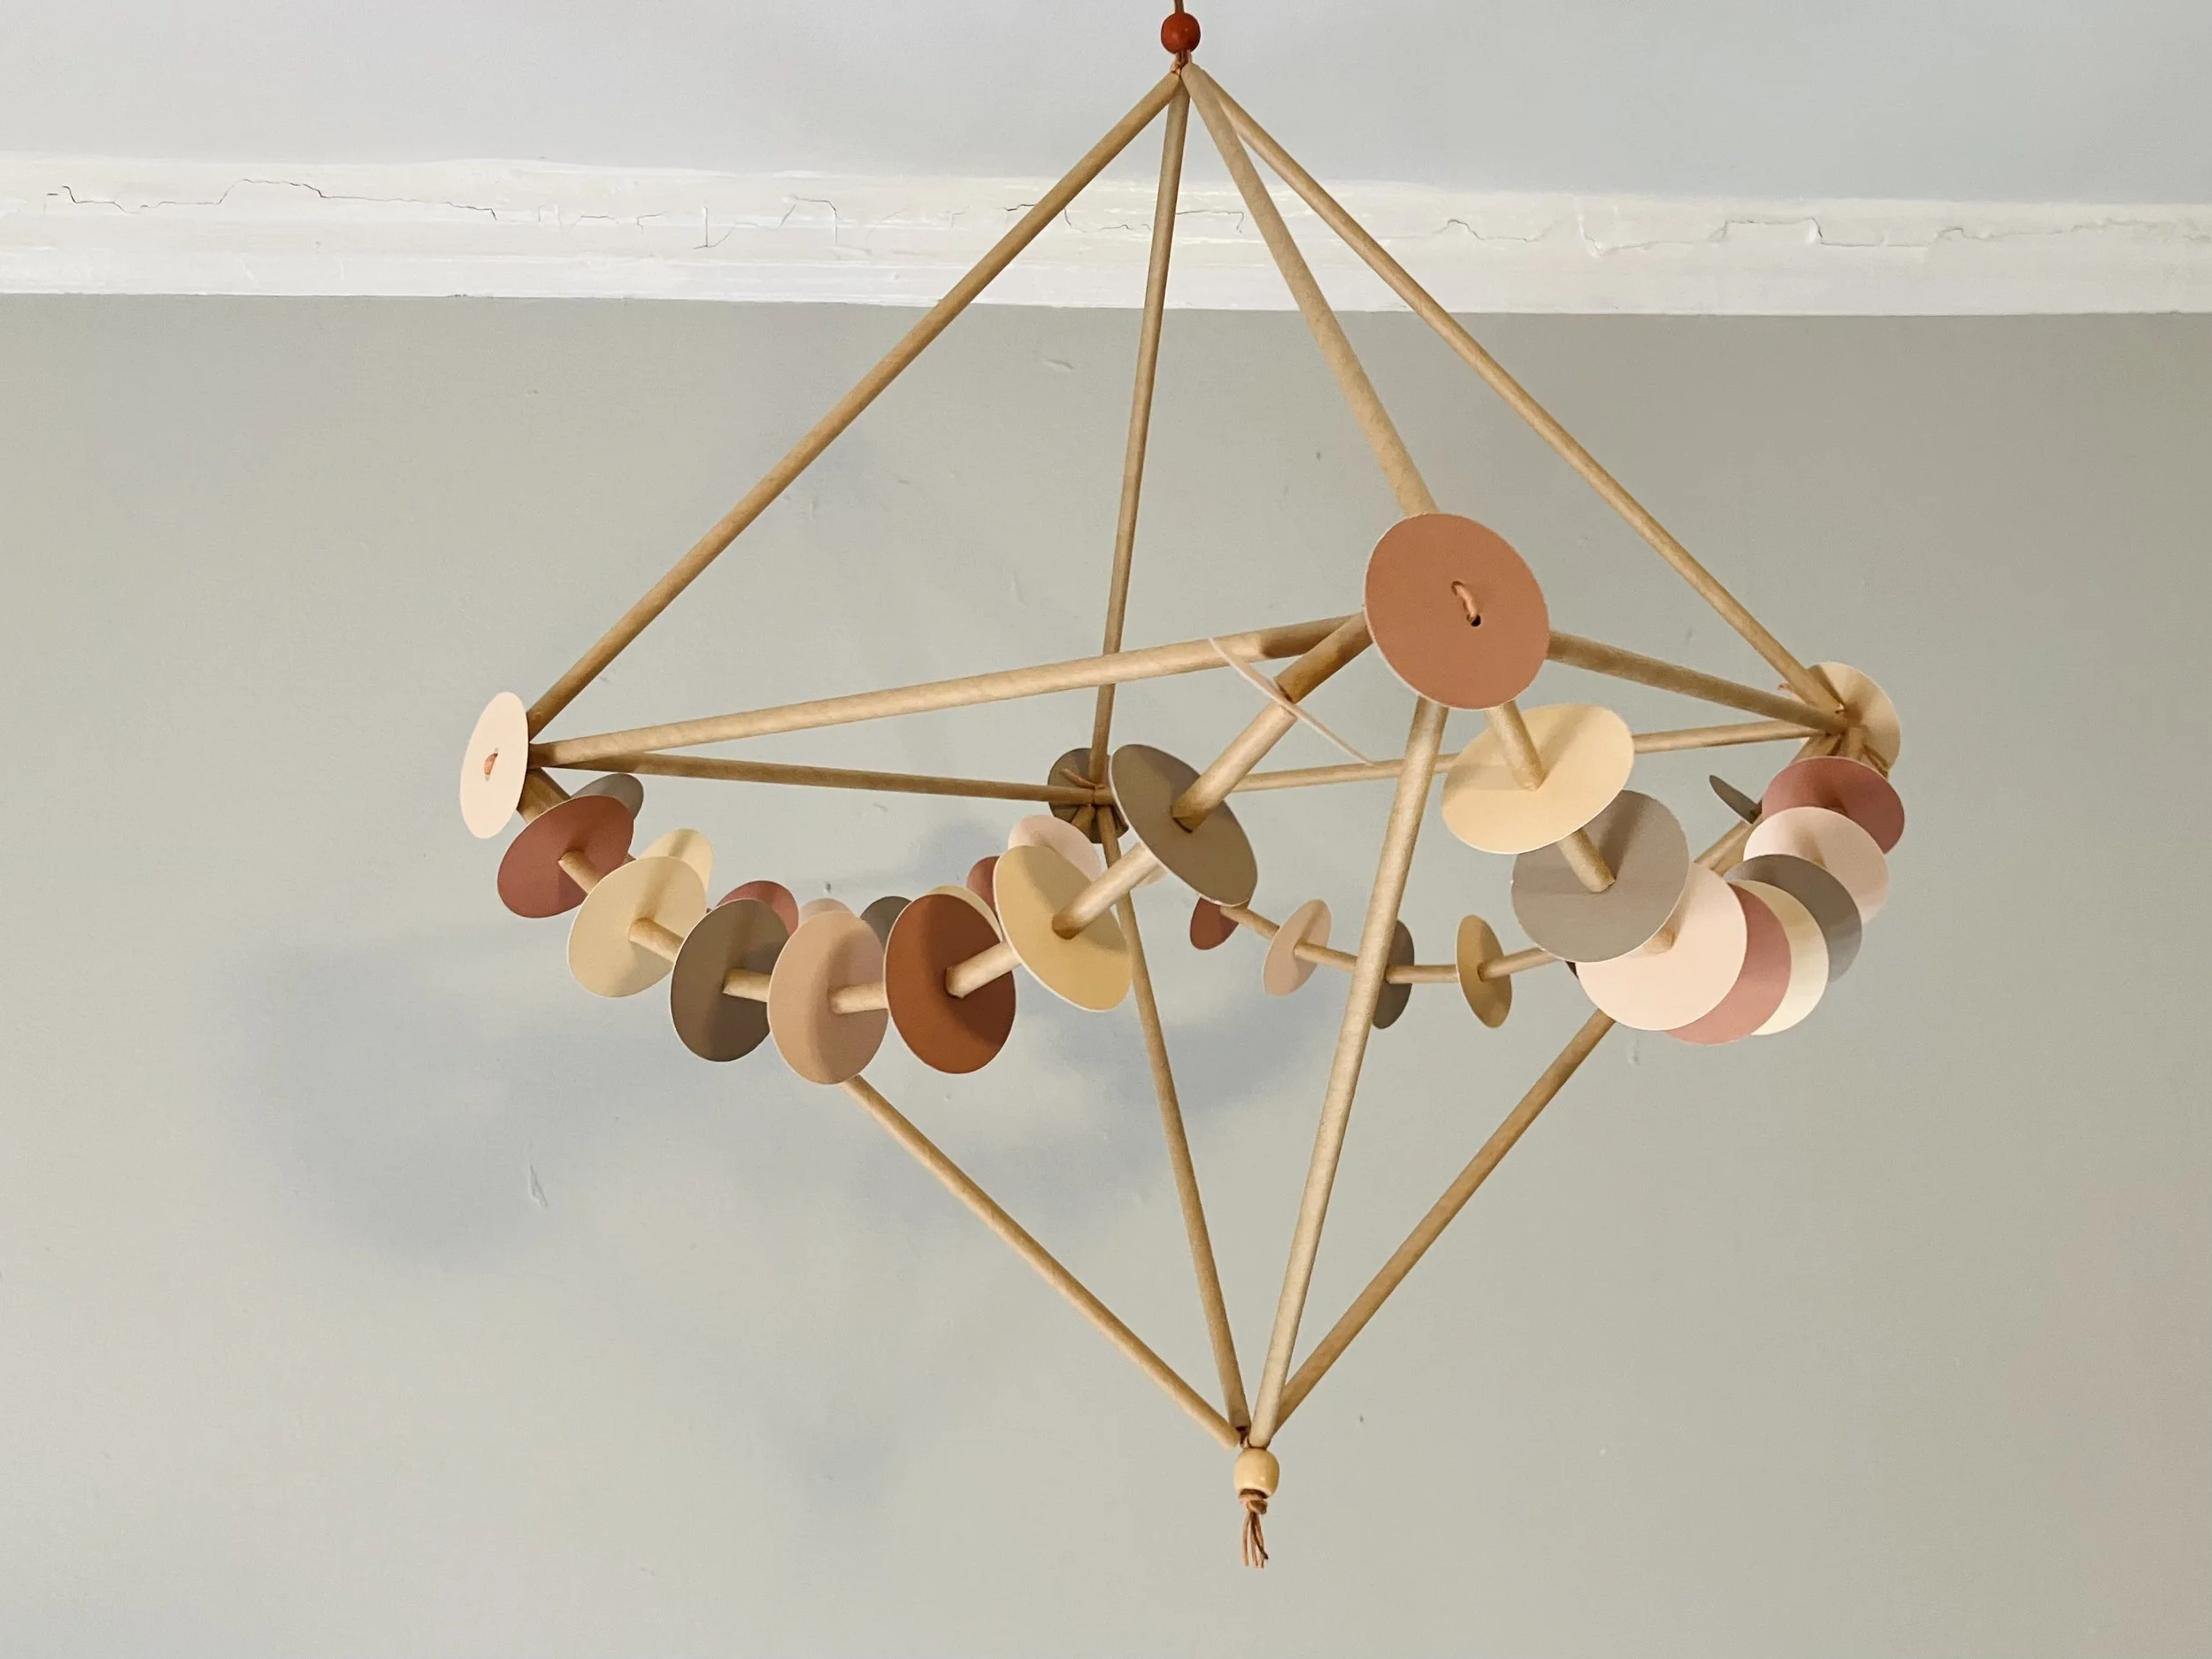
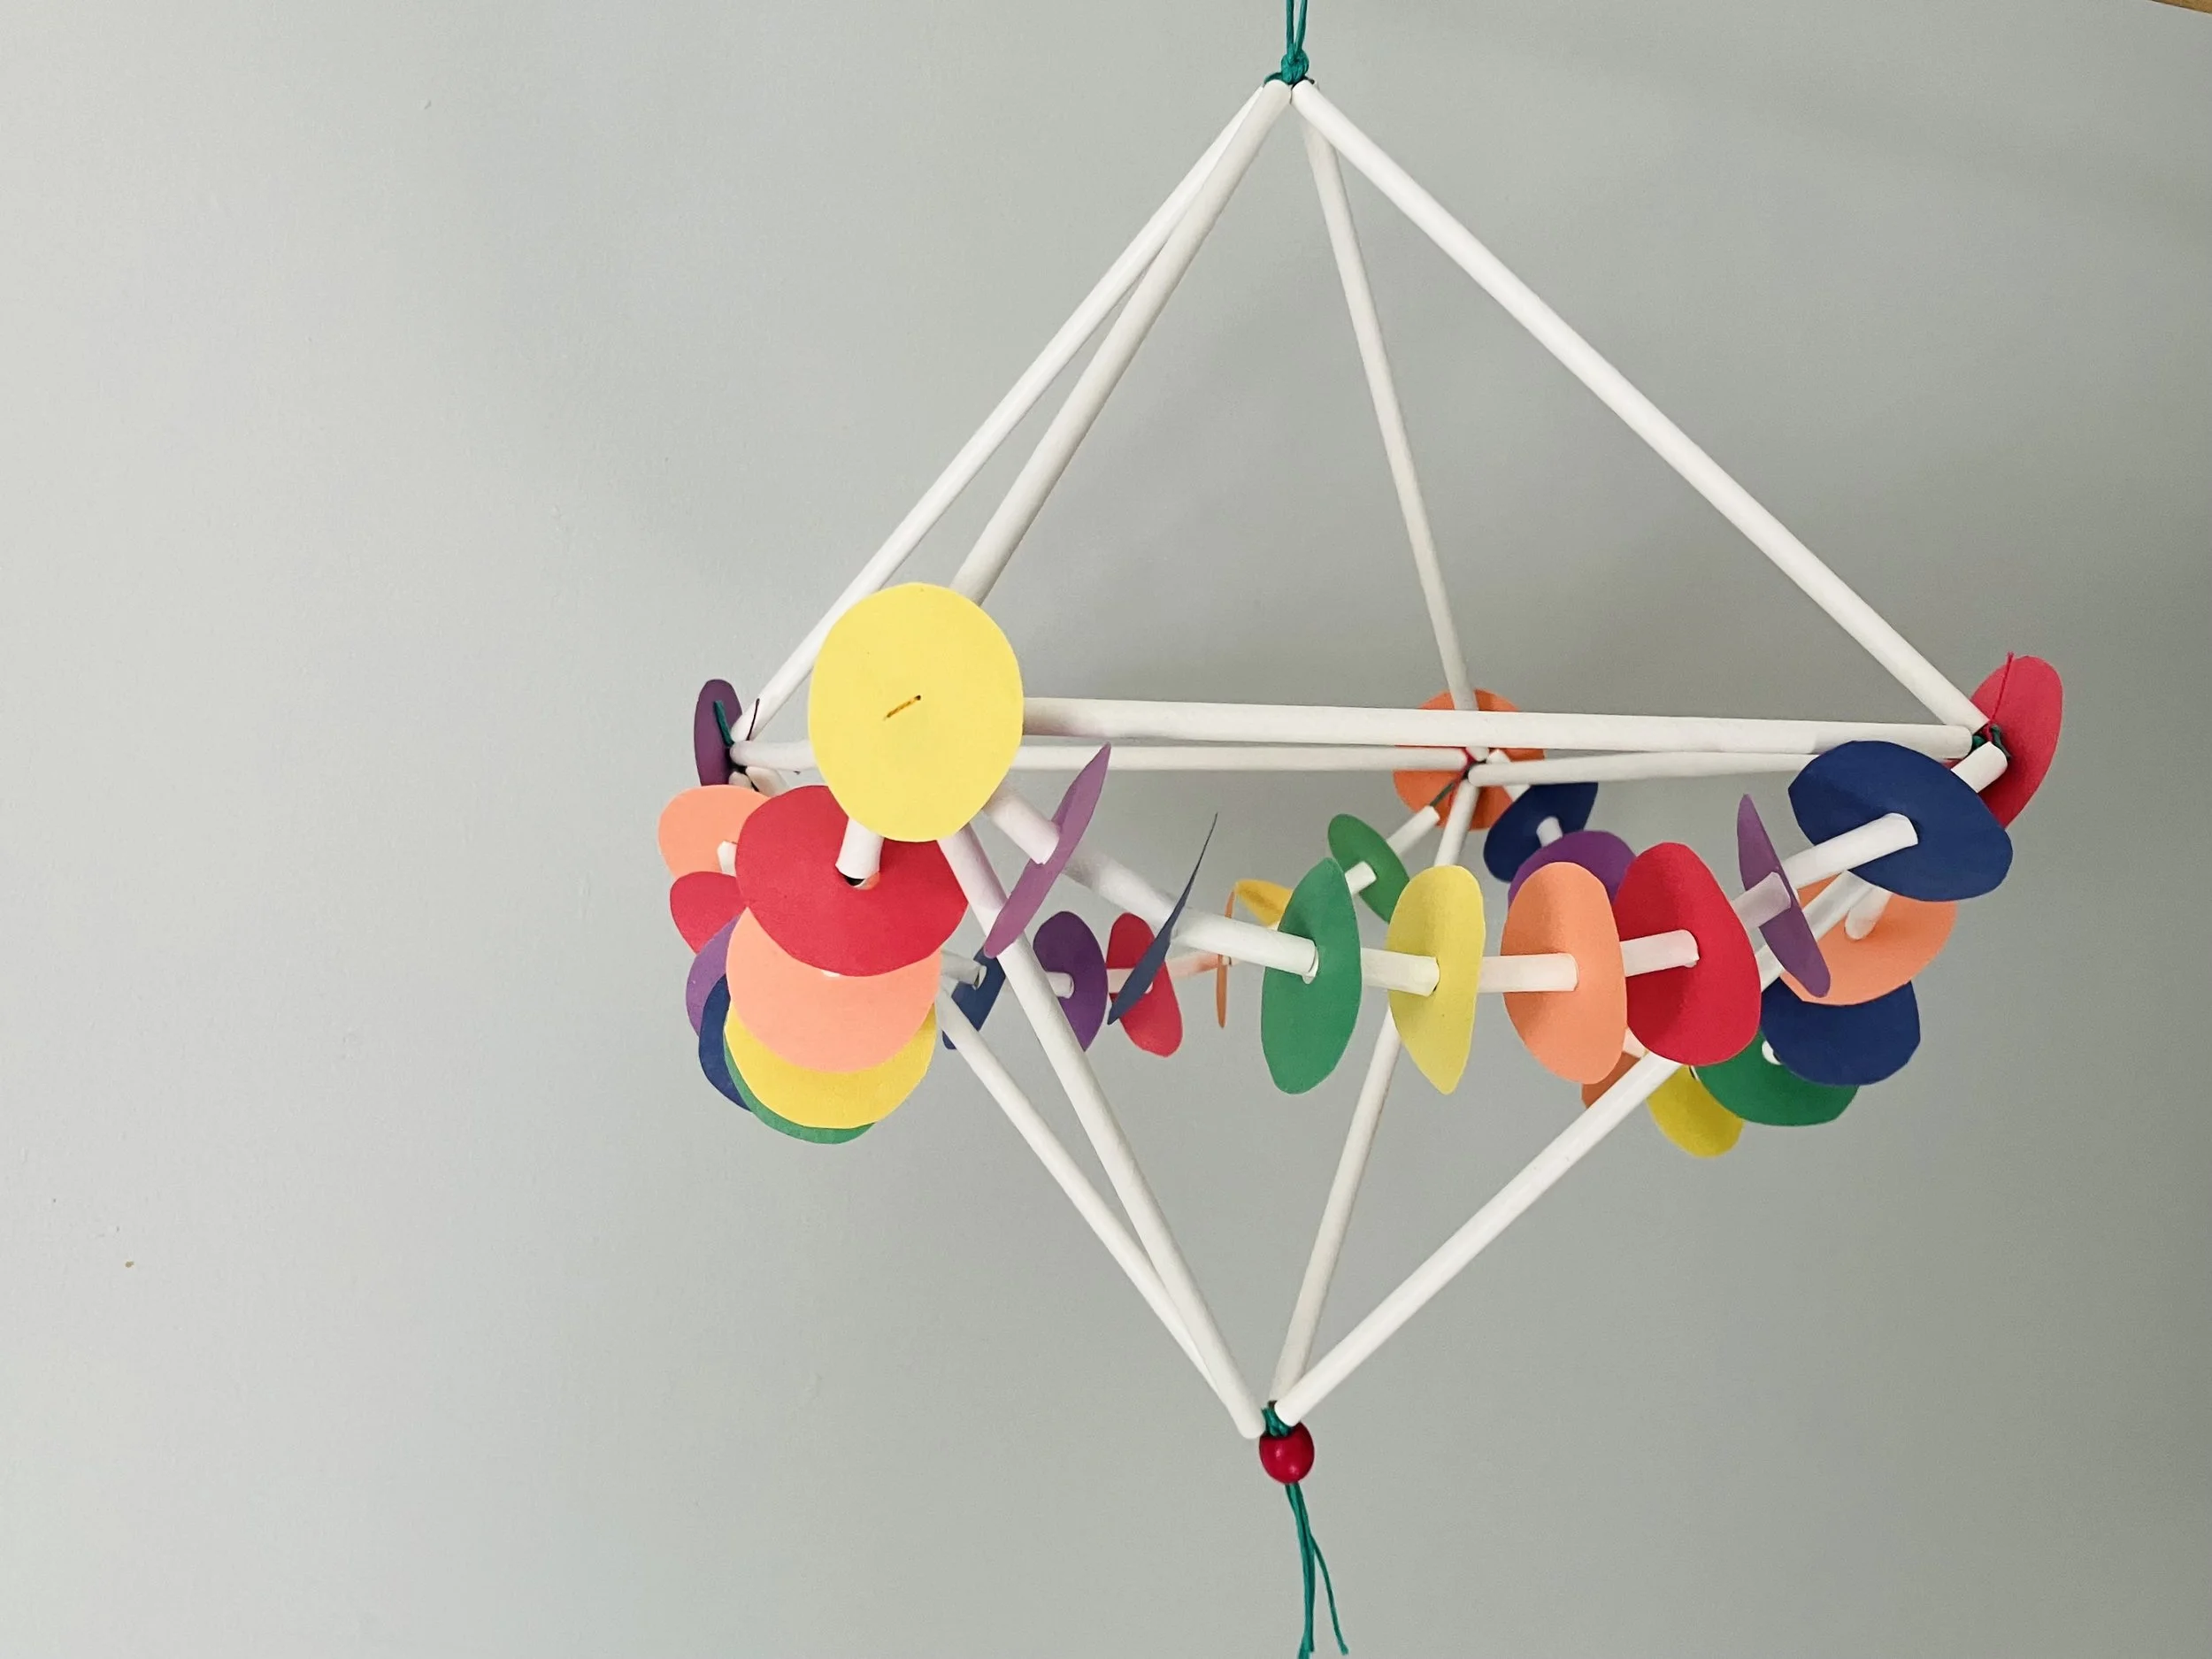
Cut Paper Mobile
This beautiful mobile created with simple materials is a great way to incorporate STEM elements into creative process. Great for children to explore shifting from 2 dimensions to 3 dimensional shapes. Be sure to check out the Continue Exploring tab for ideas on how to turn this project into a playful exploration of shape and form.
Don’t forget to share your work by tagging us in your photos — @gather.make.inspire

-
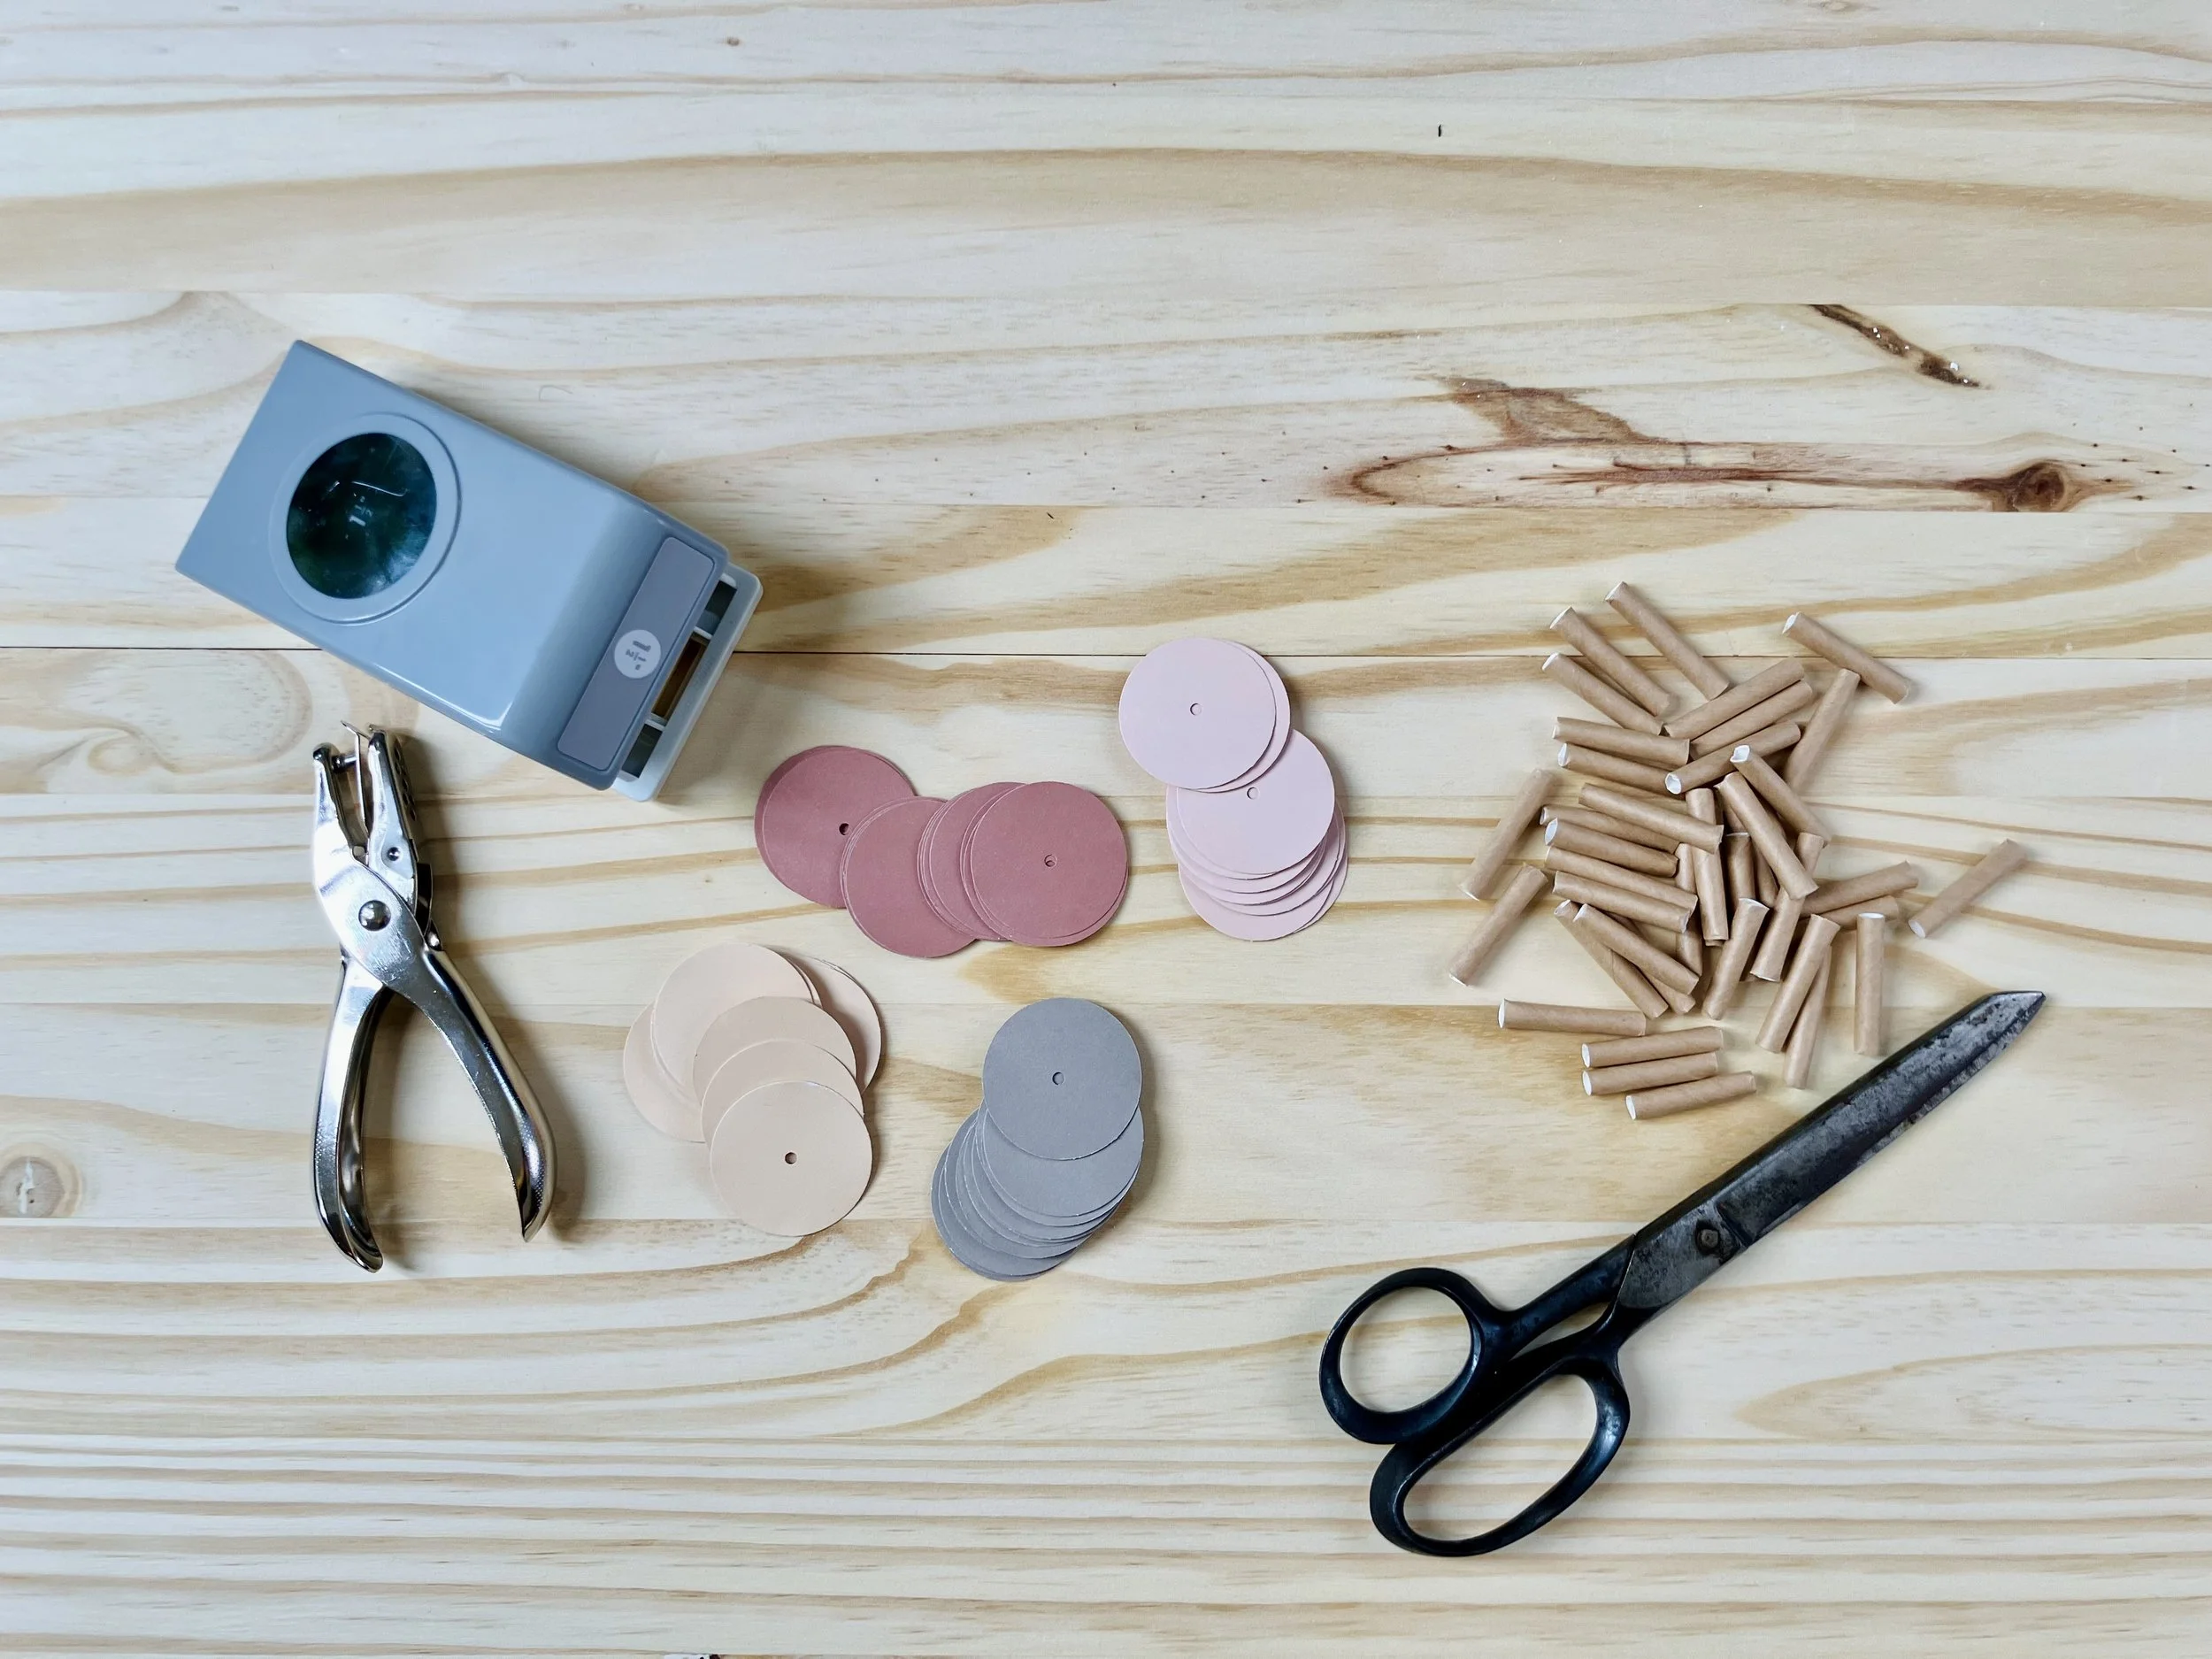
17 Paper straws- Most straws are about 7.7” (used in colorful mobile pictured), but we also love the 10” version which we used in the neutral mobile. Plain or printed, there are so many fun options.
Measuring Tape or Ruler
Colored cardstock
Scissors
1/8” hole punch
String- we love linen or hemp for this
Optional:
1.5” hole punch
Beads, tassels, pom poms
-
For artists under 6, we recommend that a capable adult or supervisor assist with the project preparation.
Cut the String
If using 10” straws, cut your string to the following lengths:(1) 70” length
(5) 30” lengths
(4) 4” lengths
If using 7” straws, cut your string to the following lengths”
(1) 60” length
(5) 24” lengths
(4) 4” lengths
Punch/ Cut Out the Circles
If using a 1.5” hole punch, punch out approximately 40 circles keeping your color pattern in mind. If cutting out your circles, find something around 1 1/2” in diameter, perhaps a bottle cap or key ring. Trace and cut out approximately 40 circles.Punch Holes in the Circles
Using the 1/8” hole punch, approximate the center of each circle and punch a hole. Depending on your hole punch, you may be able to punch 2 or 3 at a time. Note- the reason we don’t use a standard hole punch here is because it has a larger diameter than some straws and the circles will move over the straws instead of remaining between them.Cut the Straws
Cut 5 straws to 1” lengths. These will be threaded between the circles.
-
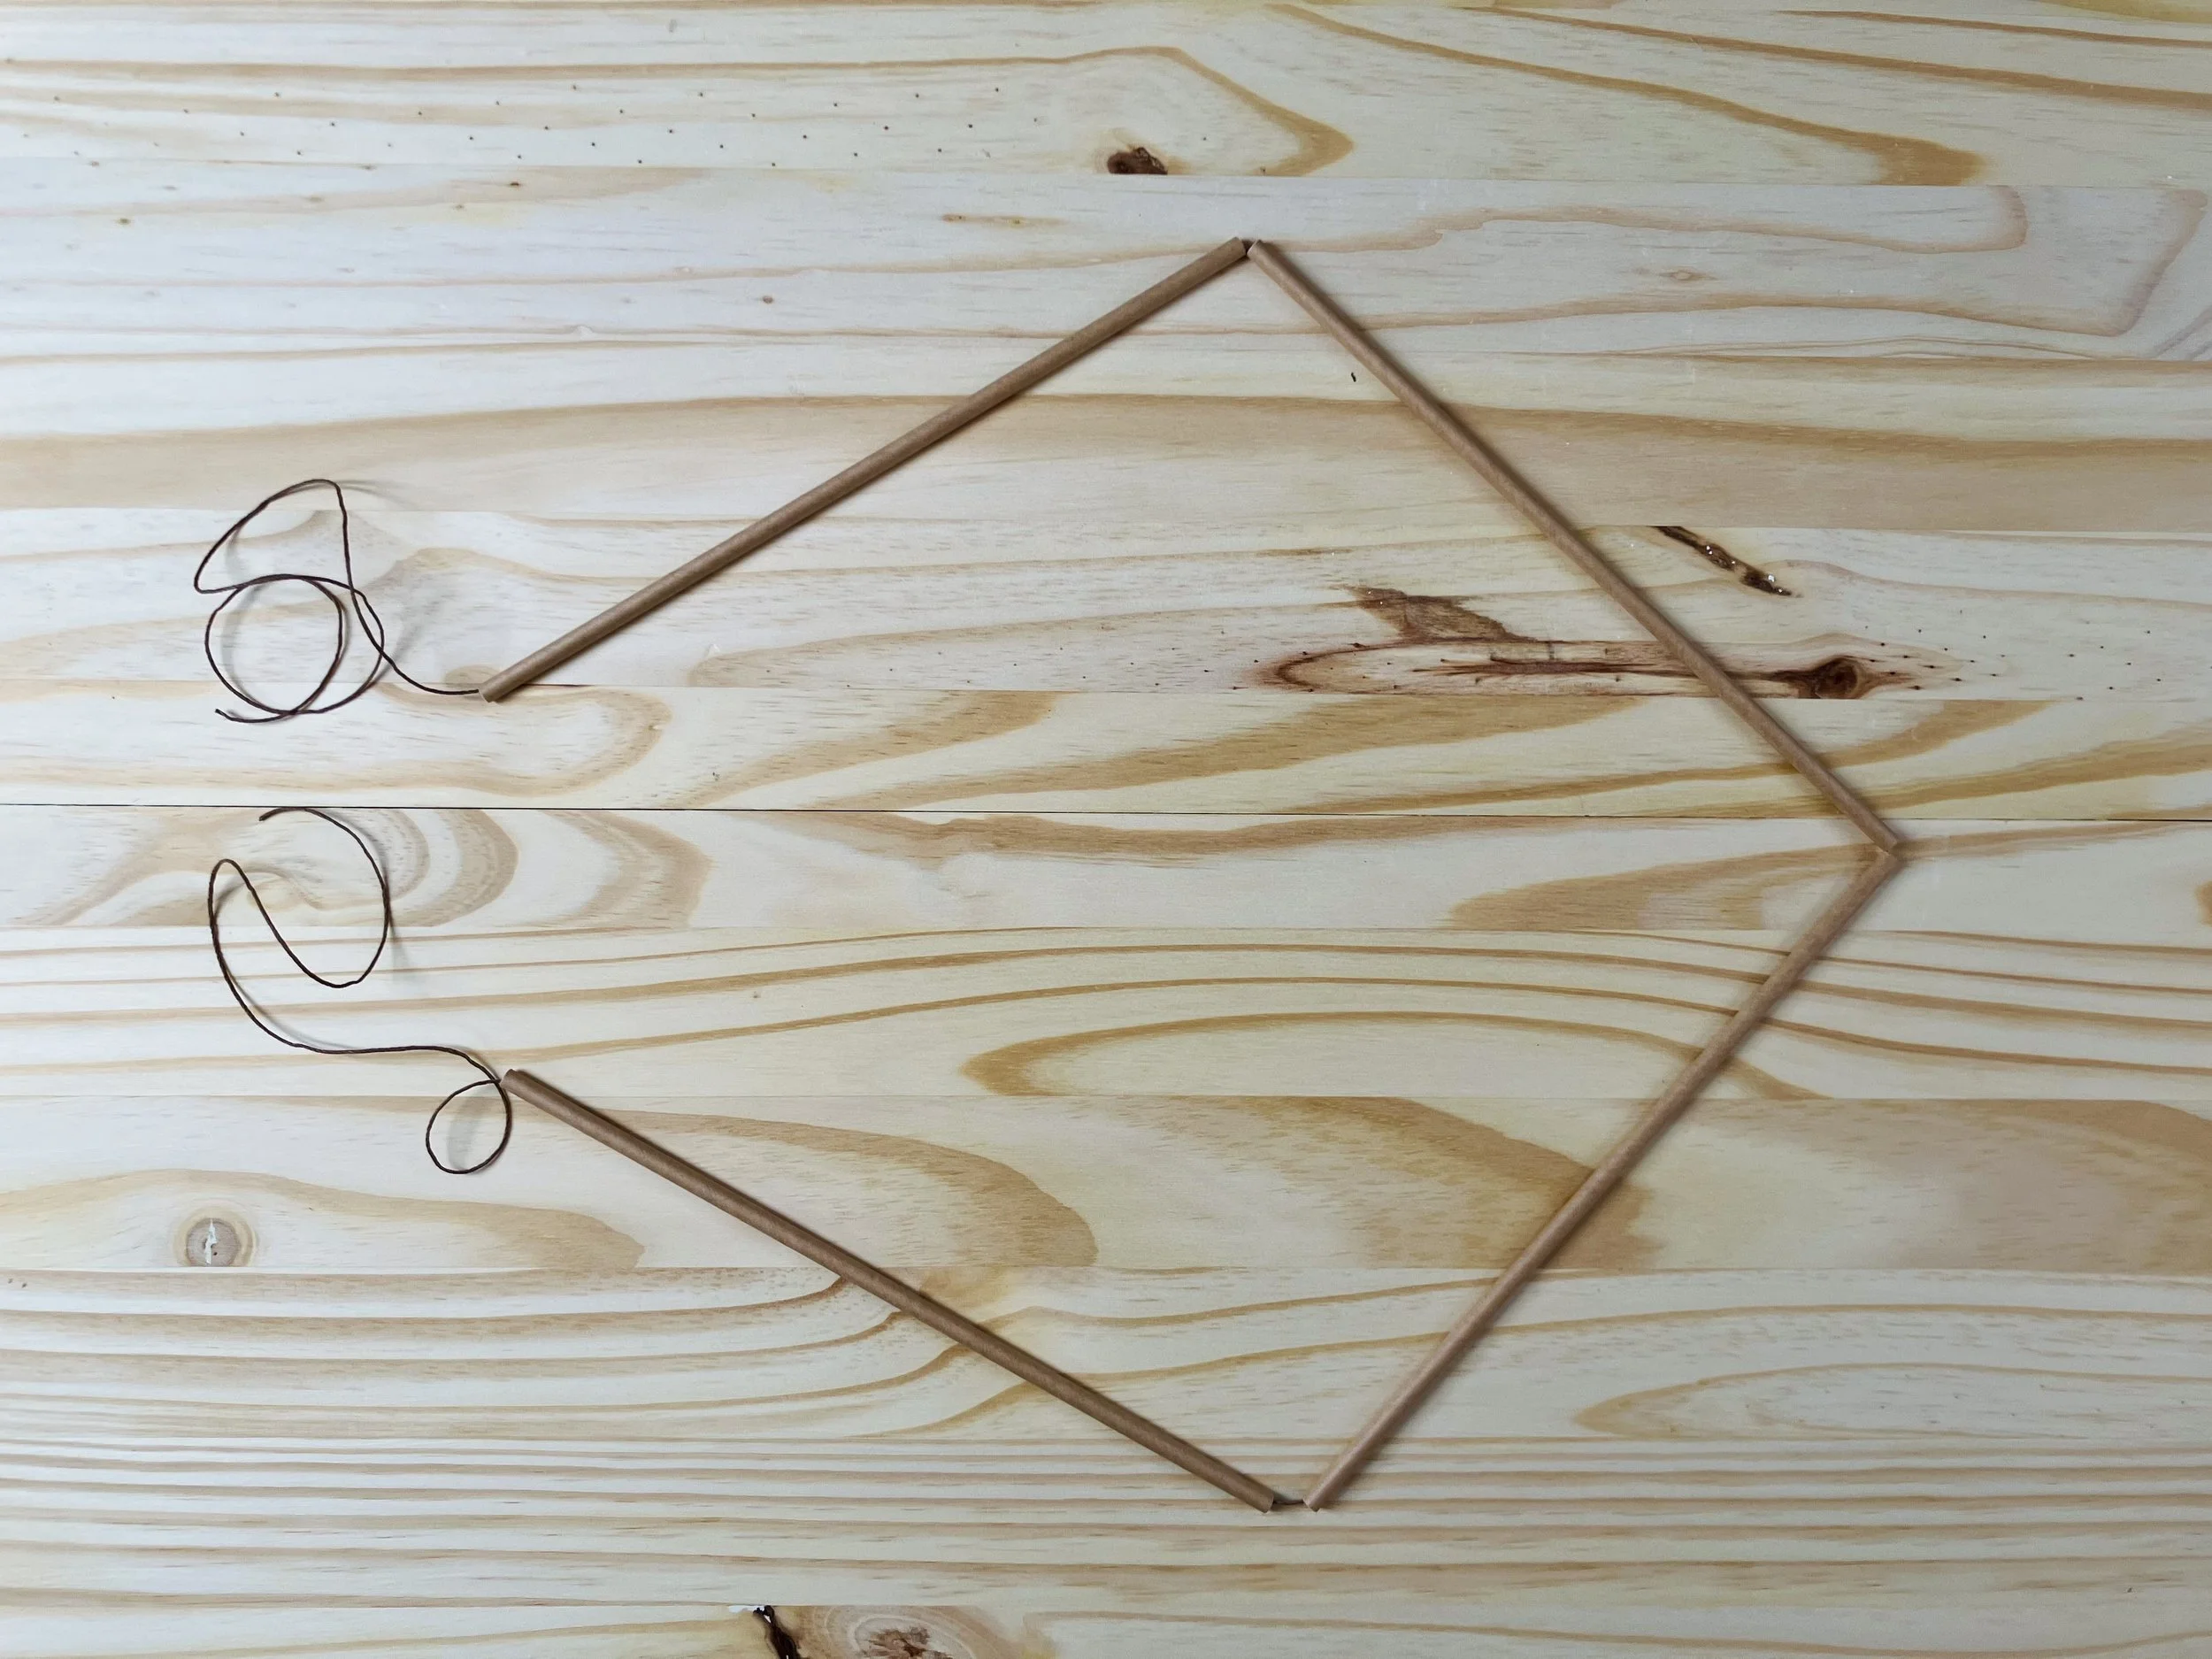
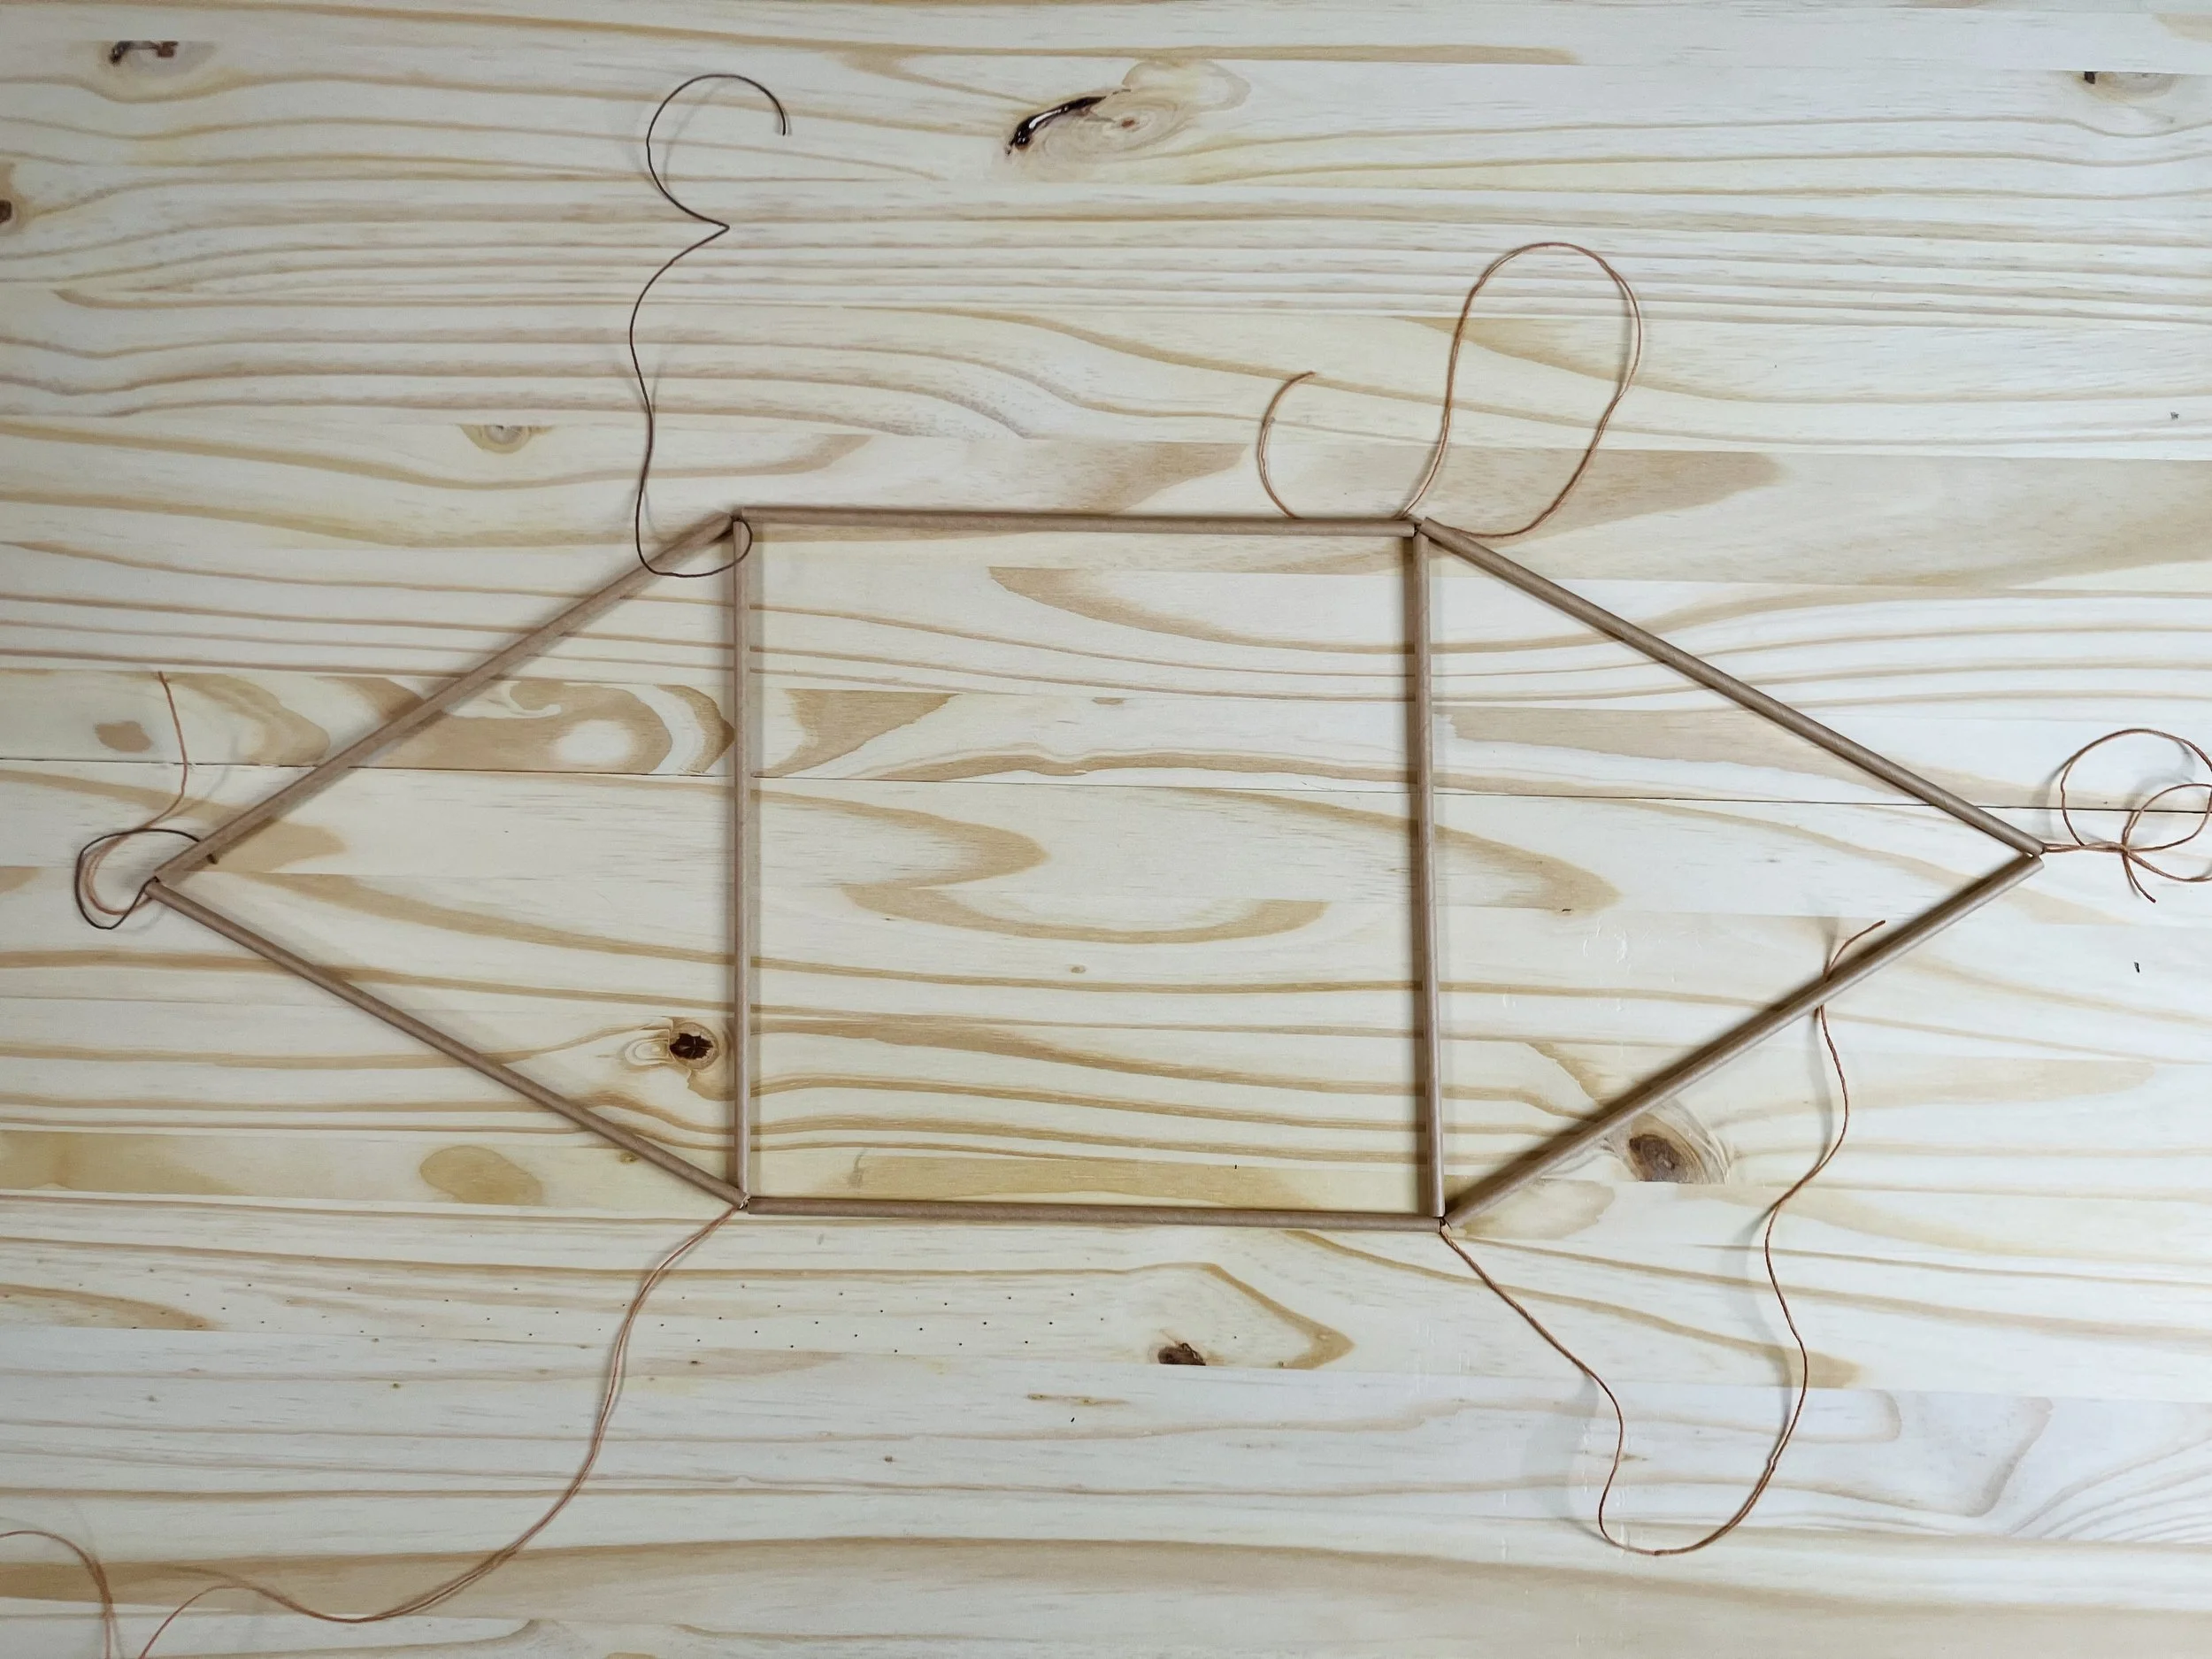
1) Thread 4 straws onto your longest piece of string. Make sure that the straws are centered on the string and double knot your lengths together close to the straws, creating a square.
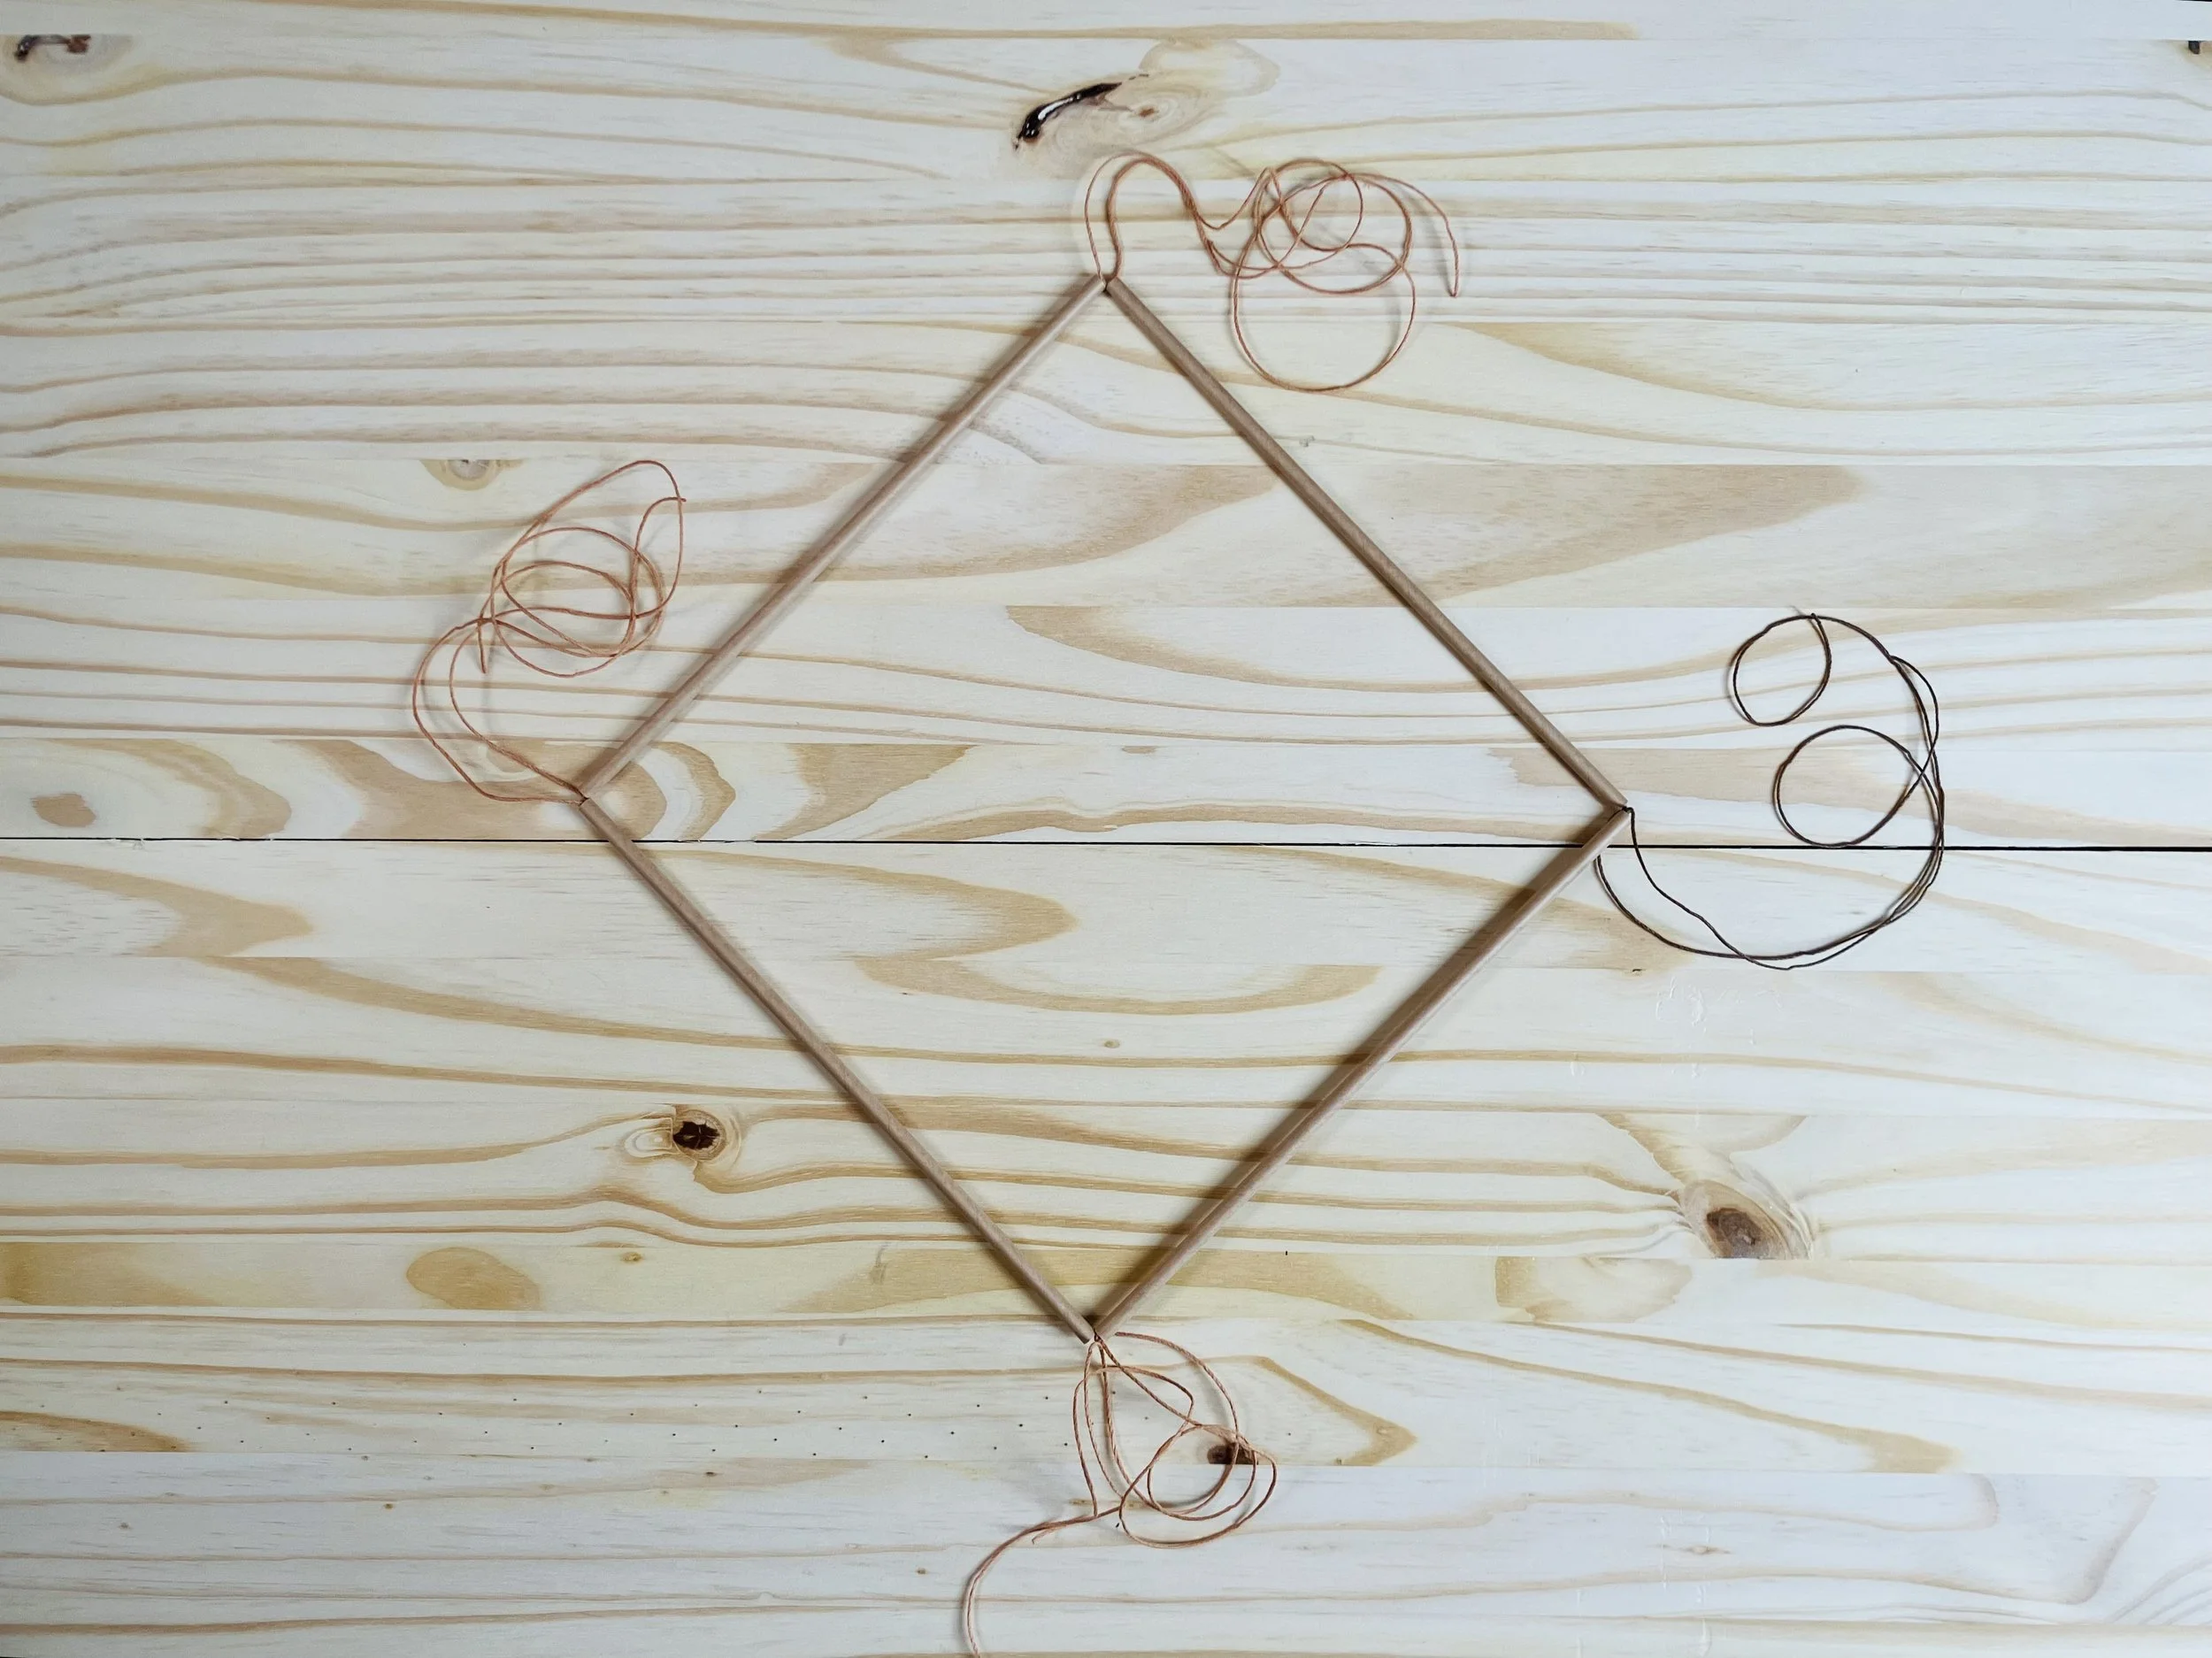
2) Add 1 of the midsize lengths of string to each of the 3 corners of the square that do not have the lengths of sting. To do this, simply find the center of the length of string and tie it on at that point using a double knot.
3) Thread one straw over one string at each corner.
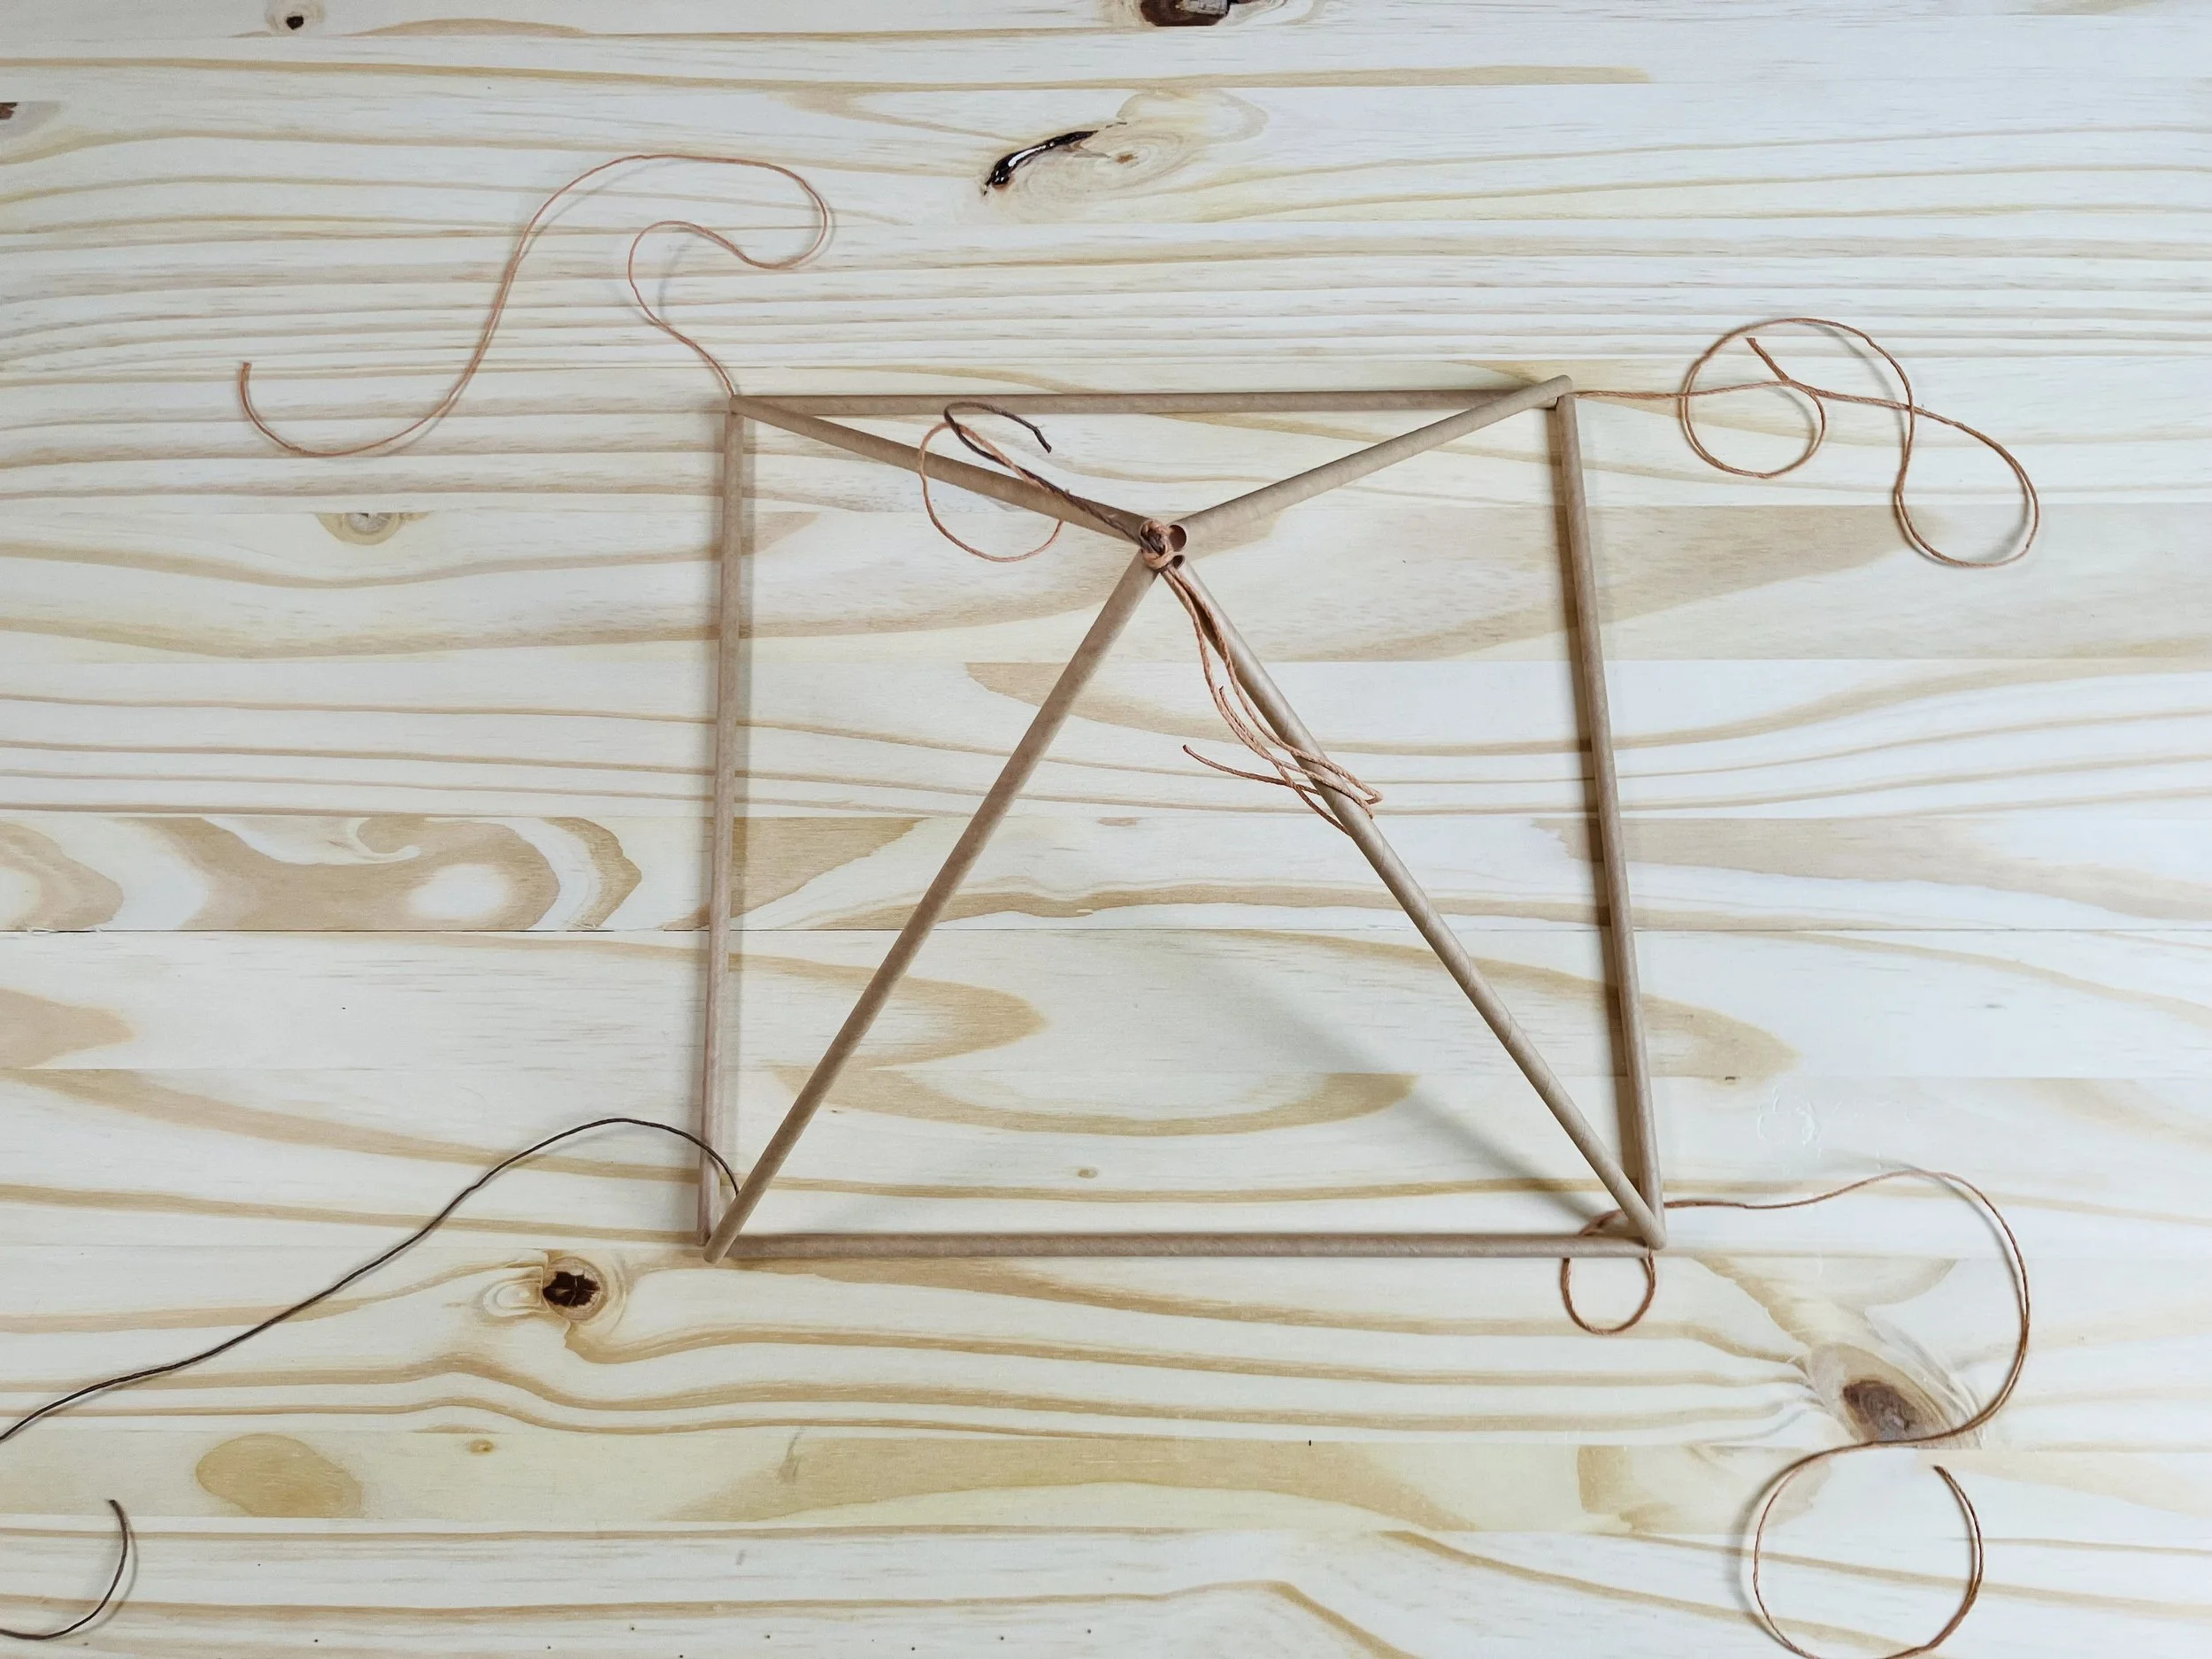
4) Lay your work on a surface so that it looks like a square with one of the flat sides facing your body. Pull 2 straws together on each side, creating triangles and tie the string together with a double knot.
5) Take the top points of the 2 triangles you created and lift them off of the table to meet, creating a pyramid shape. Double knot the ends of your string together.
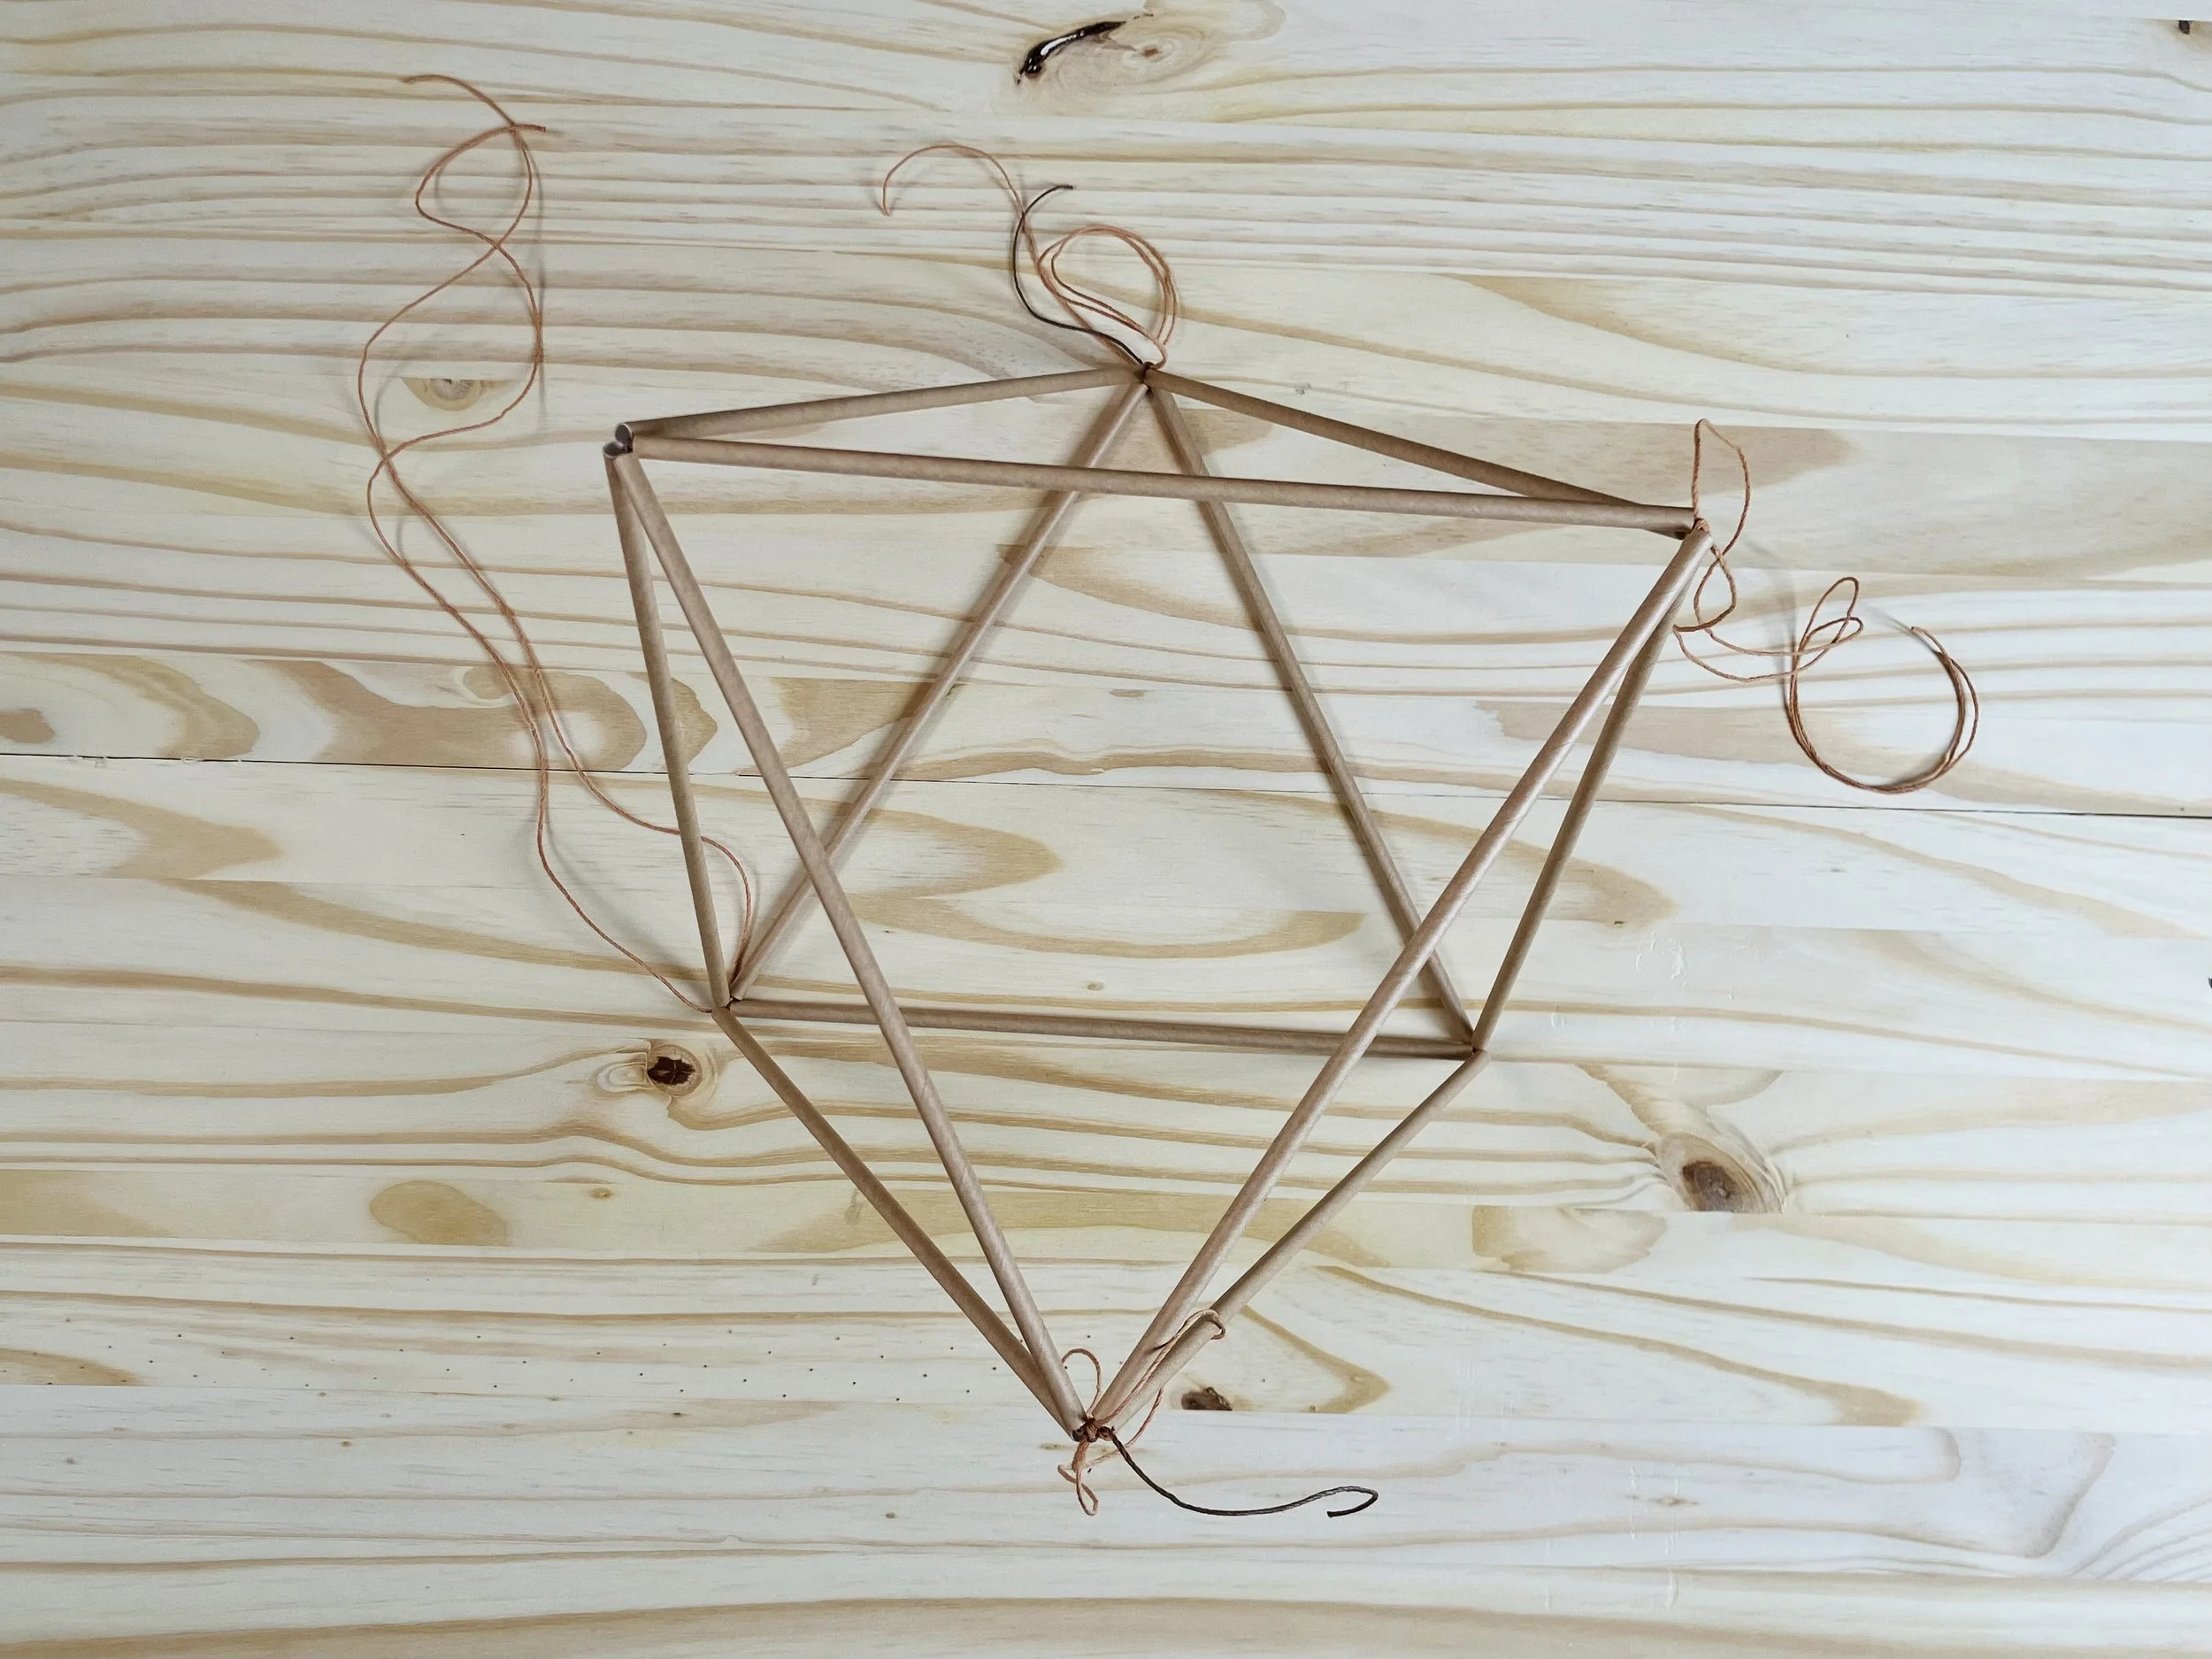
6) Thread 1 straw onto each of the remaining lengths of string attached to your mobile and repeat steps 4 and 5 creating a pyramid shape on in the other direction. You now have an octahedron.
7) Focusing on the center square, the first part of the mobile that you built, choose 2 opposite corner and tie on the last 2 midsized lengths of string, at the center, with a double knot. These lengths will be used to thread on the circles and 1” straw pieces.
8) Alternate threading 1” straw pieces and circles onto each string, working around the mobile. Be sure to start and end each string with a straw piece. It should take about 10 straw piece and 8 circles to fill each string. When you finish one length, ties to the adjacent corner.
9) Once you have finished threading and tying off the threaded lengths, cut out a final (4) 1 1/2” circles. Punch 2 1/8” near the center- like a button with 2 holes. Thread each paper button onto the 4” string lengths of string. Tie one onto each corner of the center square.
10) Trim your loose ends and add some string to hang your mobile from. You’re done!
Enjoy & don’t forget to share photos with us! @gather.make.inspire
-
It may not seem it at first, but but there are many ways to modify this project. Instead of beginning with a square, try starting with a triangle, rectangle or pentagon. You can also change up the lengths of straws and use shorter straws on the top and longer on bottom to create more of a diamond shape. This is a really fun way to have children explore 3 dimensional shapes.
Another variation is to use pom poms, tassels or beads to adorn the corners of your mobile. You could even use pom poms instead of paper circles.
We can’t wait to see what you create!