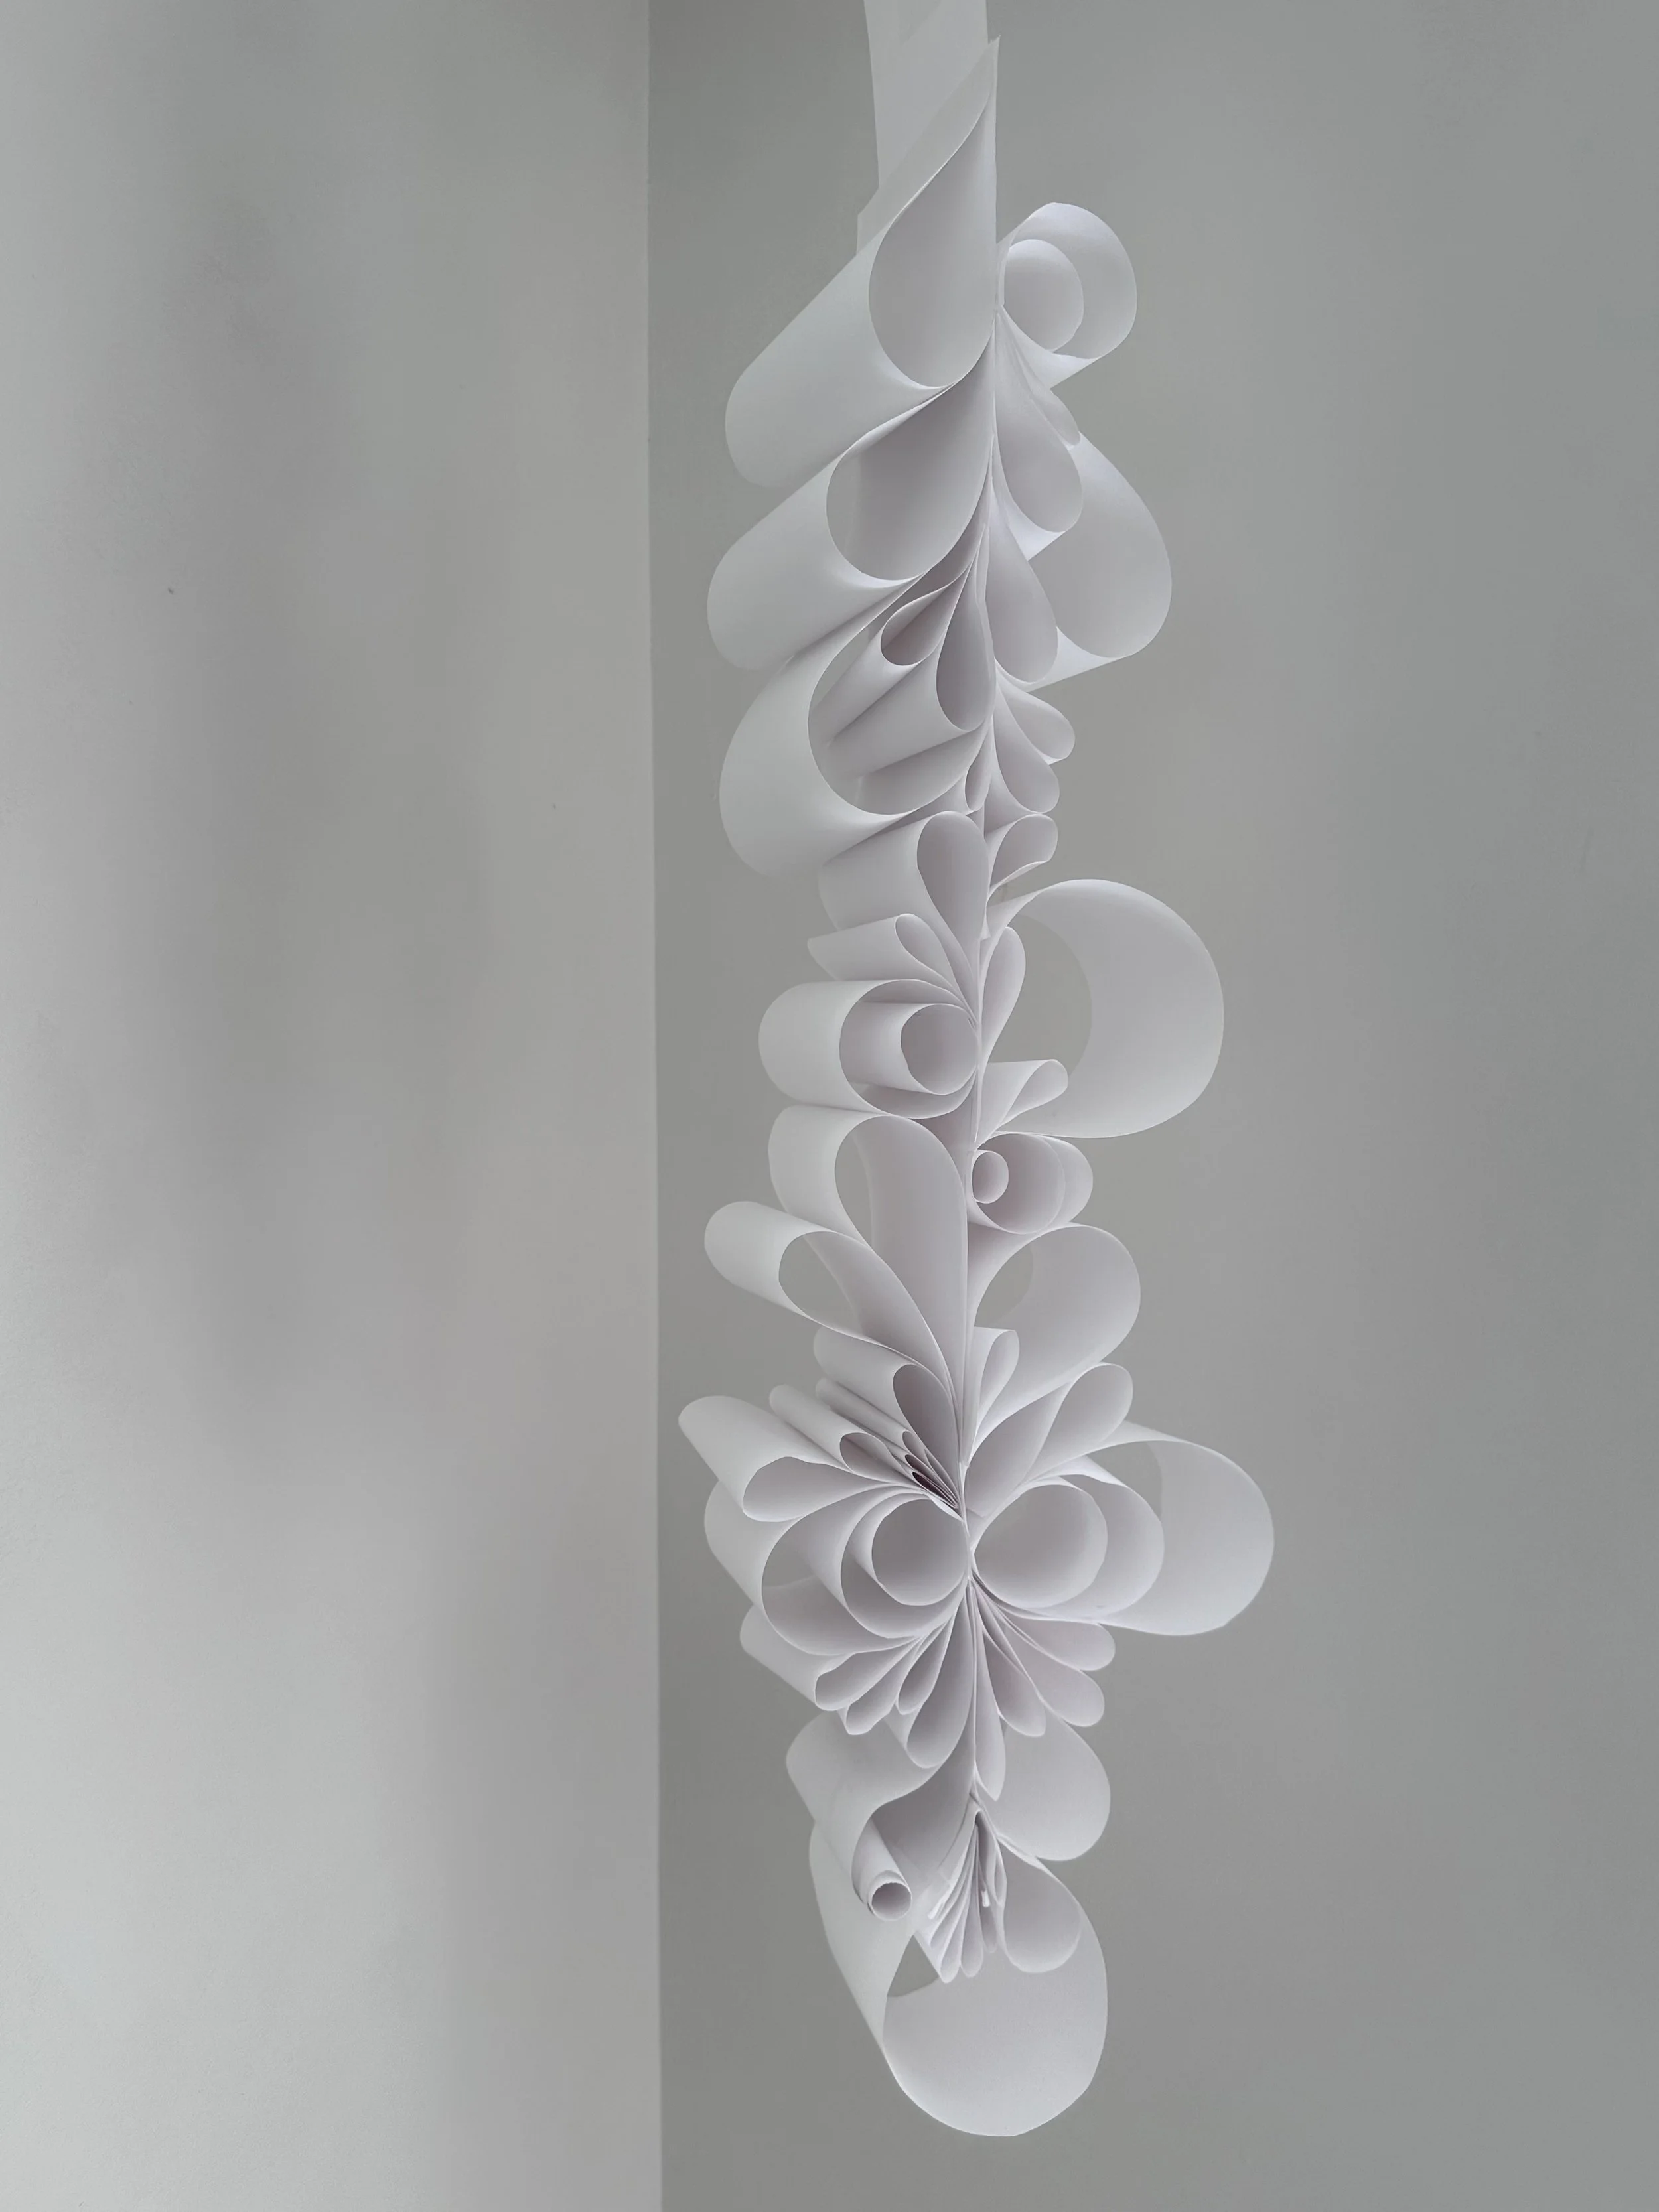
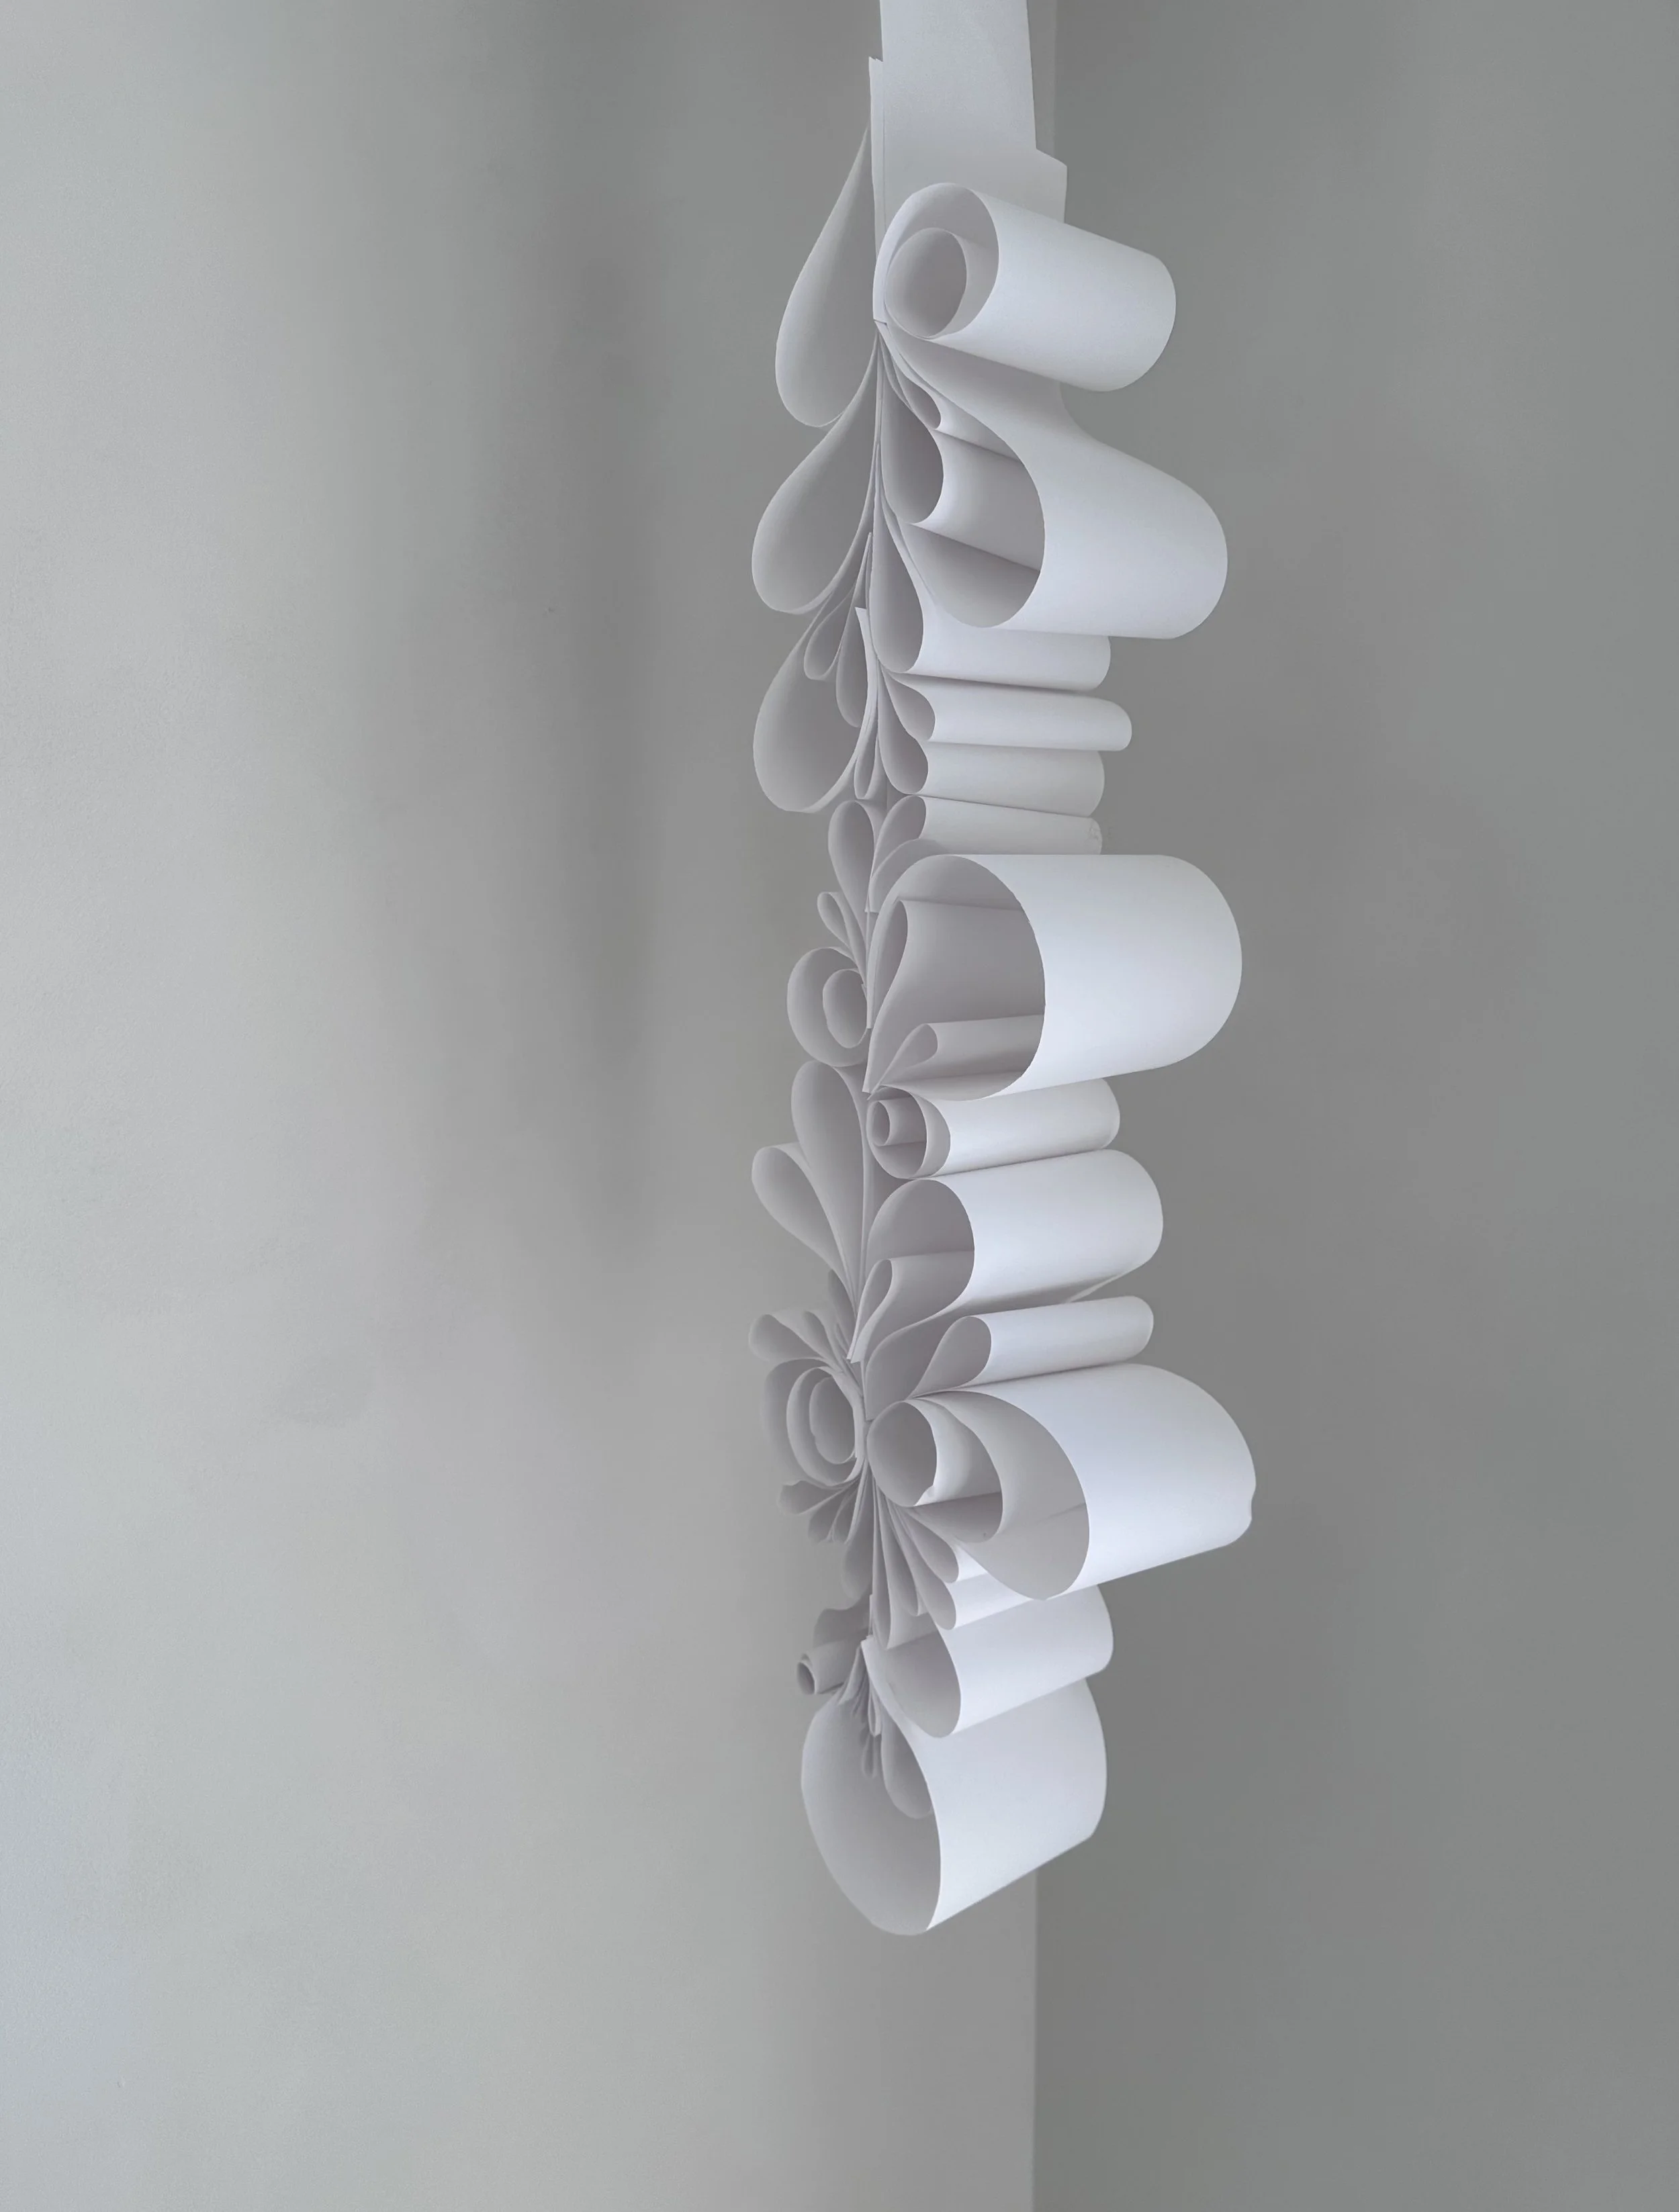
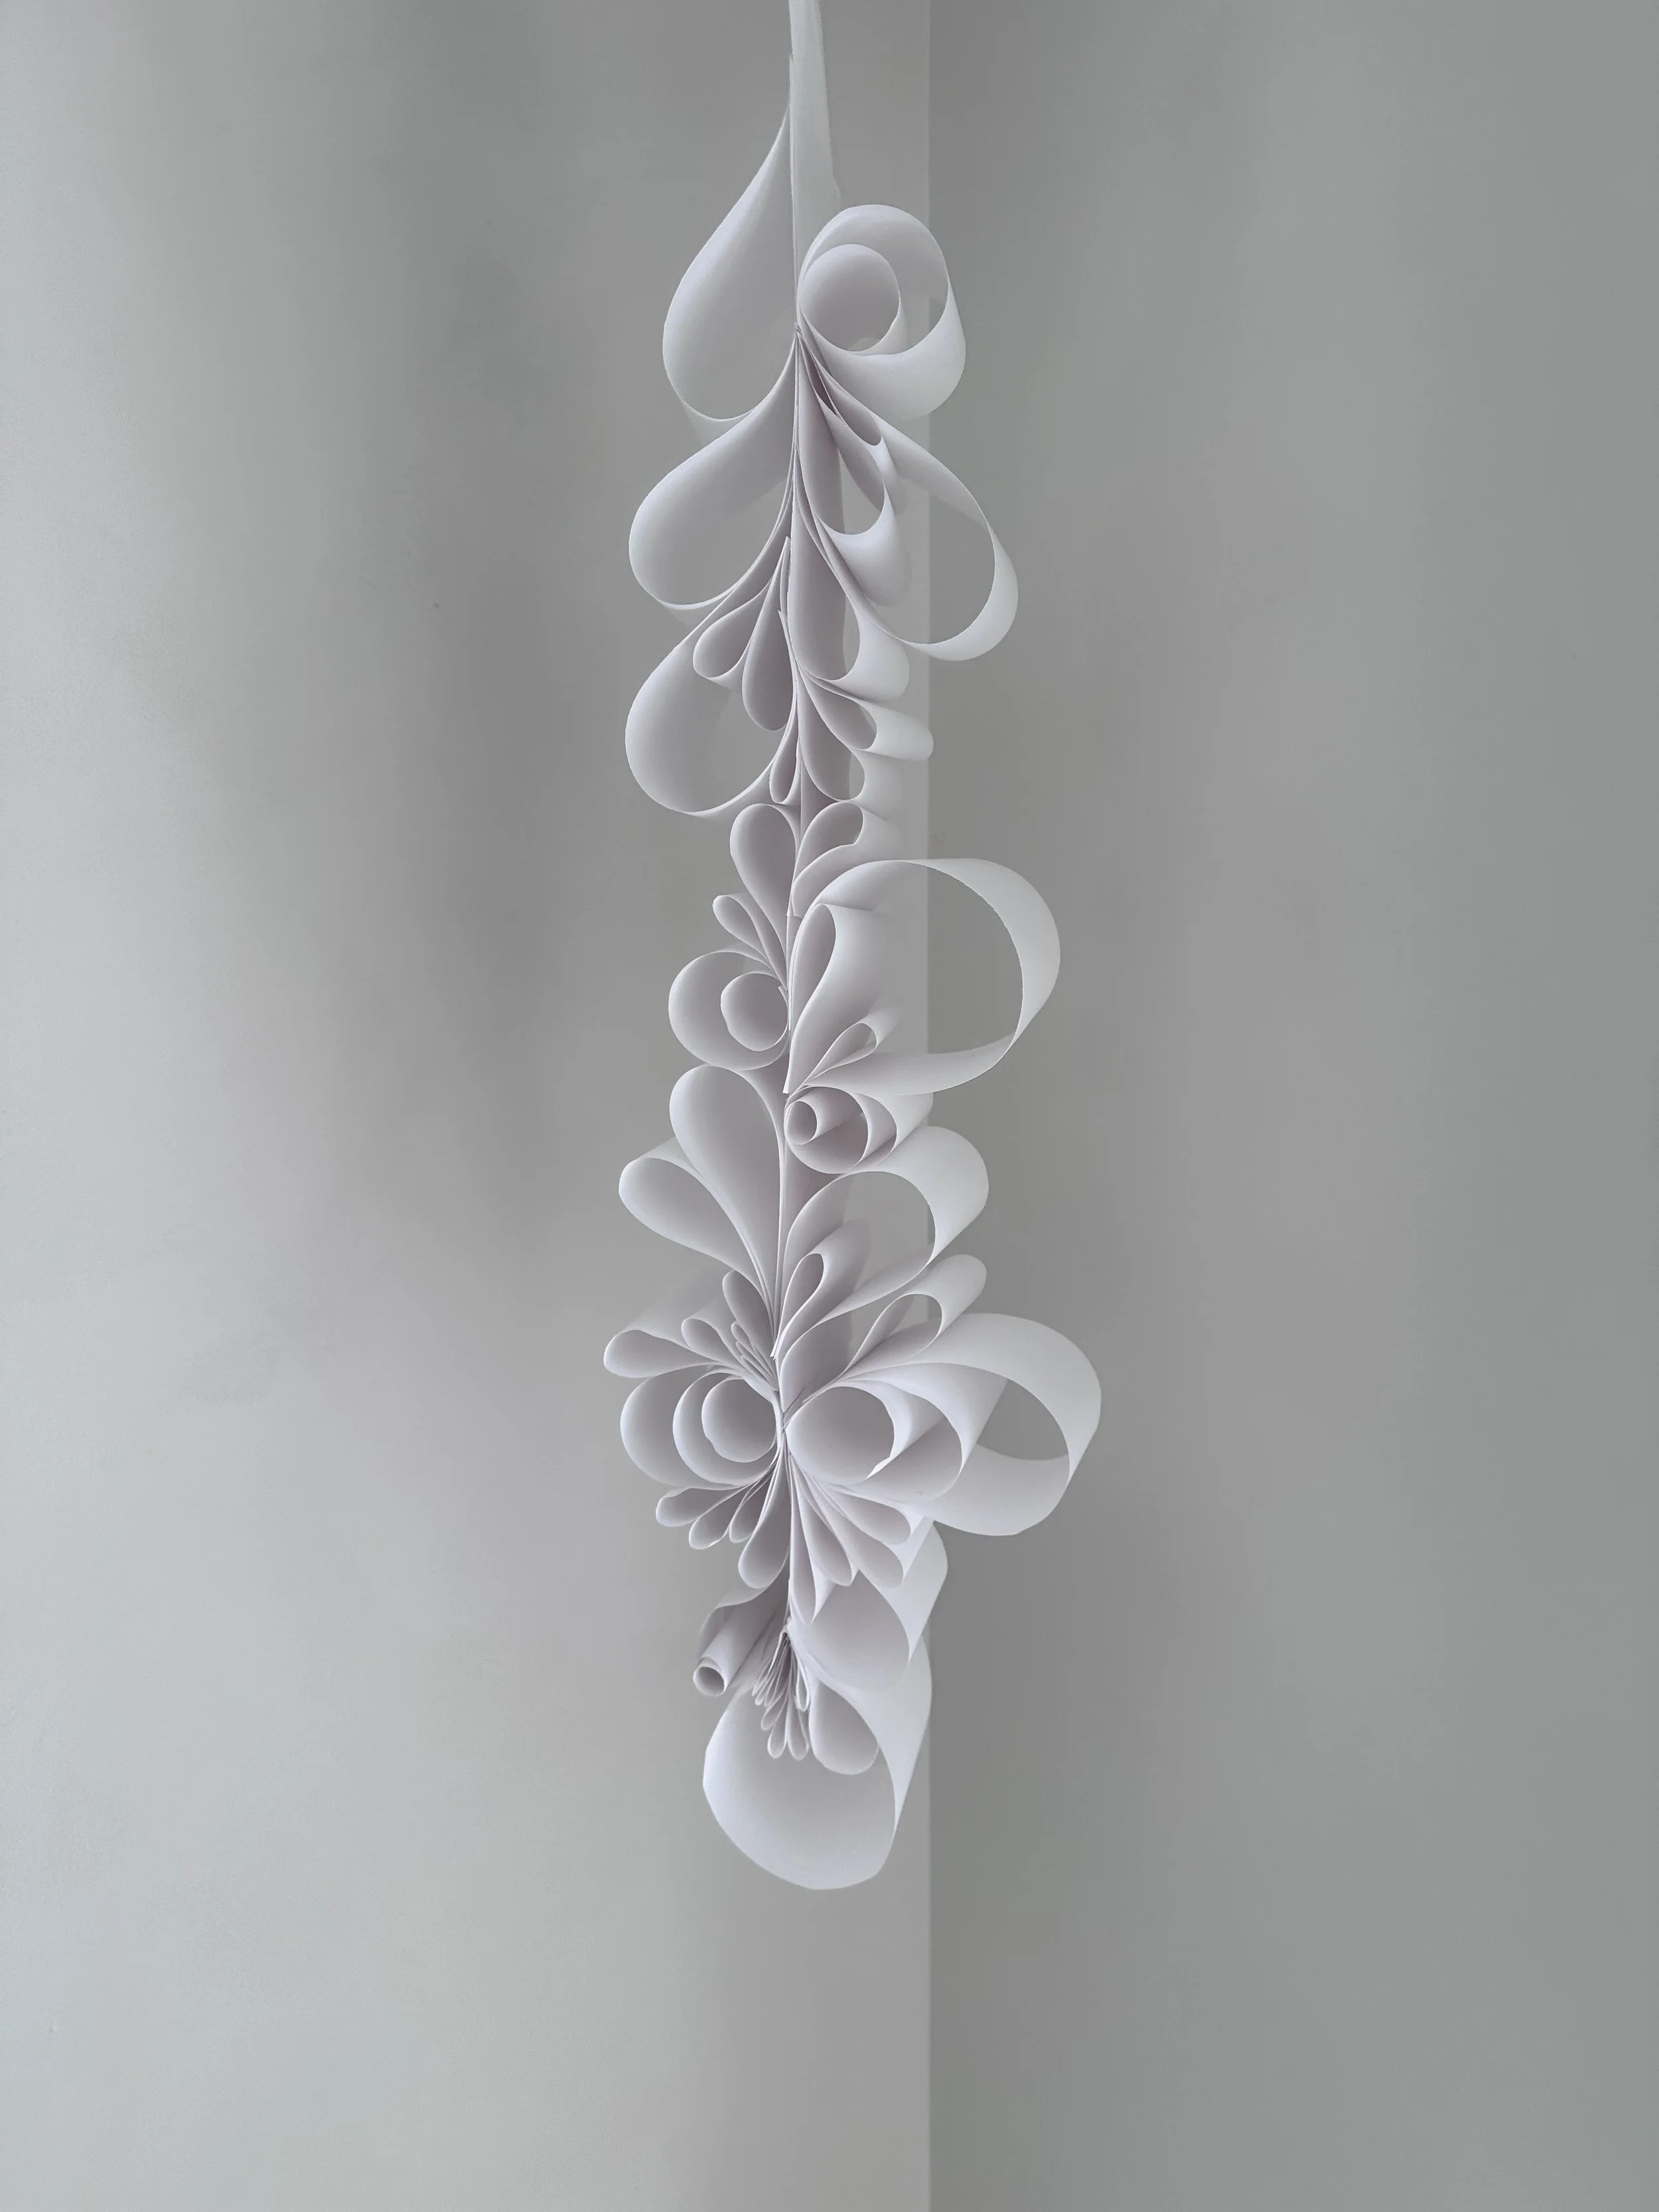
Suspended Quilled Sculpture
Sticking with the theme from last week’s Handmade by Gather project — we’re rolling into more rolling!
This one takes hardly any prep, and the example you see here was made with the help of a 3- and 4-year-old (proof that little hands can do big things!).
Alright, I’ll leave you to it — enjoy, and don’t forget to share your creations by tagging us @gather.make.inspire. We love seeing what you make!
-
Any paper (white, kraft, magazines, newspaper, discarded books.)
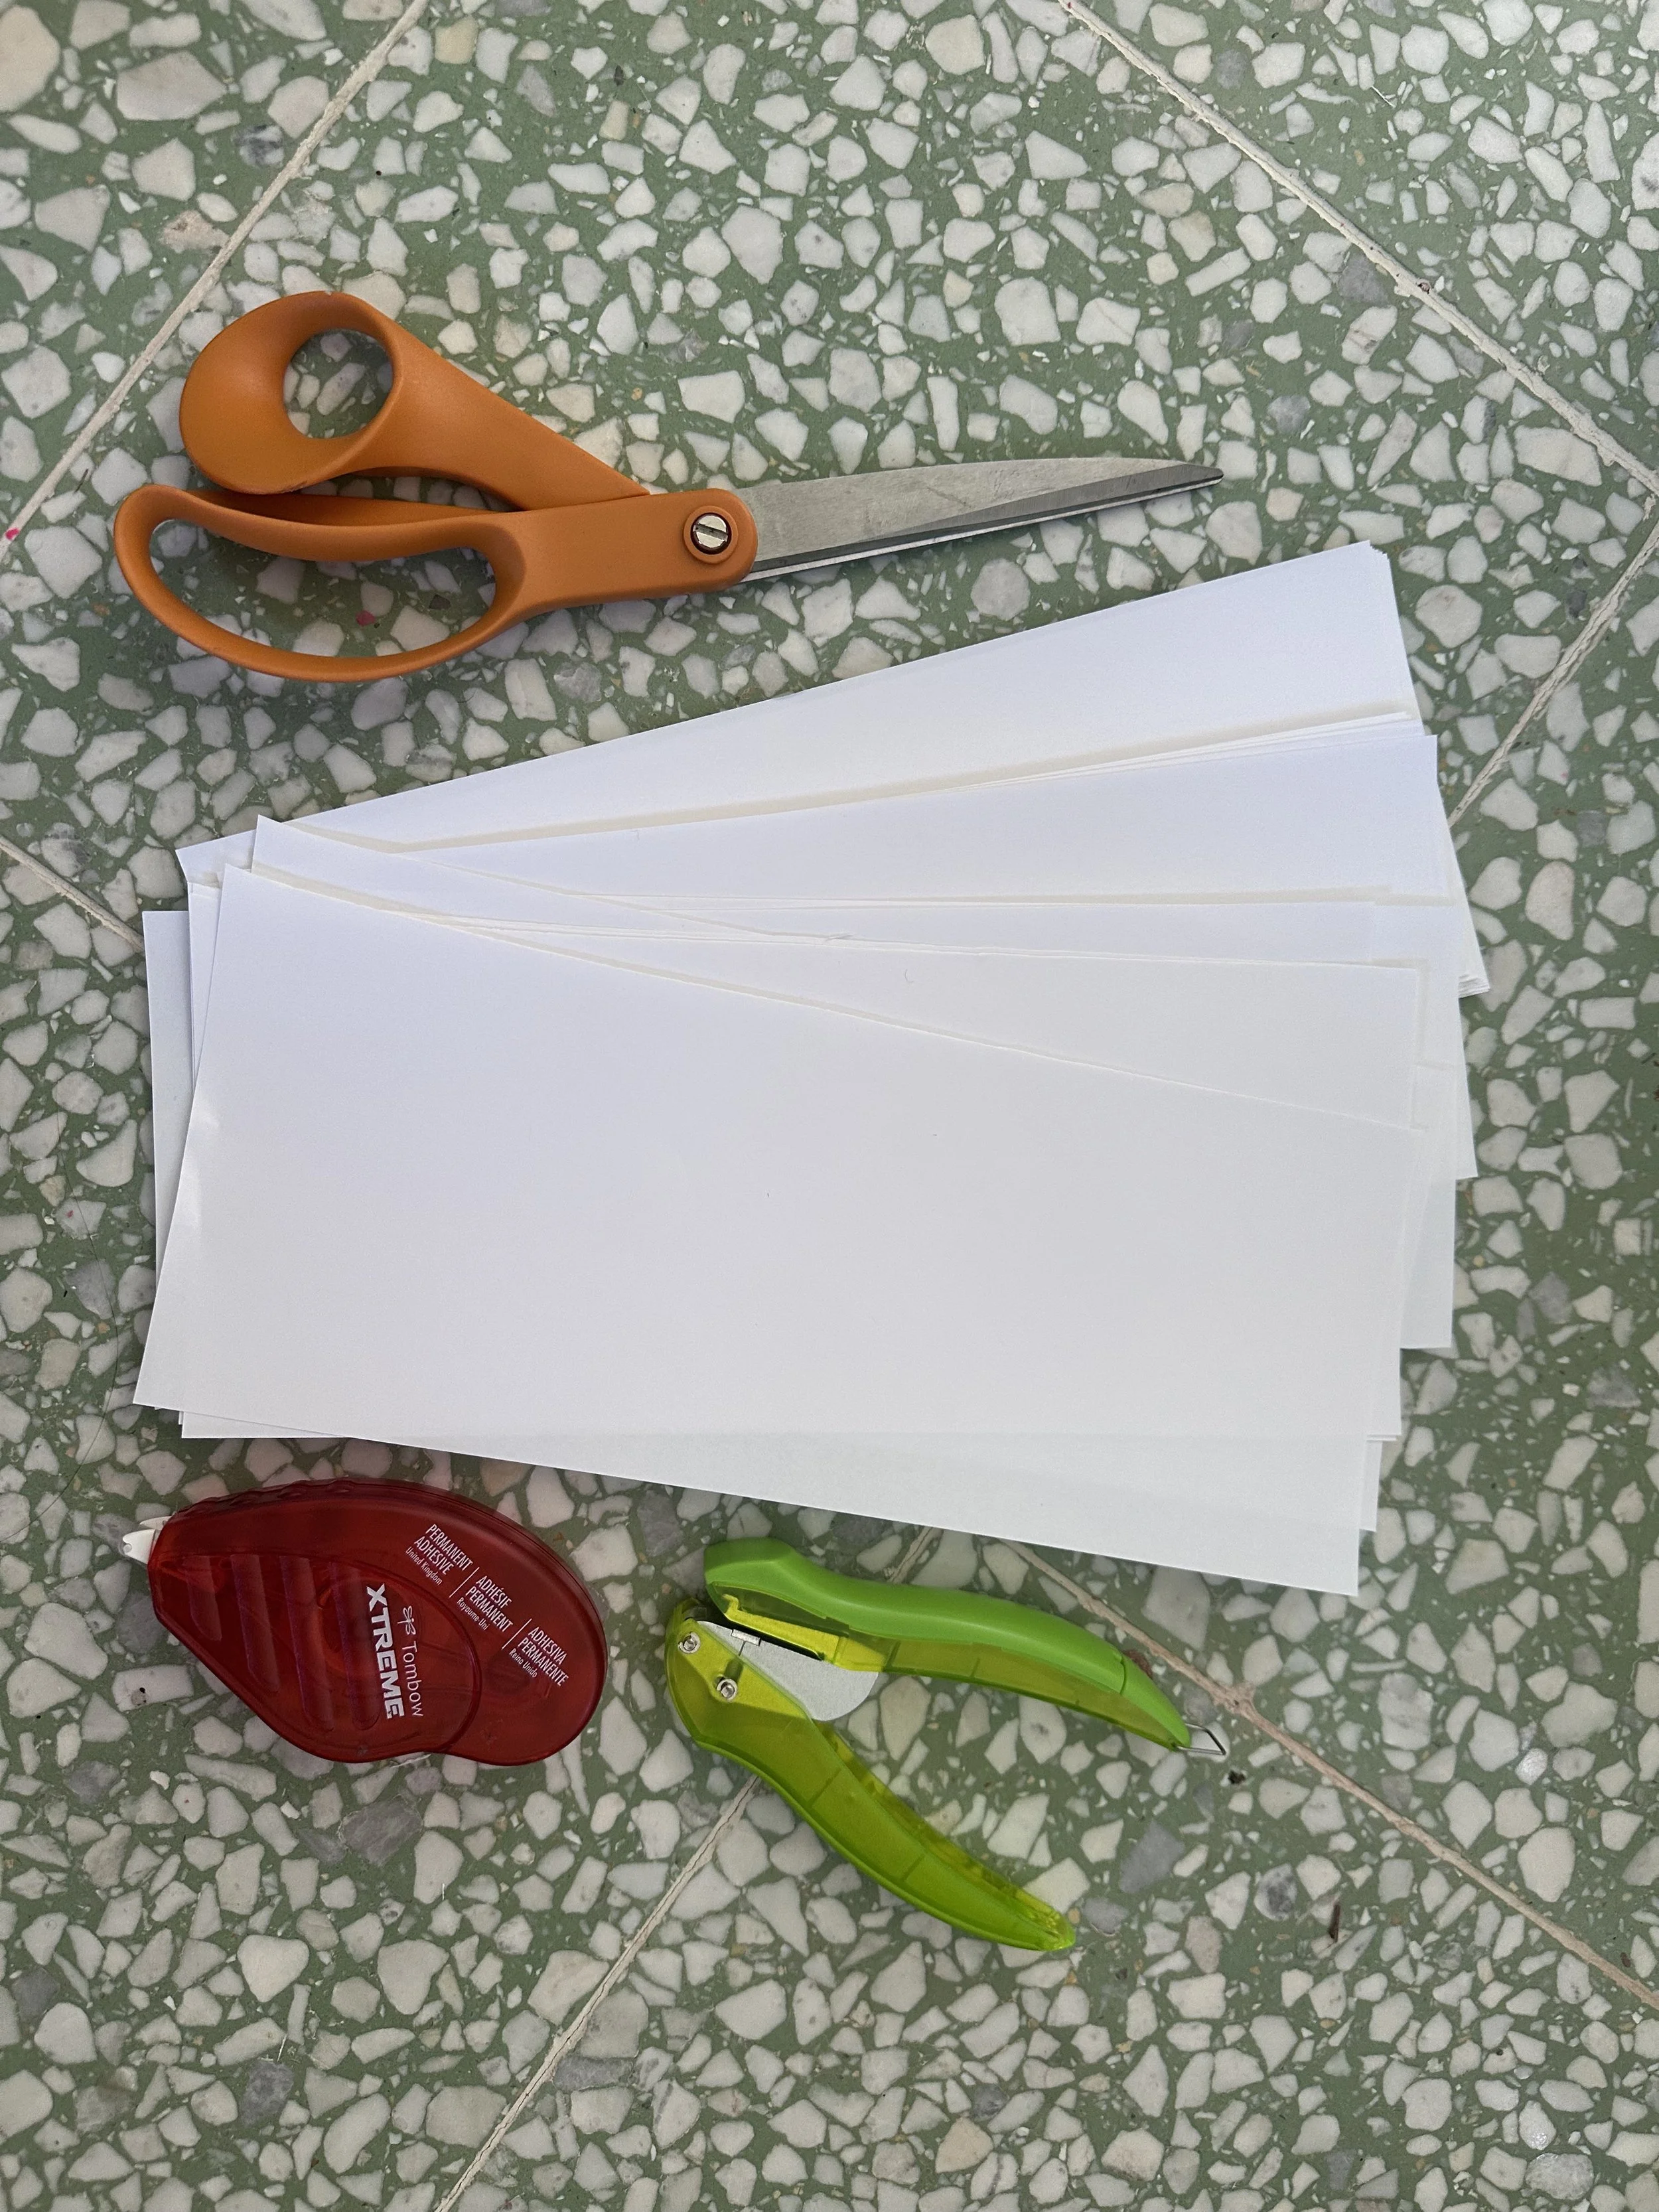
Scissors
Glue (We’re listing our faves). Of course I never get away with tackling projects solo, and this one here involved fixing the tape dispenser 4 times over the course of 45 minutes:)
Glue Tape: Fave for crafting without little kids
Glue dots: no drying time, but little kids will want to use them as stickers. Everywhere.
White glue: our fave is Bearly Art Precision Craft Glue. It has multiple applicator types and quite an immediate stick and a very strong bond, so drying time is not such a concern.
Modge Podge: While it’s versatile and a classic, our beef is that it gets everywhere when using with kids, ruins the paint brushes we use as applicators, or if using popcycle sticks we end up having to fish them out of the glue pot - it’s just the messier of options.
Double-sided tape: Could totally work for this craft.
Single Hole Punch
Tape
-
Cut paper into equal width strips. Our example used strips of 8×11 cut in half, measuring 4”x11”.
You could absolutely make this project wider or narrower—perhaps dividing the paper into 2.6” thirds.
-
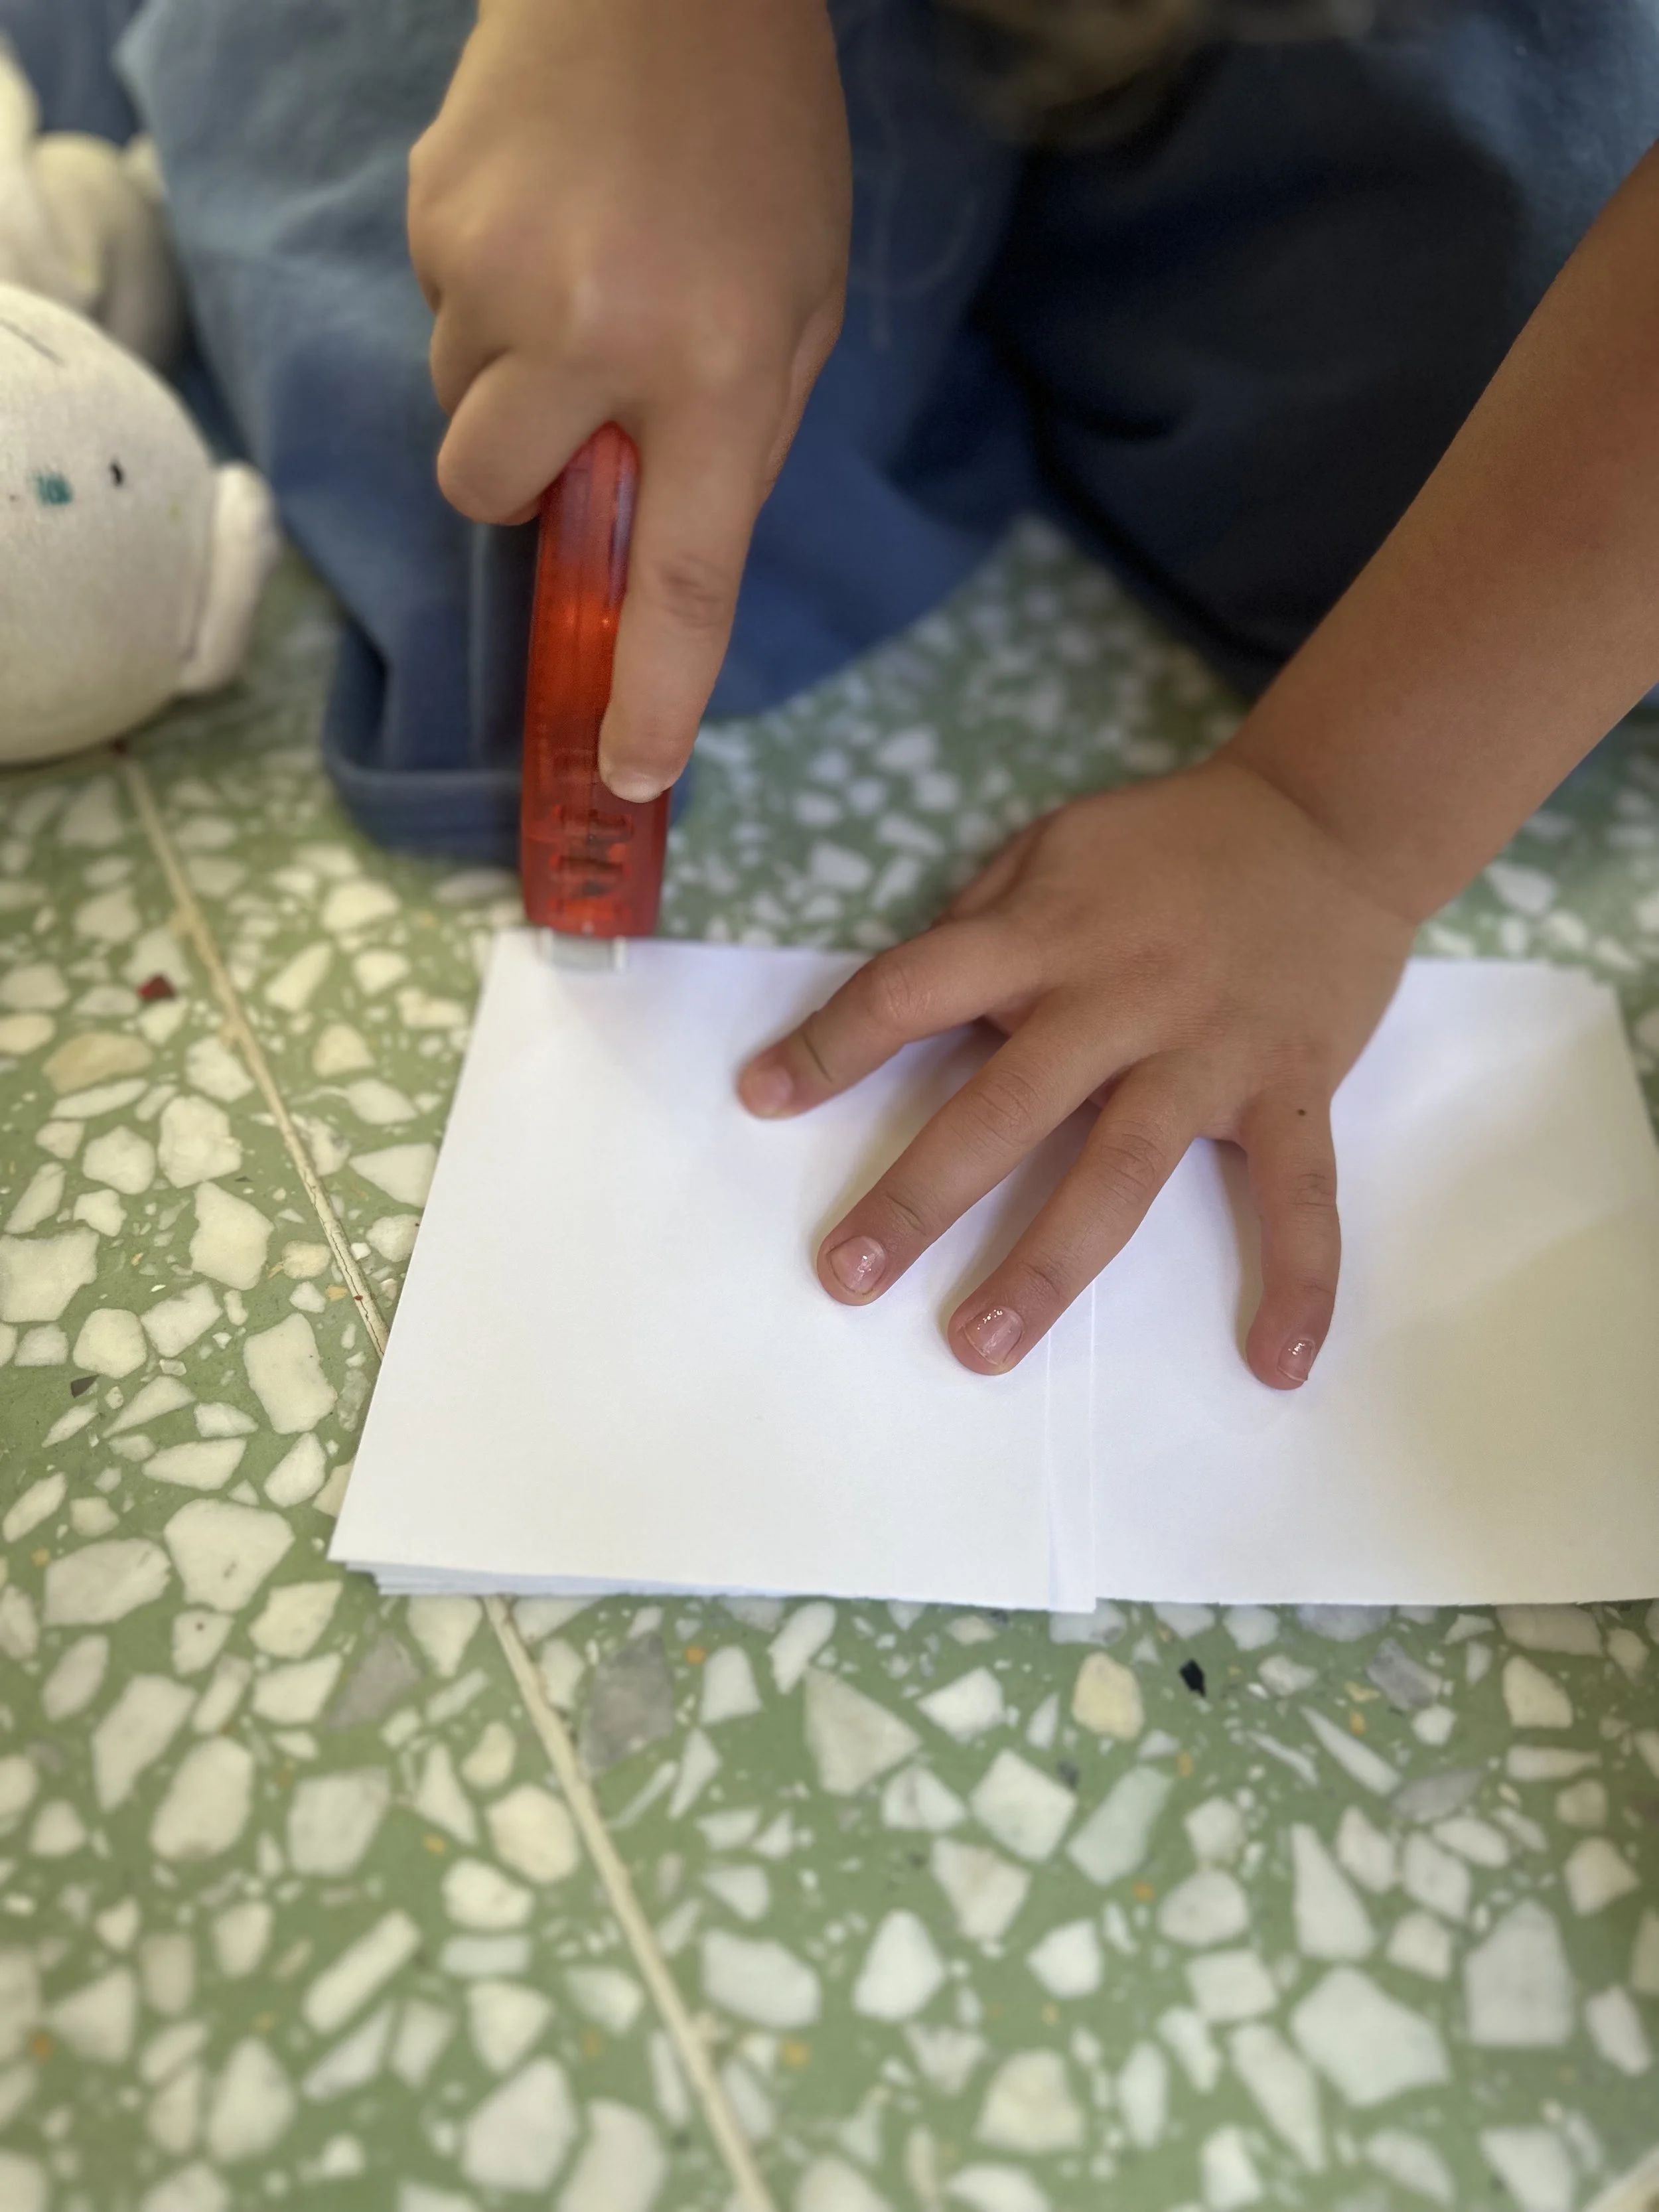
1) Decide how long you would like to make your hanging sculpture. Glue the ends of however many strips of paper you will need to get it done.
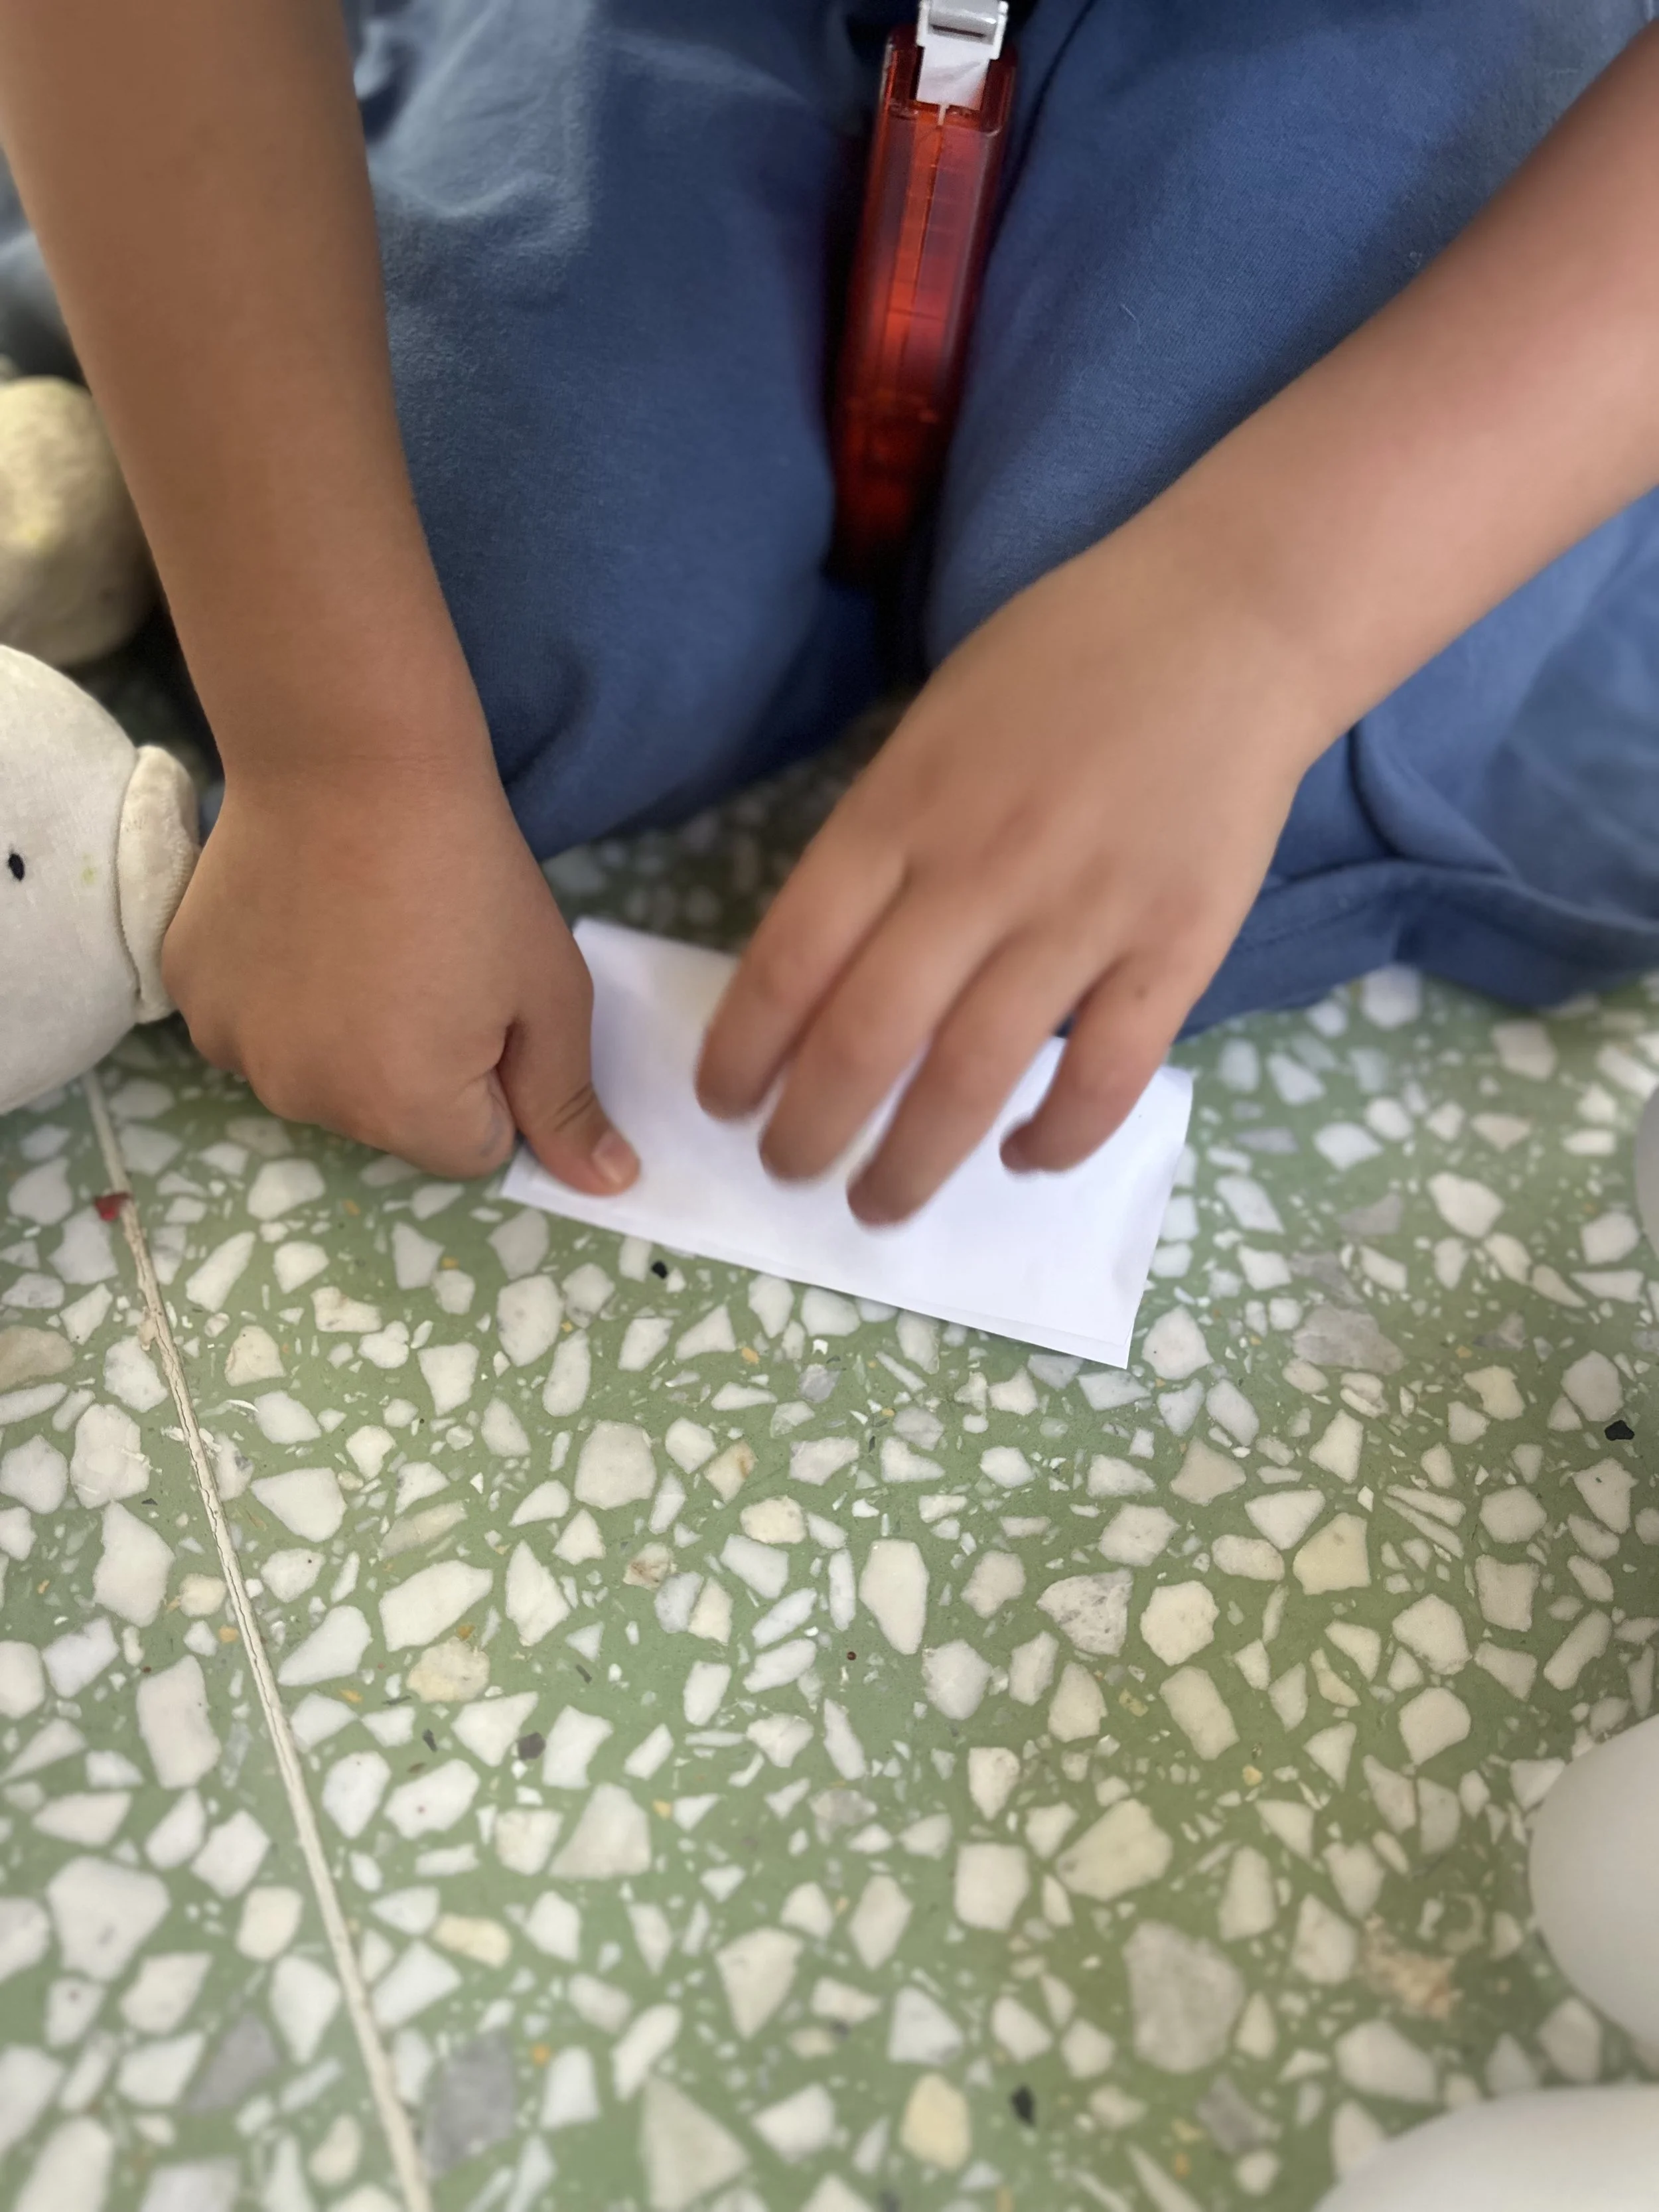
2) On the top end of the sculpture, put a piece of tape where we will punch a hole to attatch with string. These sculptures do get a little heavy, so this will keep the paper from ripping.
3) Punch hole. For a 4”wide sculpture, one hole will suffice, but you might want to go with two holes for anything much wider. We will only hang these pieces once dry, so for now, just keep them flat on the surface you’re working on.
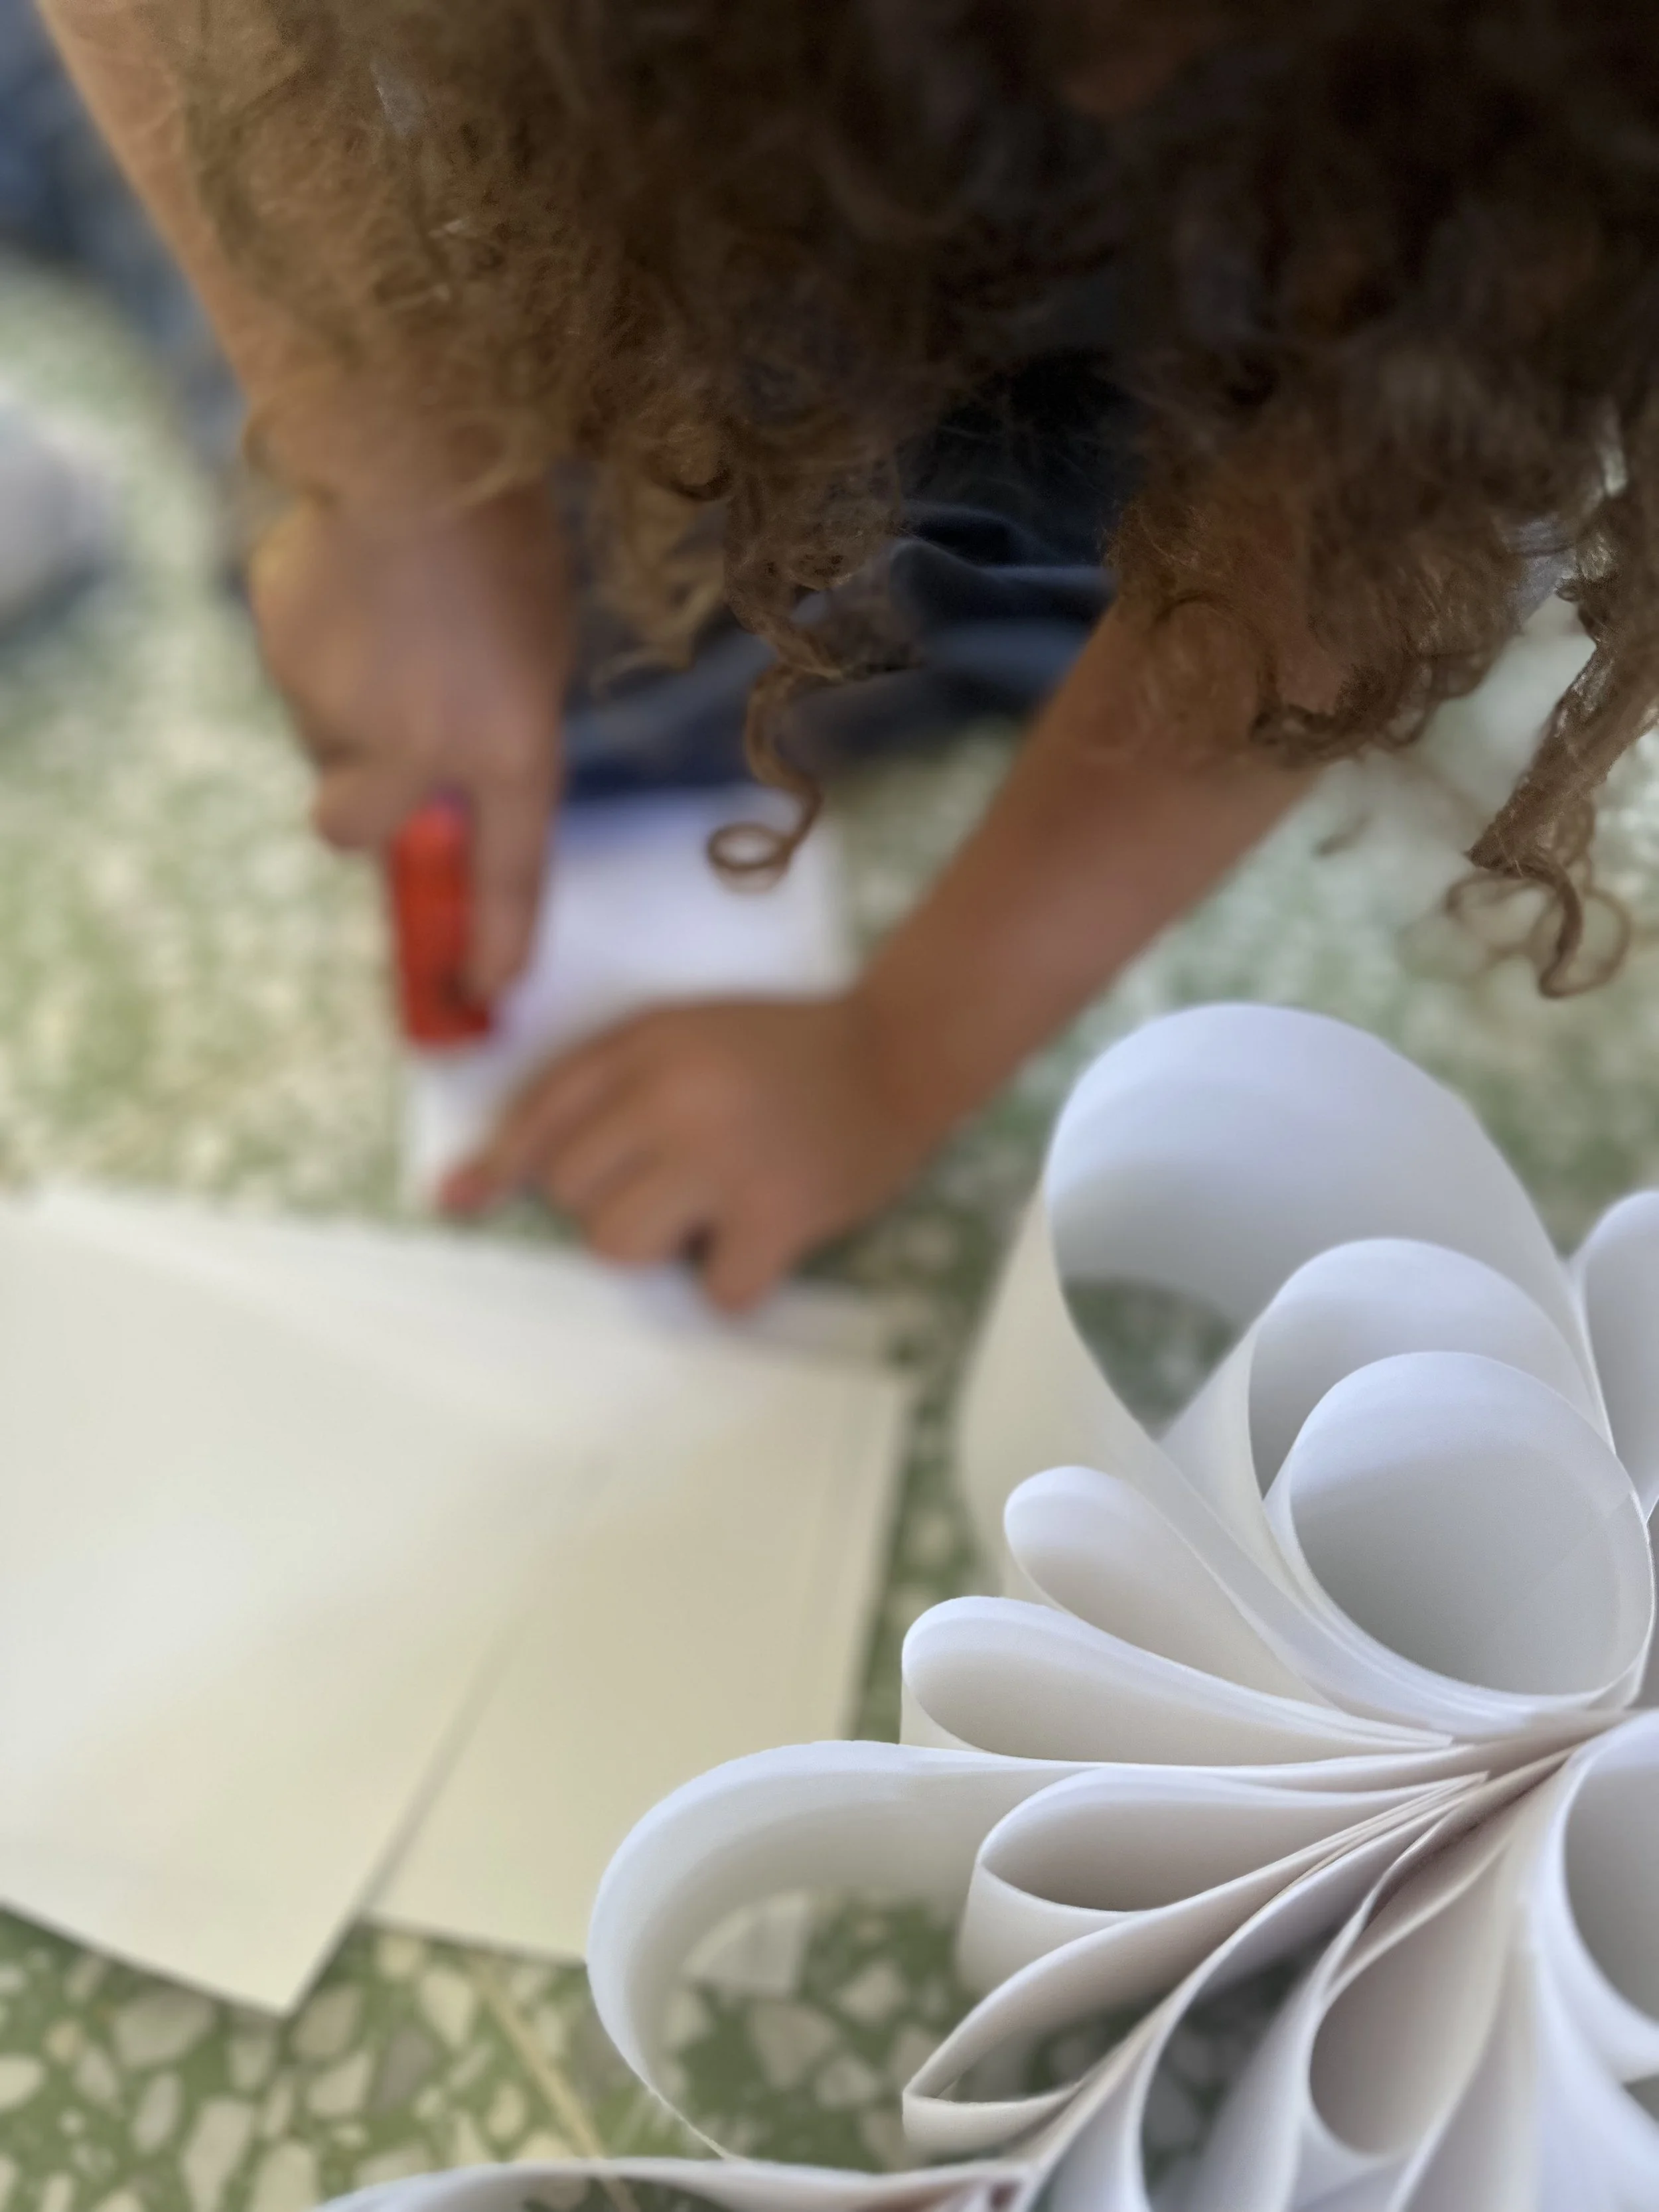
4) Start looping and gluing! Explore different techniques (looping vs rolling, double rolling, filling loops with rolls or loops with loops). We found it helpful to make a bunch of loops and circles of different sizes and then attach them.
5) Work your way from the bottom to the top, attaching pieces wherever your intuition takes you. You’ll want to make sure sides are balanced, so pick up the sculpture from time to time.
-
Repeating what we said last week—paper is awesome!
Rolled paper is endlessly versatile. You can create everything from wreaths to mandalas to striking abstract wall hangings—and the materials are just as flexible. Try experimenting with different types of paper: textured, smooth, lightweight, heavyweight, bold colors, muted tones… even recycled strips from magazines, newspapers, or kraft paper (which looks especially lovely for this project).
Craving more color—or an extra creative step? Try dipping just the ends of your finished rolls in watercolor. You can explore different shades of a single color for a tonal effect, mix a full rainbow of hues, or even add a fine black outline for a subtle, sophisticated touch. Kids might go big with decorated or painted craft or construction paper—the sky’s the limit!
Feeling precise? You can make your sculpture as loose and flowing or as tight and quilled as you like. Just keep in mind: the denser the piece, the heavier it will be—and the more support it’ll need when it’s time to hang.